

Let’s face it: the microwave is the unsung, hardworking hero of the modern kitchen. It’s there for your early morning oatmeal, your "I’m too tired to cook" frozen dinners, and that 10:00 PM mug cake craving. But because we use it so often, it tends to become a bit of a disaster zone. We’ve all been there: you open the door to heat up some leftovers, and you’re greeted by a crusty landscape of exploded spaghetti sauce, mysterious yellow drips, and a smell that definitely wasn’t there yesterday.
Cleaning a microwave usually feels like a chore that requires a lot of elbow grease and harsh, smelly chemicals. And let’s be honest, who wants to spray heavy-duty degreasers in the same small box where they heat up their food? At The Cleaning Ninjas Inc, we’re all about efficiency and safety. That’s why we’re sharing one of our favorite "Ninja Tips": the Lemon Steam method. It’s natural, it’s incredibly effective, and it requires almost zero scrubbing.
Why the Lemon Steam Method Wins Every Time
Before we dive into the "how-to," let’s talk about the "why." Why use a lemon instead of a standard kitchen spray?
First, lemons are nature’s little cleaning powerhouses. They contain citric acid, which acts as a natural disinfectant and a potent degreaser. When you heat that lemon juice up, the acid gets to work breaking down the molecular bonds of stuck-on food.
Second, there’s the steam. When water boils in the microwave, it releases steam that permeates every corner, including the ceiling of the microwave (which is usually the grossest part). The steam hydrates dried-on food, turning it from a concrete-like substance back into something soft and wipeable.
Finally, it smells amazing. Unlike synthetic "lemon-scented" cleaners that can leave a chemical aftertaste in your next meal, real lemons leave your kitchen smelling fresh and clean. It’s a win-win-win.
What You’ll Need
The best part about this method is that you probably already have everything you need in your kitchen. No special trips to the store required.
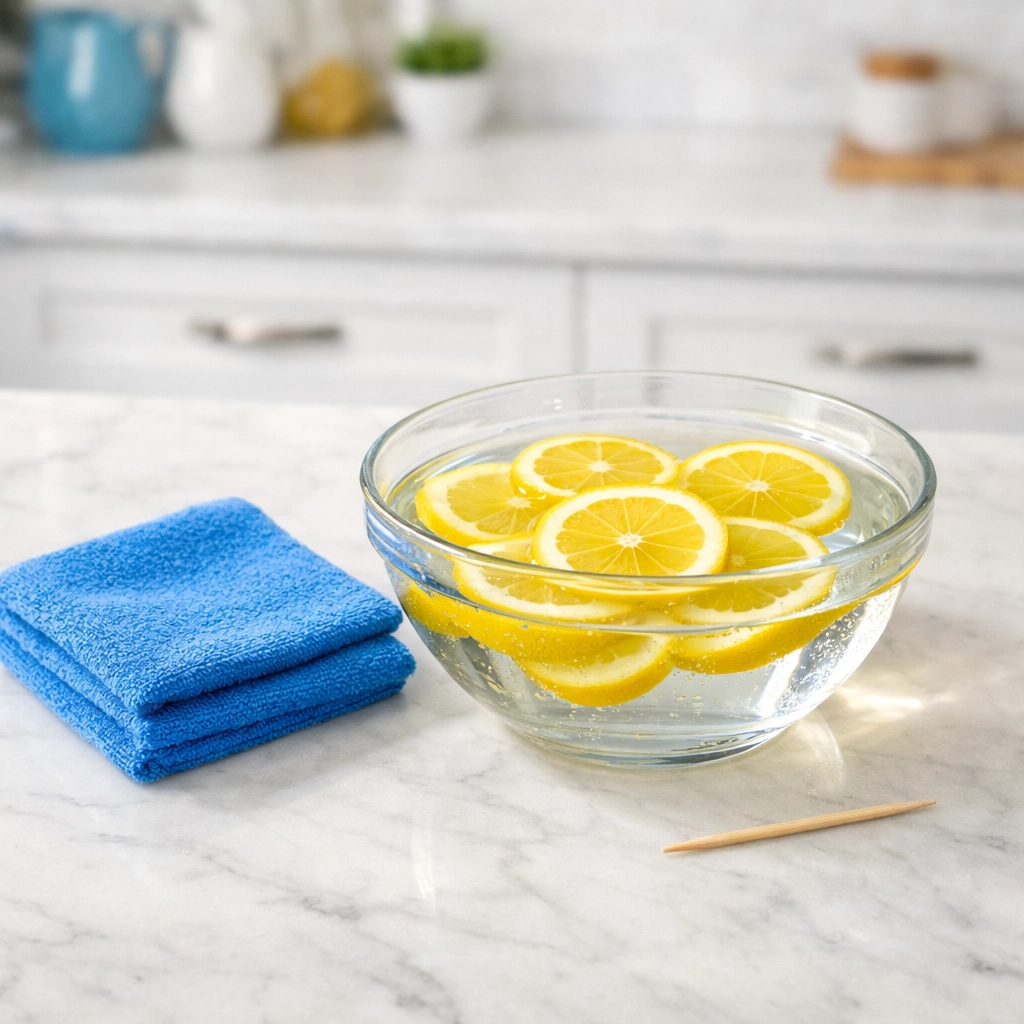
- A microwave-safe bowl: Glass or ceramic works best.
- One fresh lemon: Or two, if your microwave has seen better days.
- Water: About one cup.
- A clean microfiber cloth or sponge: For the final wipe-down.
- A toothpick (optional but recommended): We’ll explain why in a bit.
The Step-by-Step Ninja Guide to a Sparkling Microwave
Step 1: Prep Your Potion
Fill your microwave-safe bowl with about a cup of water. Slice your lemon in half and squeeze the juice into the water. Once you’ve squeezed them, drop the lemon halves right into the bowl. The oils in the rind are just as beneficial as the juice itself.
Ninja Tip: If you don't have fresh lemons, you can use about 2-3 tablespoons of bottled lemon juice concentrate. It won't smell quite as heavenly, but the acidity will still do the heavy lifting.
Step 2: The Toothpick Trick
Before you put the bowl in, drop a wooden toothpick into the water. Why? It helps prevent "superheating." Sometimes, plain water in a very smooth bowl can heat past the boiling point without actually bubbling, and then it can "explode" or boil over when you move the bowl. The toothpick gives the bubbles a place to form, keeping things safe.
Step 3: Let it Cook
Place the bowl in the center of your microwave. Set the timer for 5 to 10 minutes on high power. You want the water to reach a rolling boil and for the window of the microwave to become completely steamed up. If you have a lower-wattage microwave, aim for the full 10 minutes.
Step 4: The Golden Rule: Don't Open the Door!
This is the most important step. When the timer goes off, do not: we repeat, do not: open the door immediately. You need to let the microwave sit undisturbed for another 5 to 15 minutes.
During this "resting" period, the steam is doing the hard work for you. It’s sitting on those crusty spots, soaking into them, and loosening the grip they have on your microwave walls. If you open the door too soon, the steam escapes, and the food starts to harden again. Be patient!
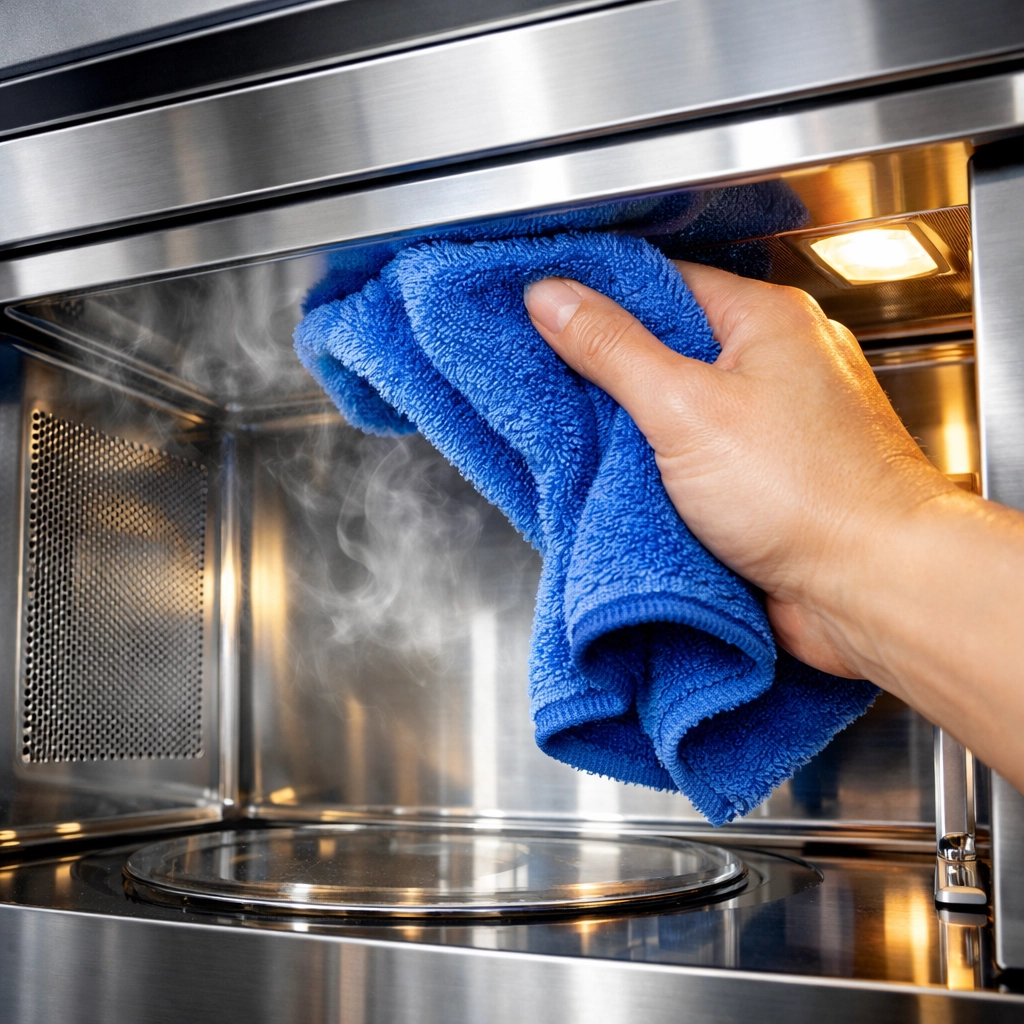
Step 5: The Easy Wipe-Down
Once the time is up, carefully open the door. The bowl will be very hot, so use oven mitts to remove it. You can also take out the turntable plate at this point.
Take your microfiber cloth or sponge and start wiping. You’ll be amazed at how easily the grime slides off. Start with the ceiling, then the sides, and finally the floor. If there’s a particularly stubborn spot, dip your cloth into the hot lemon water (carefully!) and give it a quick rub.
Dealing with Stubborn "Ancient" Stains
Sometimes, if a splatter has been in the microwave since the Great Heat Wave of '22, the lemon steam might need a little backup. If you find a spot that won’t budge, don’t reach for the steel wool: you don’t want to scratch the interior coating of your microwave.
Instead, make a quick paste of baking soda and a little bit of the lemon water. Apply it to the spot, let it sit for a minute, and then wipe it away. The baking soda provides just enough gentle abrasion to lift the stain without damaging the surface.
Don't Forget the Exterior
While your microwave is now sparkling on the inside, the outside probably has a few greasy fingerprints or dust. You can use that same leftover lemon water to give the exterior a quick refresh.
Dip your cloth into the mixture, wring it out well, and wipe down the handle, the buttons, and the top of the unit. For stainless steel exteriors, make sure to wipe in the direction of the grain to avoid streaks. If you want a more detailed look at how we handle different kitchen surfaces, check out our services page for professional-grade tips.
Cleaning the Turntable
The rotating glass plate usually gets the worst of the spills. Since you've already steamed it, most of the gunk should wipe right off. However, the underside and the little plastic track it sits on can hold onto grease.
Feel free to pop the glass plate into your dishwasher or wash it in the sink with some warm, soapy water. While it’s out, wipe down the track and the wheels. A clean track ensures your microwave rotates smoothly and heats your food evenly.

Why Natural Cleaning Matters to Us
At The Cleaning Ninjas Inc, we believe that a clean home shouldn't come at the cost of your health or the environment. When you use natural ingredients like lemons, vinegar, and baking soda, you're reducing the "chemical load" in your home. This is especially important in the kitchen, where food preparation happens.
If you love the idea of a naturally clean home but don't have the time to do it all yourself, we're here to help. You can learn more about us and our mission to provide eco-friendly, ninja-level cleaning to our community. We take pride in using techniques that are safe for your family and your pets.
Quick Maintenance Tips to Keep the Grime Away
Now that your microwave is pristine, here are a few ways to keep it that way:
- The Cover-Up: Use a microwave-safe lid or even a simple paper towel to cover your food. This prevents splatters from reaching the walls in the first place.
- The Immediate Wipe: If you see a spill, wipe it up immediately while it's still liquid. It takes two seconds now versus ten minutes later.
- The Weekly Steam: Make the lemon steam a part of your weekly kitchen reset. It’s so easy that you can do it while you’re putting away groceries or waiting for the coffee to brew.
Beyond the Microwave: Other Lemon Hacks
Since you’ve already got the lemons out, why stop at the microwave?
- Garbage Disposal: Take those used lemon halves from your steam cleaning and toss them into the garbage disposal. Run the water and turn it on. The lemon rinds will help clean the blades and deodorize the drain.
- Cutting Boards: Rub a lemon half over your wooden cutting boards to help sanitize them and remove food odors (like onion or garlic).
- Faucets: Use a bit of lemon juice to dissolve hard water spots on your kitchen faucet.
Cleaning doesn't have to be a battle. With the right "Ninja" techniques, you can keep your home glowing with minimal effort and maximum safety. The lemon steam method is the perfect example of working smarter, not harder.
Ready to see what else a professional touch can do for your home? Whether it’s a one-time deep clean or regular maintenance, The Cleaning Ninjas Inc is ready to jump into action. Head over to our blog for more tips, or contact us today to schedule your next cleaning!

