

We’ve all been there. You step into the shower, ready for a relaxing rinse, only to come face-to-face with a fuzzy, orange-pink or speckled black guest clinging to the bottom of your shower liner. It’s unsightly, it’s a bit gross, and if left unchecked, it can make your entire bathroom feel less than fresh.
At The Cleaning Ninjas Inc, we believe your bathroom should be a sanctuary, not a breeding ground for mildew. The good news? You don’t need to toss that liner in the trash every time a little spot appears. In this edition of "Ninja Tips," we’re showing you how to rescue your shower liner and remove mildew fast using simple household items and your trusty washing machine.
Why Does Mildew Love Your Shower Liner?
Before we jump into the "how-to," let’s talk about the "why." Mildew and mold thrive in damp, dark, and poorly ventilated spaces. Your shower is essentially a luxury resort for these fungi. When you combine the constant moisture of the shower with soap scum, body oils, and skin cells, you’ve created a buffet for mildew.
The bottom of the liner is particularly vulnerable because it often stays folded or bunched up against the tub, trapping water in the creases. This is where the rescue mission usually begins.
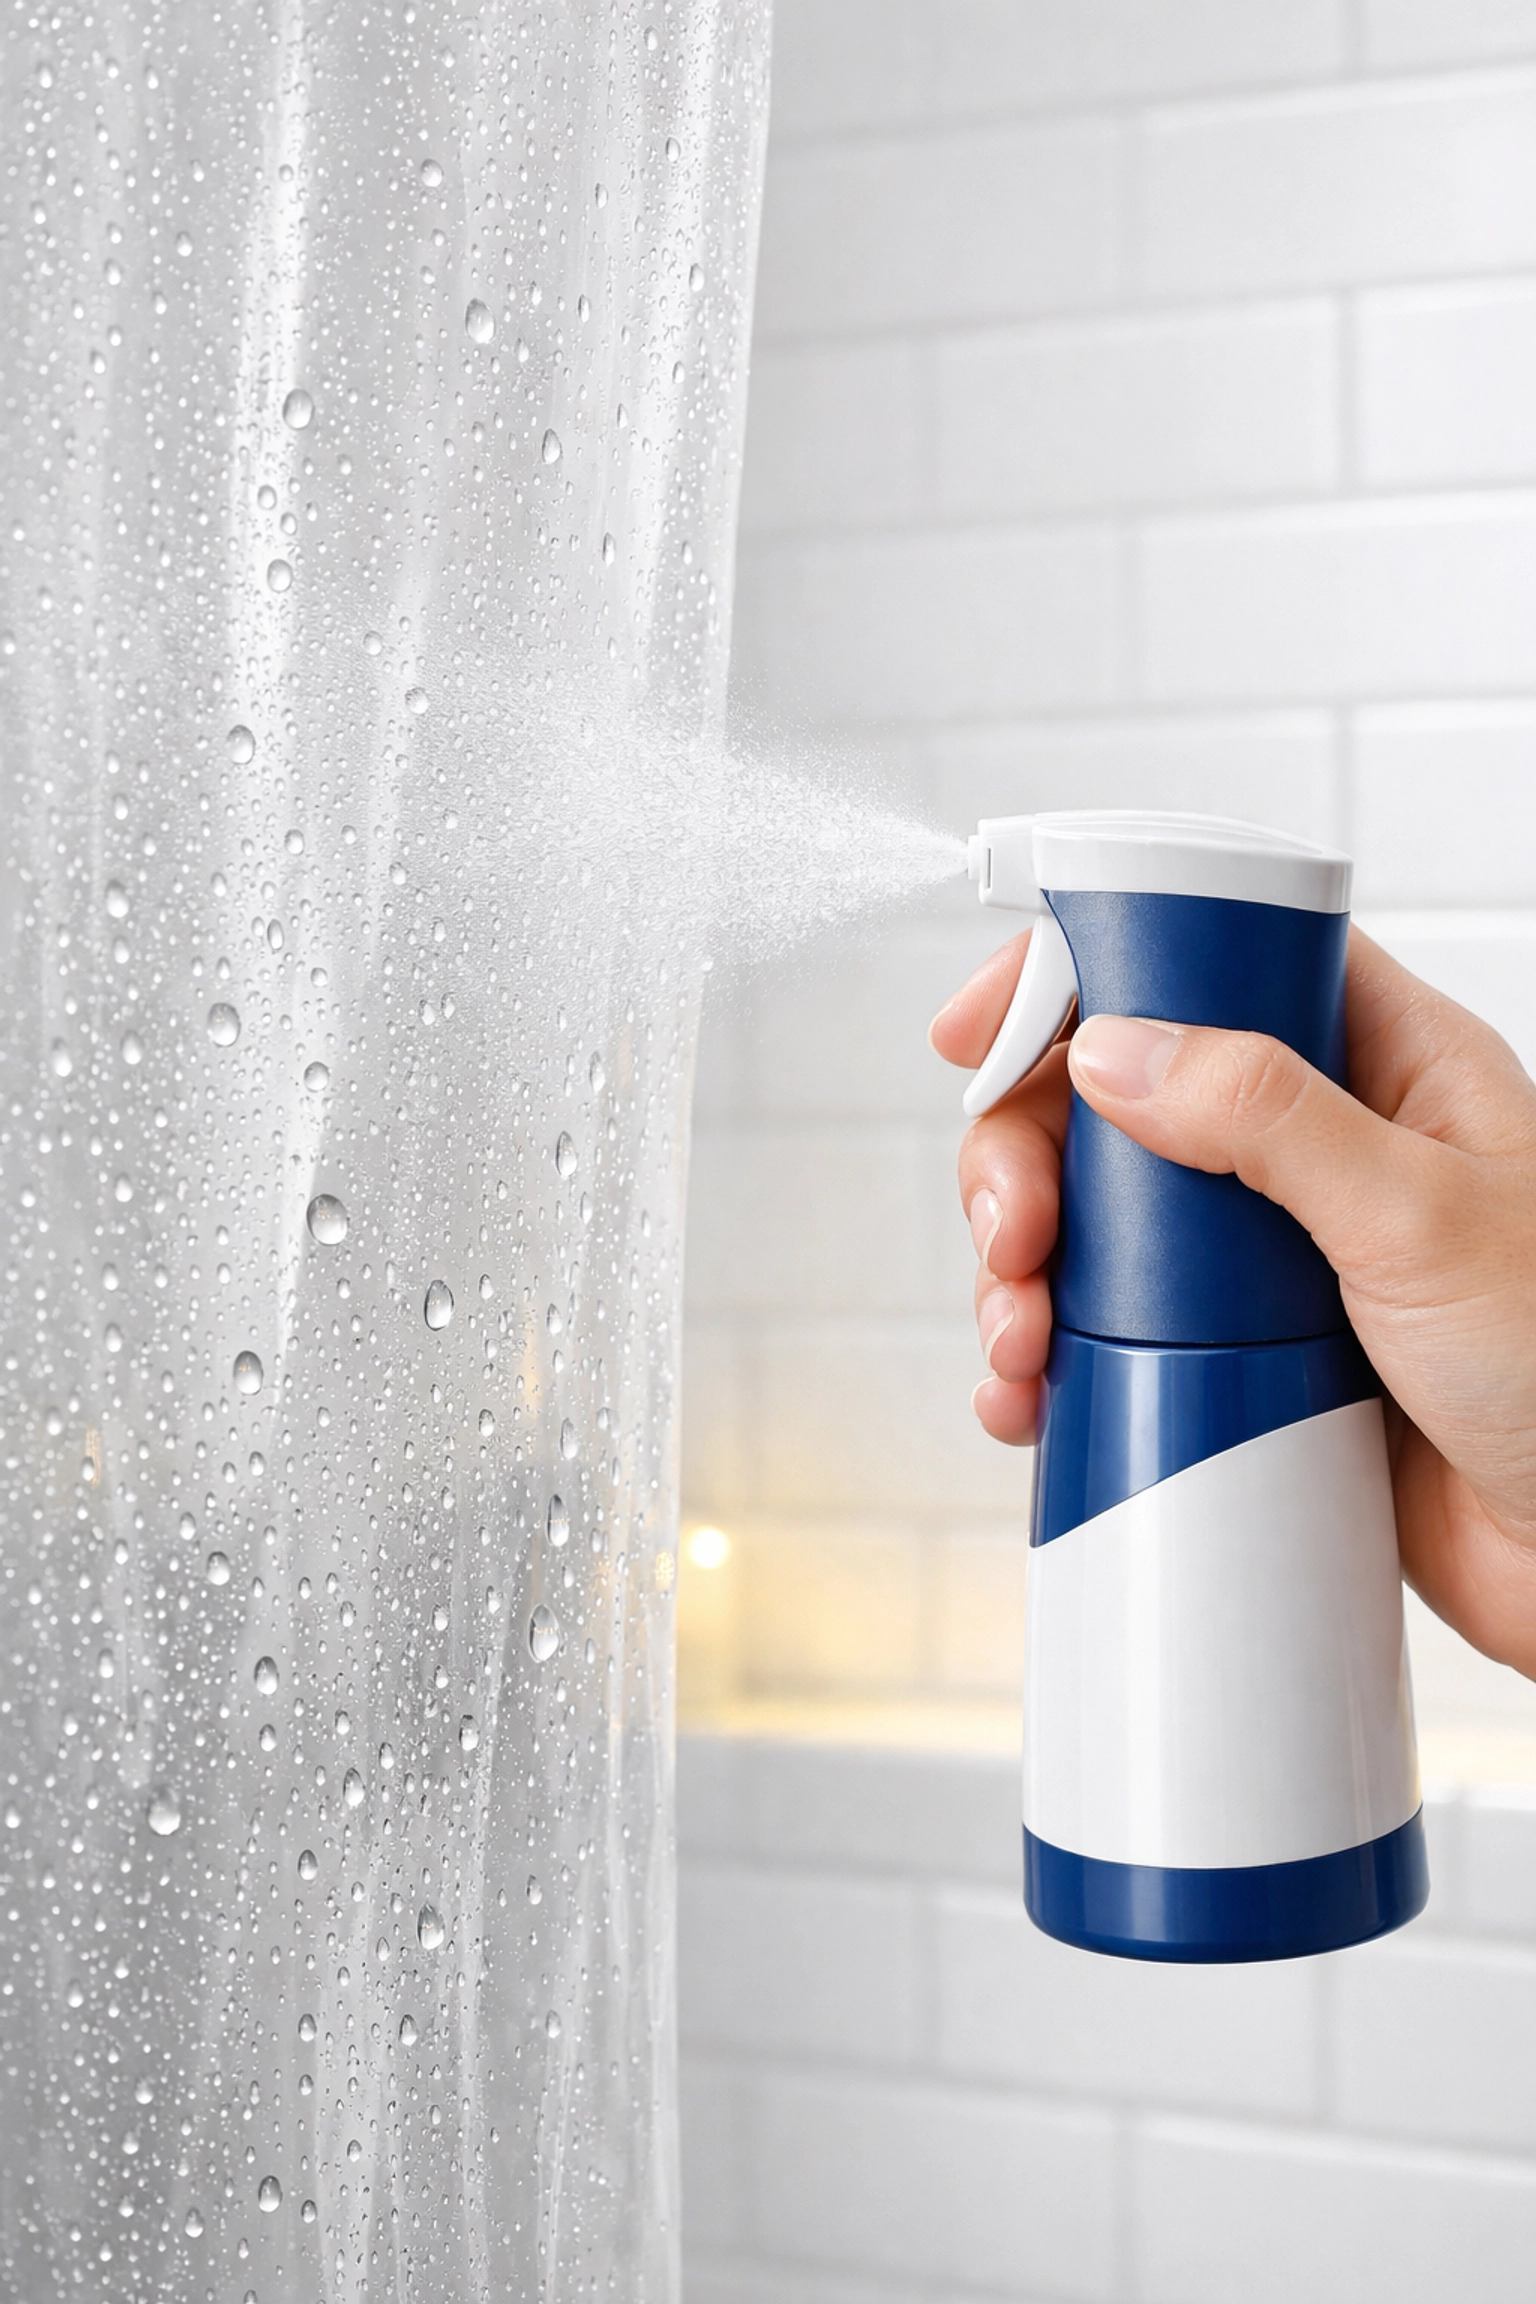
Method 1: The Ninja Quick-Spray (No Removal Required)
If you’ve caught the mildew early, you might not even need to take the liner down. This is perfect for a mid-week refresh or when you have guests coming over and need a quick fix.
The Vinegar Solution:
Mix four parts water with one part white distilled vinegar in a spray bottle. Vinegar is a natural antifungal and antibacterial agent that’s safe for most plastic and fabric liners. Spray the affected areas generously, let it sit for about 10 minutes, and then scrub with a sponge or a soft-bristled brush. Rinse with the showerhead, and you’re done!
The Hydrogen Peroxide Power-Up:
For slightly tougher spots, reach for the hydrogen peroxide. Mix a 2:1 solution of hydrogen peroxide and water. Spray it directly onto the mildew and let it bubble away for 10 to 15 minutes. Hydrogen peroxide is a fantastic bleach alternative that kills mold spores without the harsh fumes. Rinse thoroughly with warm water.
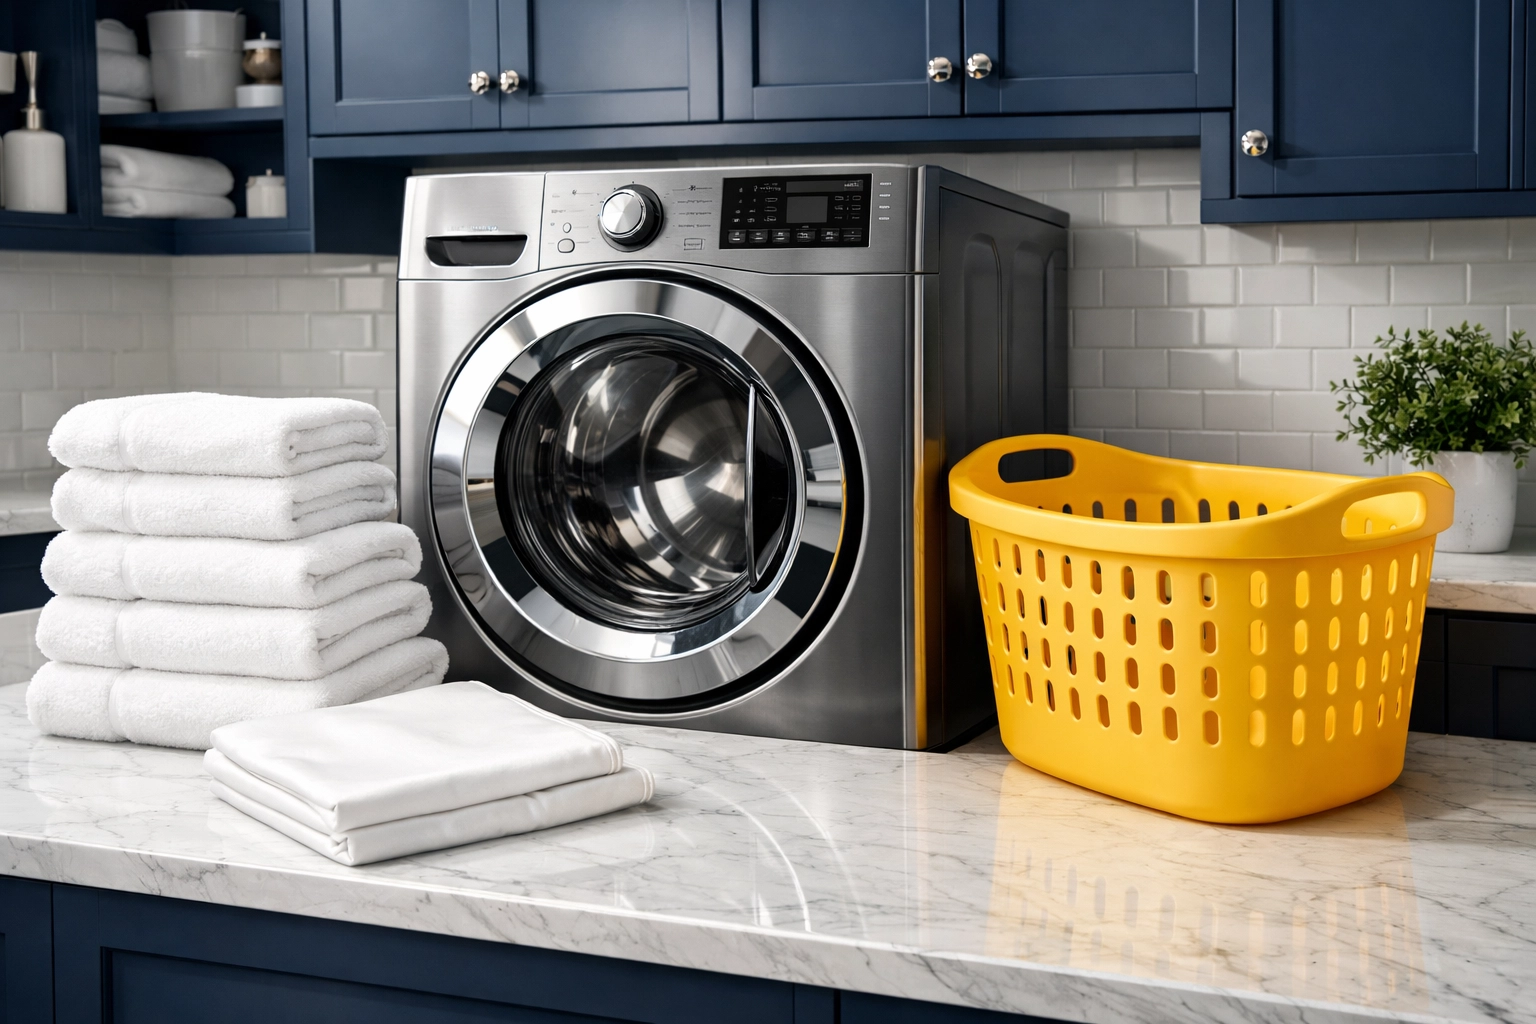
Method 2: The Deep Clean Machine Rescue
When the mildew has moved from "small spots" to "major colony," it’s time for the heavy hitters. Most people don’t realize that almost all shower liners: whether they are plastic, vinyl, or fabric: can be washed in a standard washing machine. This is the fastest and most effective way to get a deep clean with minimal elbow grease.
What You’ll Need:
- Your dirty shower liner.
- Two or three old white cotton towels.
- Standard laundry detergent.
- Baking soda OR liquid chlorine bleach.
The Step-by-Step Ninja Process:
- Remove the Liner: Carefully unhook the liner from the rings. If the rings are also looking a bit grimy, toss them into a bowl of warm soapy water while the liner washes.
- The Towel Trick: This is the "Ninja Secret." Don't wash the liner by itself. Toss in two or three large, old towels. The towels act as giant scrubbers, providing the necessary agitation to rub the mildew off the plastic without tearing it. They also prevent the liner from crinkling or sticking to itself.
- Add Your Ingredients:
- Option A (The Natural Route): Add your usual amount of laundry detergent and 1/2 cup of baking soda to the drum. Baking soda acts as a mild abrasive and deodorizer.
- Option B (The Heavy Duty Route): If the mildew is severe, add your detergent and 1/3 cup of liquid bleach. Warning: Only do this if your liner and towels are white or bleach-safe.
- Set the Cycle: Use the warm, gentle cycle. You want the water warm enough to help loosen the grime but not hot enough to melt or warp the plastic.
- The Golden Rule: NO DRYERS. Once the cycle is finished, immediately remove the liner. Never, ever put a plastic or vinyl shower liner in the dryer. The high heat will melt it, potentially damaging both the liner and your appliance.
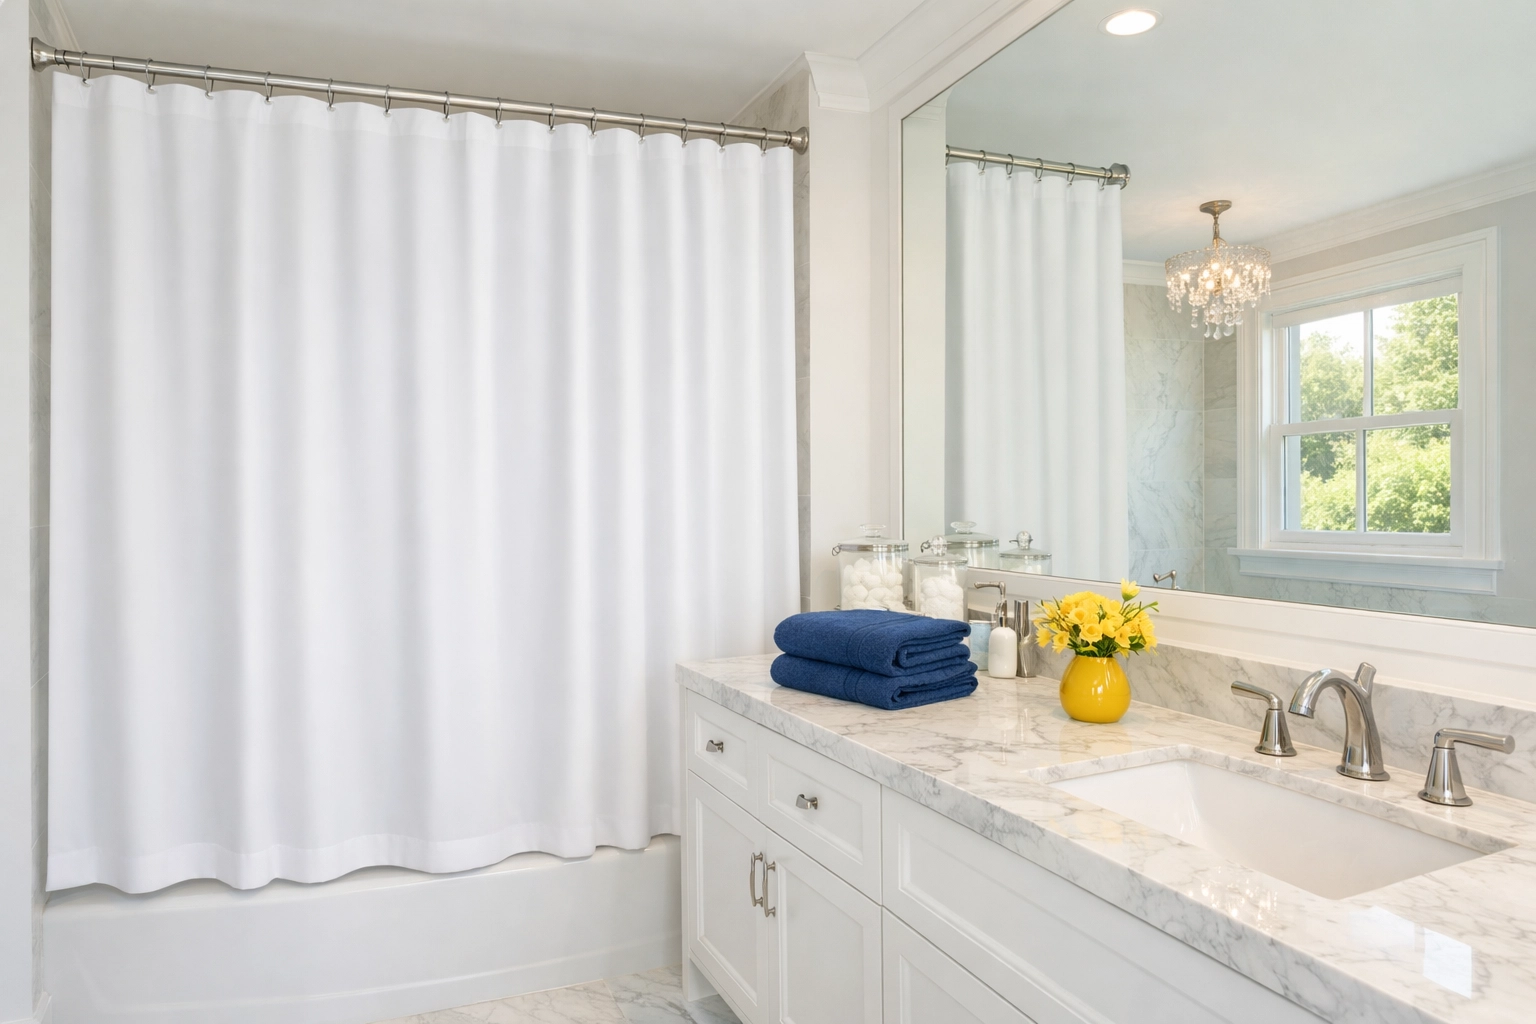
- Hang to Dry: Simply hang the wet liner back up on the shower curtain rings. Pull it all the way across the rod so it’s fully extended and can air dry without moisture getting trapped in the folds.
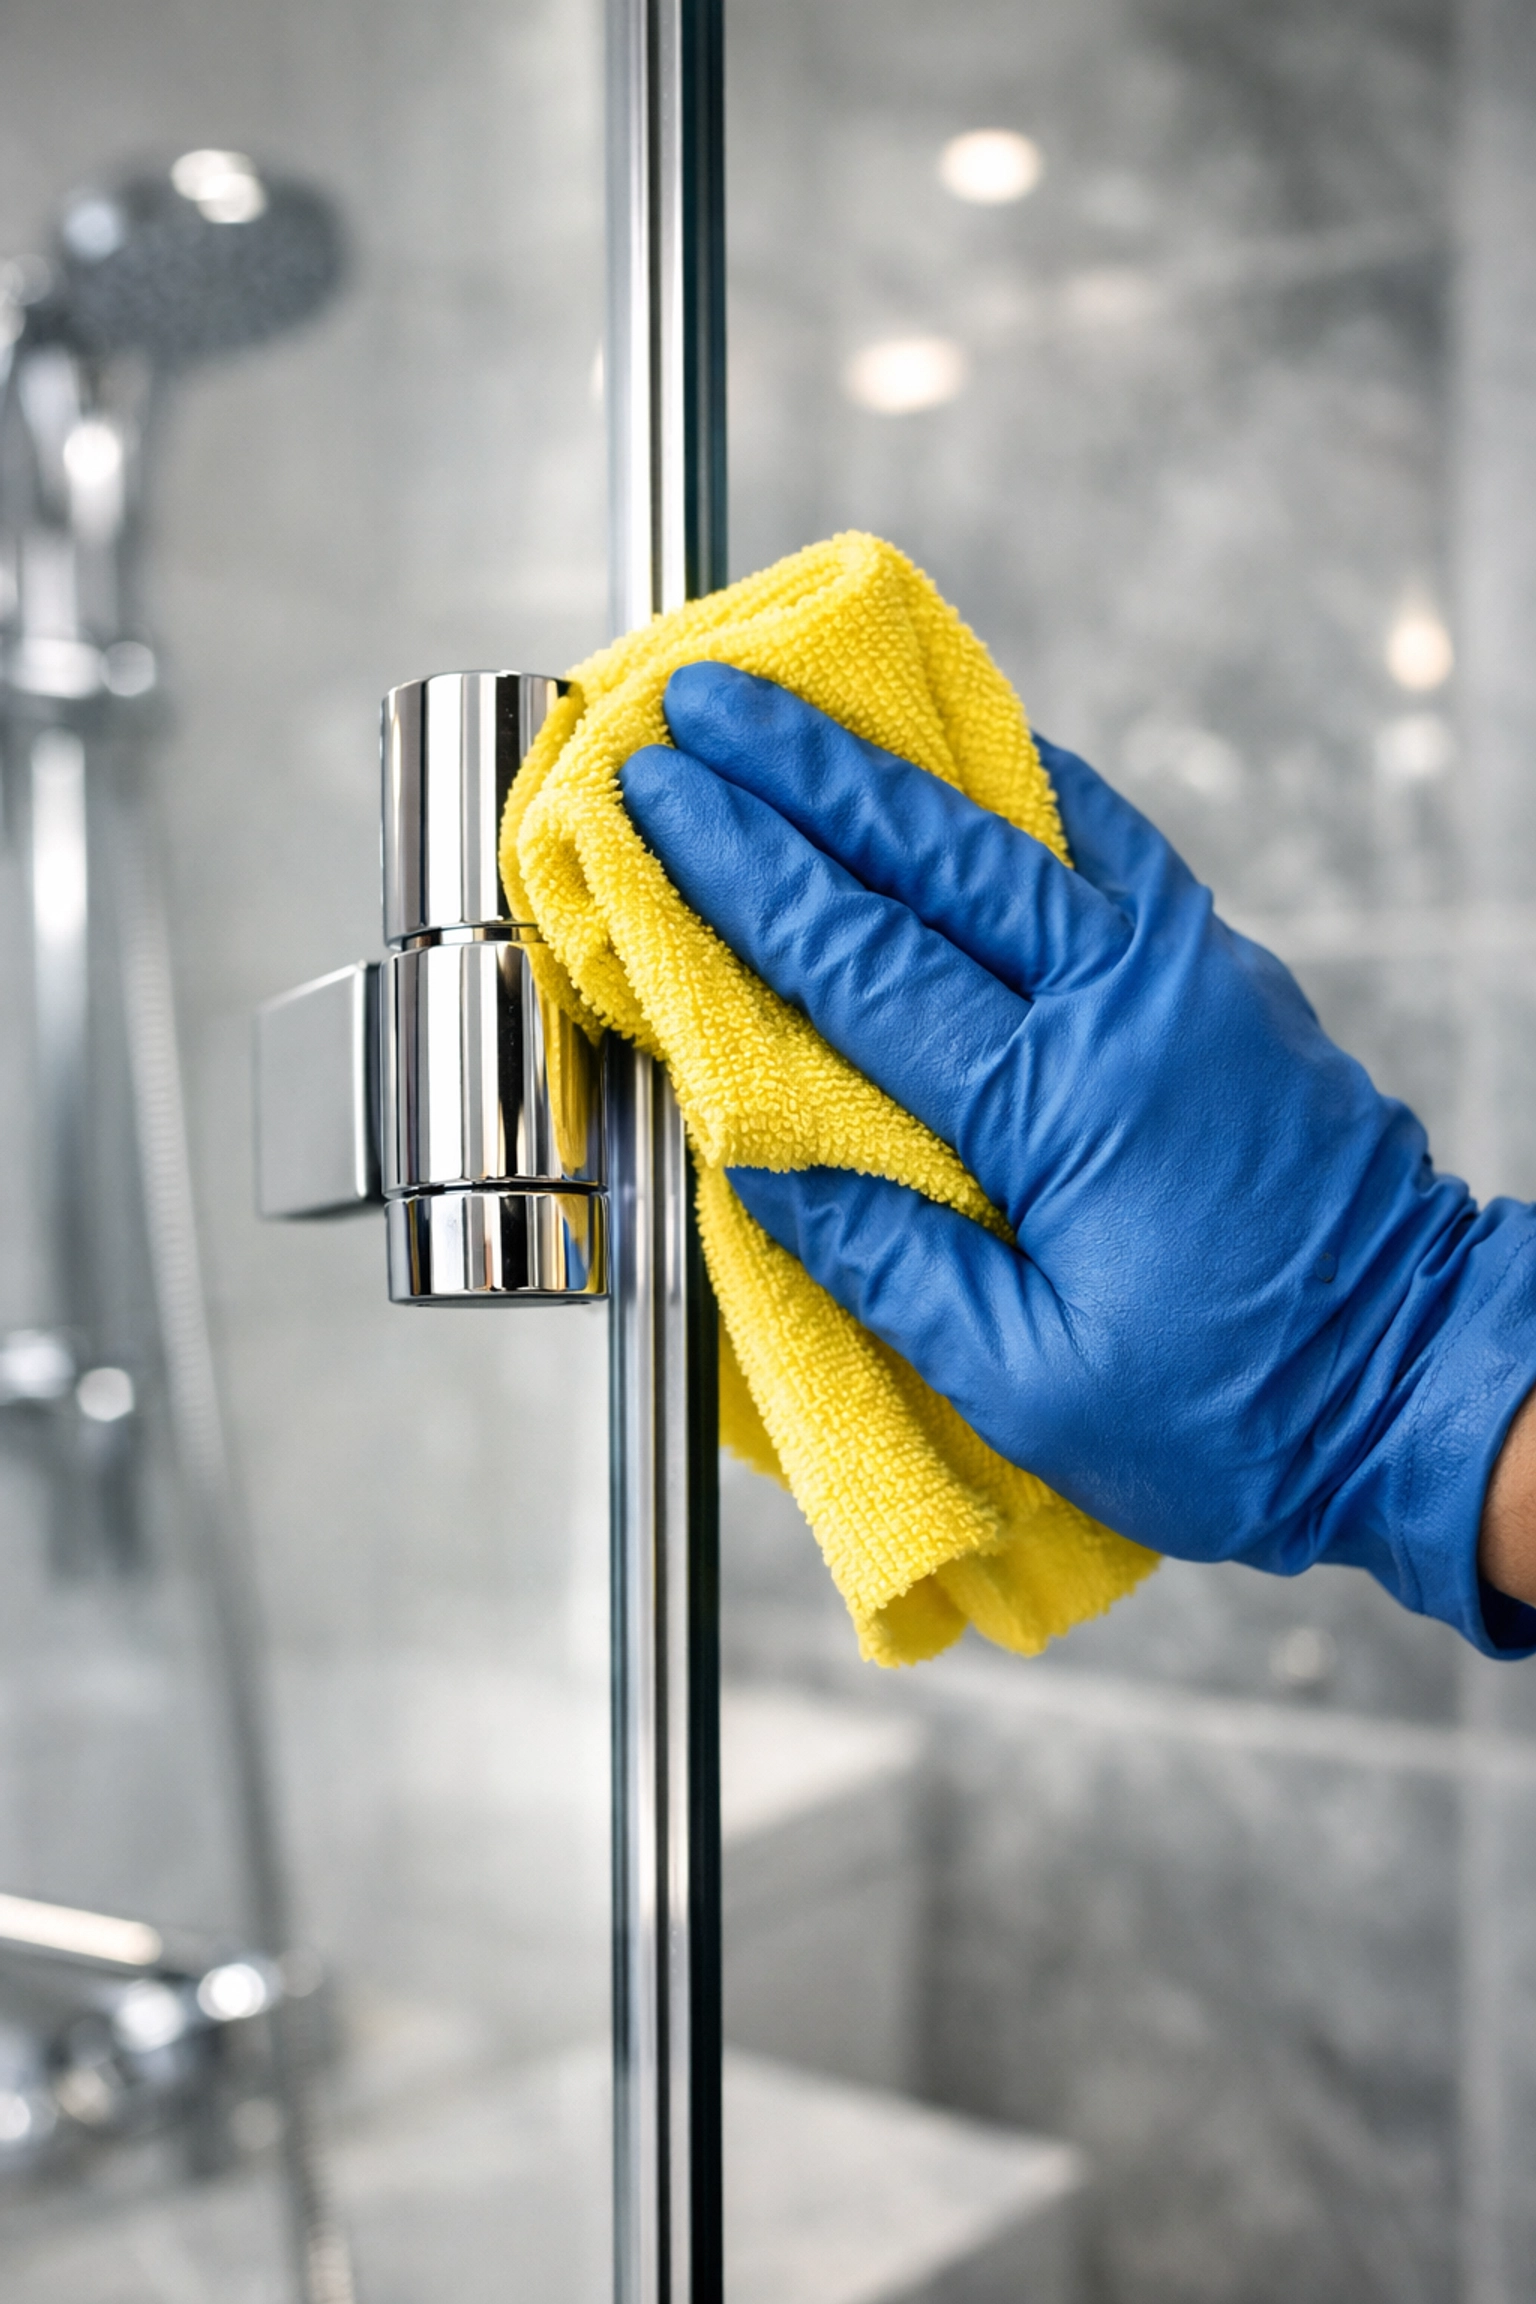
Dealing with Stubborn Stains
Sometimes, even after a trip through the washing machine, a few stubborn stains might remain. This often happens with the "pink slime" (actually a bacteria called Serratia marcescens) that can leave a light stain behind.
In this case, create a paste using equal parts baking soda and water. Apply the paste to the stained area and let it sit for 20 minutes. Use an old toothbrush to scrub the spot in a circular motion. The mild abrasion of the baking soda should lift the remaining residue. Give it one final rinse, and your liner should look brand new.
The Ninja Guide to Mildew Prevention
Rescue missions are great, but the true Ninja way is to prevent the problem before it starts. If you want to keep your shower liner clear for months at a time, follow these daily and weekly habits:
- The "Spread it Out" Rule: After every shower, make sure the curtain and liner are pulled shut all the way across the tub. If you leave it bunched up in the corner, water stays trapped in the folds, and that’s where mildew starts.
- Ventilation is Key: Run your bathroom exhaust fan during your shower and for at least 20 minutes afterward. If you don't have a fan, crack a window or leave the bathroom door open to let the steam escape.
- The Daily Mist: Keep a spray bottle of 50/50 water and white vinegar in the shower. Give the bottom of the liner a quick mist after your final rinse of the day. It takes five seconds and drastically slows down mildew growth.
- Switch to Weighted Liners: If your liner constantly blows inward and touches you (the "shower curtain effect"), it’s likely staying wetter longer. Weighted liners stay against the tub wall, allowing water to shed more efficiently.
When is it Time to Say Goodbye?
We love a good rescue, but sometimes a liner is beyond saving. If the plastic has become brittle, cracked, or if the mildew has actually permeated the material (leaving black roots that won't come out even with bleach), it’s time for a replacement.
When shopping for a new one, consider looking for liners labeled "mildew-resistant" or "antimicrobial." These are treated with agents that make it much harder for fungi to take hold.
Let the Ninjas Handle the Rest
Cleaning the shower liner is just one small part of keeping a healthy home. We know that life gets busy and sometimes the "Ninja Tips" stay on the to-do list a little longer than you'd like.
If you’d rather spend your weekend relaxing than scrubbing bathroom tiles or unhooking shower curtains, The Cleaning Ninjas Inc is here to help! Our expert team specializes in deep cleans that leave every corner of your home: including the bathroom: sparkling and sanitized.
You can check out our full range of professional services on our Our Services page or learn more about our mission and our team on our About Us page.
Final Thoughts
A clean shower liner does more than just look good; it improves the air quality of your bathroom and makes your morning routine much more pleasant. Whether you use the quick vinegar spray or the "towel trick" in the washing machine, these Ninja moves will save you money and keep your bathroom looking sharp.
For more home maintenance hacks and professional cleaning advice, be sure to head over to our blog and stay tuned for our next "Ninja Tip"! Happy cleaning!


