

Let’s be honest for a second: nobody actually wants to clean their oven. It’s one of those household chores that stays on the to-do list for months, silently mocking you every time you slide a tray of lasagna into the heat. We get it. Life is busy, and scrubbing burnt-on cheese and carbonized grease feels like a workout no one signed up for.
However, those blackened oven racks aren't just an eyesore. Over time, that built-up grease can start to smoke, affecting the flavor of your food and even posing a minor fire risk. But here’s the good news: you don't have to spend hours on your hands and knees with a wire brush. At The Cleaning Ninjas Inc., we believe in the "Work Smarter, Not Harder" philosophy. That’s why we’re sharing the ultimate Ninja secret for restoring your oven racks to their former glory: the Bathtub Soak.
Why the Bathtub?
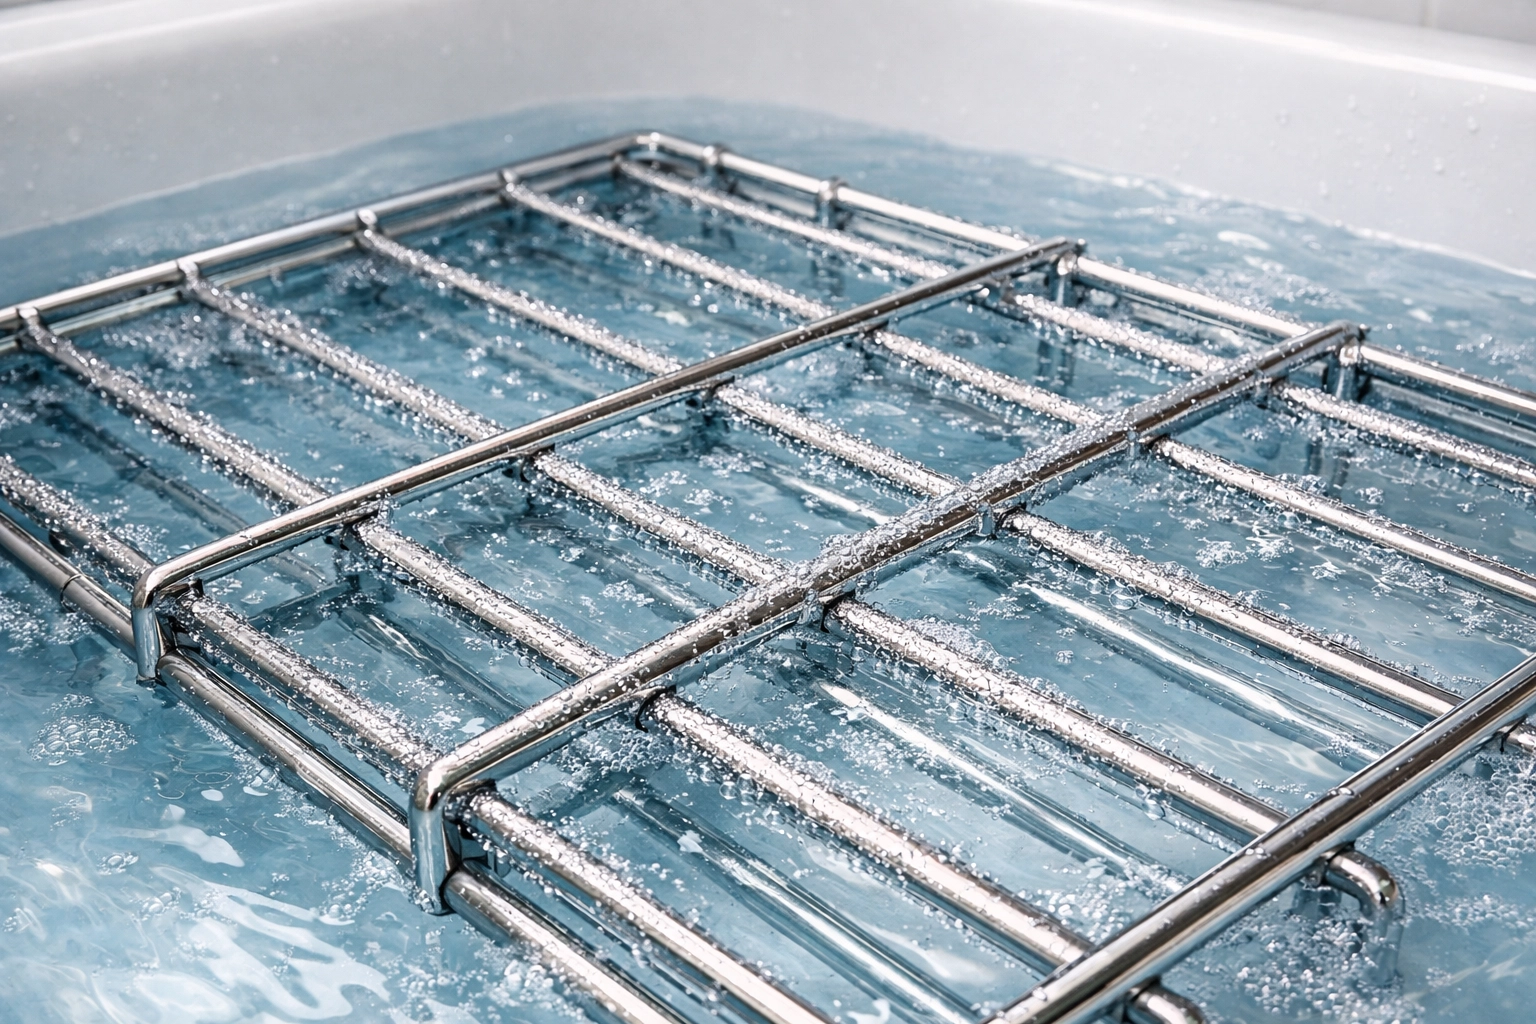
You might be wondering why we’re dragging kitchen equipment into the bathroom. The answer is simple: space. Most kitchen sinks are far too small to fit a standard oven rack comfortably. You end up with one half soaking while the other half drips grease onto your counters. It’s a mess.
The bathtub provides the perfect "vessel" to fully submerge your racks, allowing the cleaning agents to work their magic on every single wire simultaneously. It turns a high-effort scrubbing job into a low-effort waiting game.

Step 1: Protect Your Tub
Before we get into the cleaning solutions, we have to talk about protection. Whether you have a porcelain, acrylic, or fiberglass tub, those metal racks can be sharp. If you just toss them in, you risk scratching the finish or leaving behind rust stains.
To prevent this, lay down two old bath towels at the bottom of the tub. This creates a soft barrier that protects your tub and keeps the racks from sliding around. Make sure the towels are ones you don't mind getting a bit dirty (though the grease will mostly wash out later!).
Step 2: The Dishwasher Tab Method (Our Top Recommendation)
If you want the fastest, most effective results, reach for your dishwasher tabs. Research shows that dishwasher tabs are specifically formulated to break down baked-on food and grease, and they are significantly more powerful than standard dish soap for this specific task.
The Process:
- The Pre-Dissolve: Take three or four high-quality dishwasher tabs and place them in a small bucket or bowl. Pour boiling water over them and stir until they are completely dissolved. This "activates" the cleaning agents so they can hit the ground running.
- The Submerge: Place your oven racks on top of the towels in the tub.
- The Hot Fill: Fill the bathtub with just enough hot water to completely cover the racks.
- The Addition: Pour your dissolved dishwasher tab mixture into the tub water and give it a quick swirl.
- The Wait: Let them soak for at least 3 hours. If your racks haven't been cleaned since the turn of the decade, feel free to leave them in there for 5 or 6 hours.
Because dishwasher tabs contain concentrated degreasers and enzymes, they do the heavy lifting for you. In most cases, after 3 hours, the grease will simply slide off with a gentle wipe.
Step 3: The Dish Soap Alternative
Don't have dishwasher tabs on hand? No problem. You can still get great results using a high-quality grease-cutting dish soap, like Dawn.
The Process:
- The Soap Layer: Squirt a generous amount of dish soap directly onto the racks before you fill the tub.
- The Soak: Fill the tub with the hottest water your faucet can provide.
- The Overnight Strategy: Unlike the dishwasher tab method, the dish soap method usually requires more time. We recommend letting them soak overnight. This gives the soap enough time to penetrate the thick layers of carbonized grease.
Step 4: The Scrubbing Phase
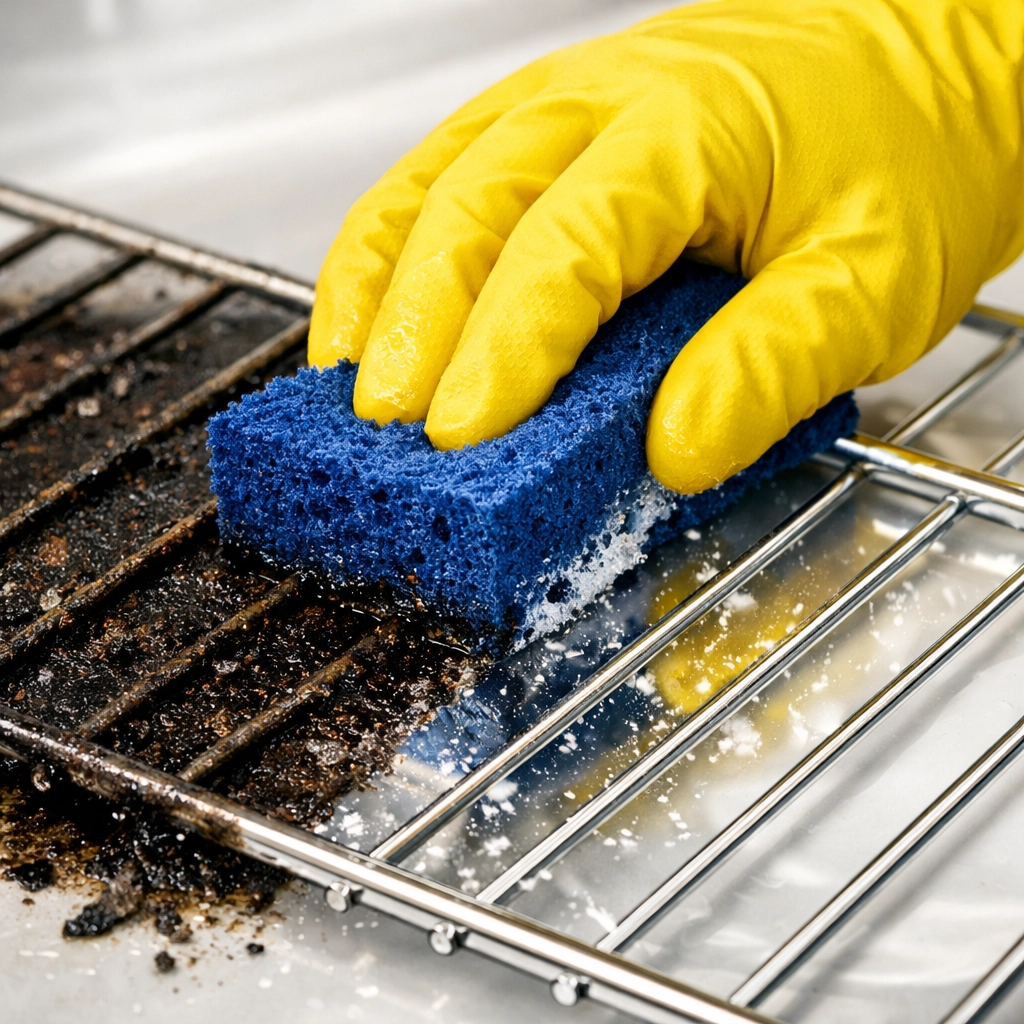
After the soak, it’s time for the "revival." Even with the best soaking method, there might be a few stubborn spots in the corners where the wires meet.
Grab a non-scratch scouring pad or a medium-duty sponge. Since the soak has already loosened the bond between the metal and the grease, you shouldn't need much "elbow grease" at all. The gunk should wipe away like soft butter. If you encounter a particularly stubborn burnt-on bit, you can use a bit of extra dish soap directly on your sponge to finish it off.
What to Avoid: The "Baking Soda Volcano" Myth
We’ve all seen the viral videos: mix baking soda and vinegar and watch the bubbles "explode" the dirt away. While this looks cool and is a fun science experiment for kids, it’s actually not the most effective way to clean greasy oven racks.
Baking soda is a mild abrasive, which is great for light cleaning, but it struggles with deep-set grease. Furthermore, the chemical reaction between baking soda (a base) and vinegar (an acid) mostly produces water and carbon dioxide. Once the fizzing stops, you’re essentially left with salty water. It won’t break down grease nearly as well as the surfactants found in dishwasher tabs or professional-grade dish soap. Save the vinegar for your salad dressing and stick to the tabs for your racks!
Rinse, Dry, and Reinstall
Once the racks are sparkling, rinse them thoroughly with fresh water to remove any soapy residue. It’s important to dry them completely with a clean towel before putting them back in the oven. Leaving them damp can lead to rust over time, especially if the chrome plating on the racks has been worn down.
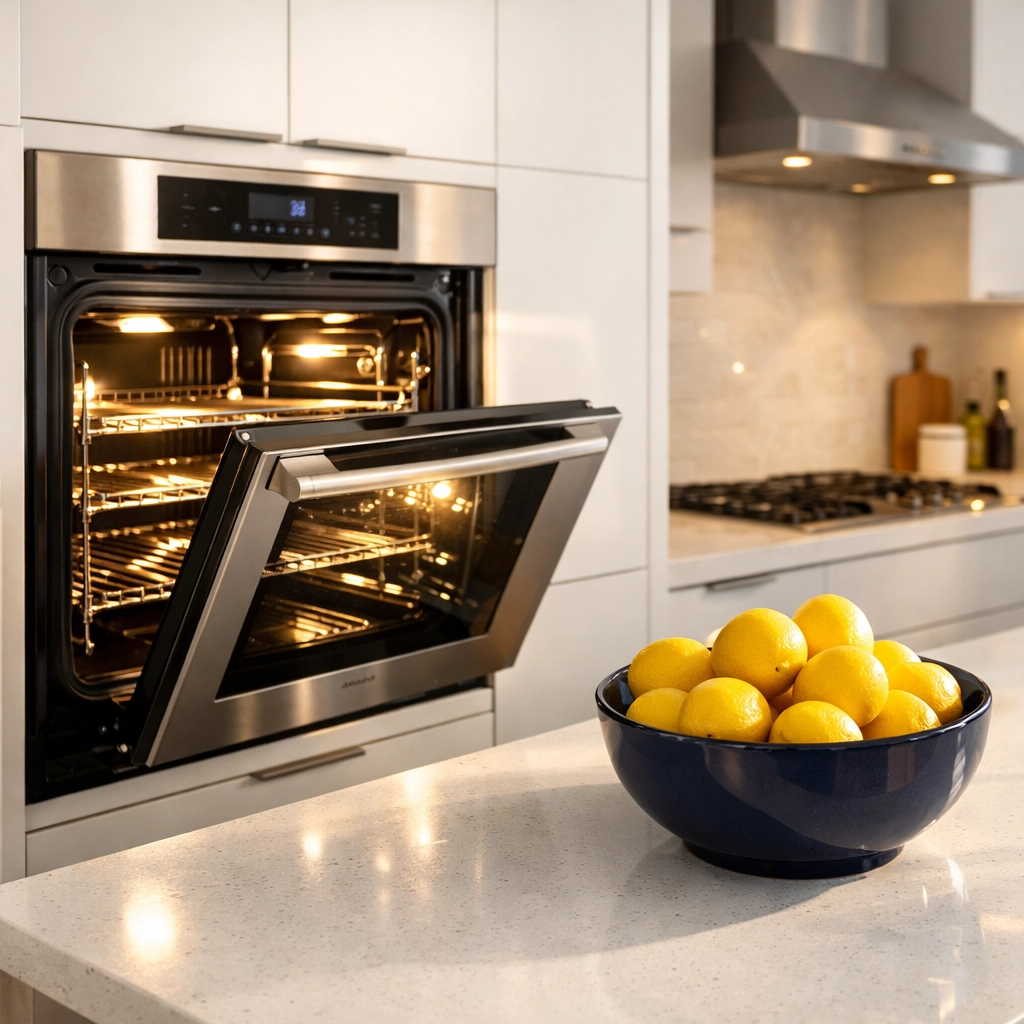
While the racks are out of the oven, this is also a great time to give the inside of your oven a quick wipe-down. Since the racks aren't in the way, you have full access to the walls and floor of the oven cavity.
Pro-Tip: The "While You Wait" Ninja Strategy
Cleaning is all about efficiency. While your oven racks are soaking in the tub, why not tackle another "ninja" task? Use that 3-hour window to declutter a kitchen junk drawer or organize your spice rack. By the time the racks are ready to be rinsed, you’ll have checked two or three things off your list!
If you’re feeling overwhelmed by the sheer volume of cleaning tasks in your home, remember that you don’t have to do it alone. At The Cleaning Ninjas Inc., we specialize in taking the stress out of home maintenance. From deep kitchen cleans to regular upkeep, our team is trained to handle the grimiest jobs with a friendly smile. Check out our services to see how we can help you reclaim your weekends.
Maintaining the Sparkle
To keep your oven racks looking like new, try to give them a quick soak once every few months. If you catch the grease before it becomes "baked-on," a simple 10-minute soak in the sink with some dish soap is usually all it takes.
Summary Checklist for Oven Rack Revival:
- Gather Supplies: Old towels, dishwasher tabs (or dish soap), and a non-scratch sponge.
- Prep the Tub: Lay down towels to prevent scratches.
- Dissolve & Soak: Use boiling water for tabs; use hot tap water for soap.
- Wait Patiently: 3 hours for tabs, or overnight for soap.
- Wipe & Rinse: Use a sponge for any remaining bits and rinse well.
- Dry Thoroughly: Prevent rust by drying before re-installing.
Cleaning your oven doesn't have to be a nightmare. With the bathtub soak method, you can transform those grimy racks back into gleaming metal with almost zero effort. It’s all about using the right tools and letting chemistry do the hard work for you.
Happy cleaning, and remember: if the grease ever feels like it’s winning the battle, The Cleaning Ninjas are always here to back you up! For more professional cleaning advice or to book a session, visit our blog or contact us today.


