

Let’s be honest for a second: there is nothing quite as frustrating as finishing a deep clean of your bathroom, stepping back to admire your handiwork, and seeing that stubborn, rusty, or grayish ring right at the waterline of your toilet. It doesn’t matter how much floral-scented spray you use or how shiny the mirrors are; that ring makes the whole room feel a little bit "off."
At The Cleaning Ninjas Inc, we hear about this struggle all the time. People often think it’s a sign that they aren't cleaning enough, but here’s the truth: it usually has nothing to do with hygiene and everything to do with chemistry. If you live in an area with hard water, you are basically in a constant battle with geology.
I’m Jean, and today I’m going to walk you through the ultimate guide to defeating that toilet ring once and for all. We’re going to cover the natural DIY methods, the heavy-duty mechanical tools, and the professional "Ninja" secrets that we use to get bathrooms looking brand new.
Understanding the Enemy: What is Hard Water?
Before we grab the scrub brushes, we need to know what we’re fighting. "Hard water" is just water that has a high mineral content: specifically calcium and magnesium. When water sits in your toilet bowl, it eventually evaporates or reacts with the air, leaving those minerals behind. Over time, these minerals bond to the porcelain, creating a rough surface.
Once that rough surface exists, it starts to trap everything else: dust, tiny particles, and even iron (which is why some rings look orange or brown). This is why a standard toilet brush often fails. You aren't just cleaning away "dirt"; you are trying to dissolve or chip away at actual rock formations.
Step 1: The Tactical Prep
You can’t win a battle without the right setup. The biggest mistake people make when trying to remove a toilet ring is trying to clean through a full bowl of water. The water dilutes your cleaning agents and prevents you from getting a good angle on the stain.
- Lower the Water Level: Locate the water shut-off valve behind the toilet and turn it clockwise until it stops.
- The Big Flush: Flush the toilet. Since the water is off, the tank won't refill, and the bowl will remain mostly empty.
- The Plunge (Optional): If there’s still too much water at the bottom, use a plunger to push the remaining water down the drain. You want that ring fully exposed to the air.
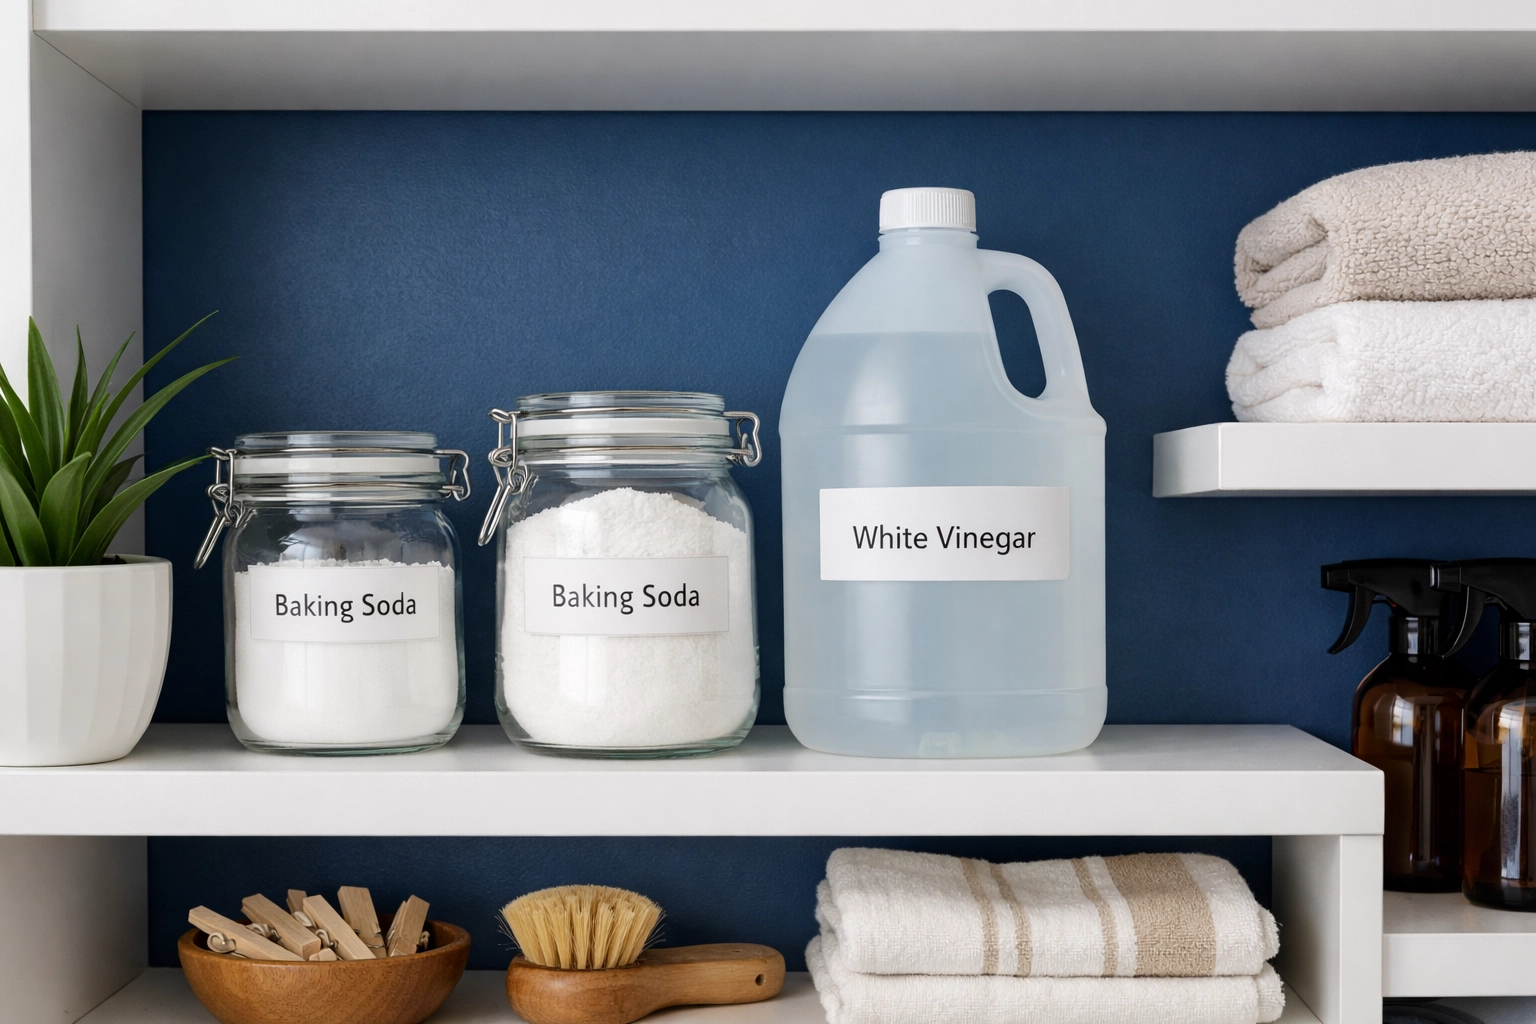
Method 1: The Vinegar and Baking Soda Combo (The Gentle Ninja)
If you prefer to keep things eco-friendly and avoid harsh fumes, the pantry is your best friend. This method is great for light to medium rings and regular maintenance.
The Strategy:
- The Soak: Pour about 1 to 2 cups of white distilled vinegar into the toilet bowl. Make sure you splash it up onto the ring itself. Let it sit for at least 30 minutes. The acetic acid in the vinegar starts to break down the calcium bonds.
- The Fizz: After the soak, sprinkle a generous amount of baking soda over the ring. It’s going to fizz: that’s the reaction working to lift the minerals.
- The Scrub: Use your toilet brush to scrub the paste into the ring. Let it sit for another 15 minutes.
- The Rinse: Turn the water back on, let the tank fill, and flush.
Pro Tip: For really stubborn spots with this method, you can make a thick paste of vinegar and baking soda in a small bowl and "paint" it onto the ring, letting it sit overnight.
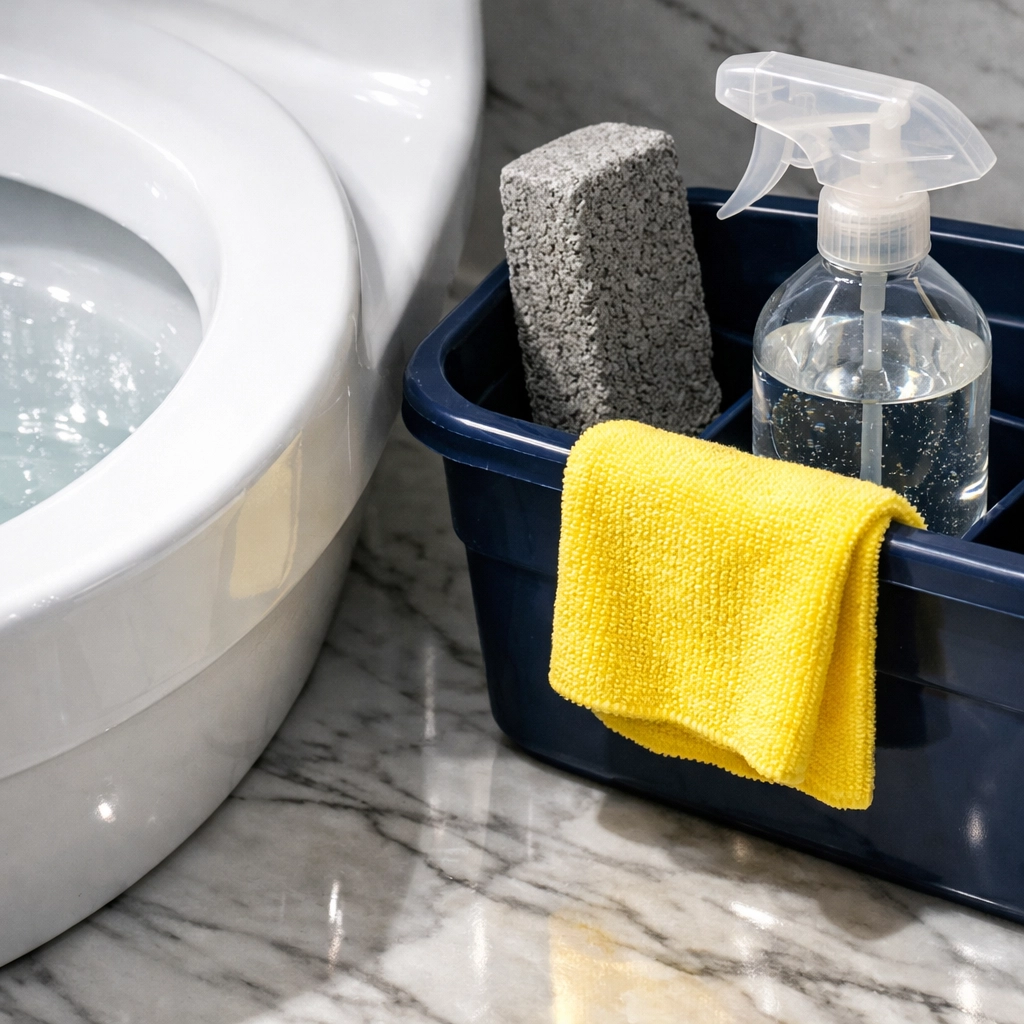
Method 2: The Pumice Stone (The Mechanical Warrior)
When the chemical approach isn’t enough, it’s time to get physical. A pumice stone is a classic tool for porcelain, but it comes with a huge "Proceed with Caution" label.
The Rules of the Stone:
- Never Use a Dry Pumice Stone: This is the golden rule. A dry stone will scratch your porcelain, and once porcelain is scratched, it will stain ten times faster in the future. Always soak the stone in water for several minutes before using it.
- Keep the Surface Wet: Keep a spray bottle of water handy or keep dipping the stone in the toilet water.
The Strategy:
- Wet the stone thoroughly.
- Gently rub the stone over the ring. You don’t need to press hard; let the abrasive nature of the stone do the work.
- You’ll see a grey paste forming: this is good! It means the stone is grinding away the mineral buildup.
- Rinse and check your progress.
Method 3: The Ninja Secret (Drywall Screen + Bar Keepers Friend)
This is the method we often recommend when someone calls us saying they’ve tried everything and nothing works. It’s incredibly effective, but it requires a specific set of tools you might have to grab from the hardware store.
The Strategy:
- Bar Keepers Friend: This cleaner contains oxalic acid, which is a miracle worker for rust and mineral deposits. Sprinkle the powdered version all around the dry bowl (after you’ve lowered the water).
- Drywall Sanding Screen: Go to the hardware store and look for "fine-grit drywall sanding screens." These are mesh-like sheets used for smoothing plaster. Unlike sandpaper, they don't fall apart when wet, and the mesh design allows the "gunk" to pass through rather than clogging the paper.
- The Scrub: Cut a small square of the screen. Wet it, and use it to scrub the Bar Keepers Friend into the ring.
- The Result: Usually, even the most "permanent" looking rings disappear in under five minutes with this combo.
Warning: Do NOT use regular sandpaper. It will destroy the finish of your toilet. Only use fine-grit drywall screens, and always test a small, inconspicuous spot first.
What NOT to Do: The Common Pitfalls
We’ve seen a lot of "cleaning hacks" on the internet that actually make the problem worse. Here are a few things to avoid:
- Don't Use Bleach on Rust: If your ring is orange or brown (iron-based), bleach can actually oxidize the iron and make the stain permanent. Bleach is a disinfectant, not a descaler.
- Never Mix Chemicals: This is a safety must. Never mix vinegar with bleach (it creates toxic chlorine gas) and never mix commercial bowl cleaners with anything else.
- Avoid Metal Scrapers: Using a screwdriver or a metal putty knife to "chip" away at a ring is a recipe for a cracked toilet or a permanently scarred bowl.
Prevention: Keeping the Ring at Bay
Once you’ve done the hard work of defeating the ring, you don’t want to have to do it again next month. Here is how the pros keep things sparkling:
- Weekly Vinegar Spritz: Keep a spray bottle of 50/50 water and vinegar in the bathroom. Once a week, give the bowl a spray and a quick brush.
- Check Your Flapper: Sometimes a slow leak from the tank into the bowl keeps water constantly running over the same spot, which accelerates mineral buildup. If you hear your toilet "ghost flushing," fix the flapper!
- Consider a Water Softener: If every fixture in your house is struggling with scale, it might be time to look into a whole-home water softening system. It’s an investment, but it saves your plumbing (and your sanity).
Why Call the Ninjas?
Sometimes, life just gets in the way. Maybe you’re moving into a new place where the previous tenants left a "fossilized" ring, or maybe you just don't have the time to go hunting for drywall screens at the hardware store.
That’s where we come in. At The Cleaning Ninjas Inc, we have the tools, the experience, and the "ninja" techniques to handle the tough stuff so you don't have to. We take pride in restoring bathrooms to their former glory, giving you a clean space to start your day.
If you’re ready to let someone else handle the scrubbing, check out our services to see how we can help. Or, if you want to learn more about the team behind the masks, head over to our About Us page.
Final Thoughts
A toilet ring is a nuisance, but it isn't unbeatable. Whether you go the natural route with vinegar or the heavy-duty route with a pumice stone, the key is patience and using the right tool for the job. Remember: keep it wet, don't use bleach on rust, and don't be afraid to call in the professionals if the job is bigger than you expected.
Happy cleaning, and may your porcelain always be bright! For more tips on keeping your home in tip-top shape, stay tuned to our blog. We're always sharing the latest tricks of the trade to help you live in a cleaner, happier home.

