

Let’s be real for a second, how often do you actually think about your mattress? We spend about a third of our lives sprawled out on it, dreaming of vacations or stressing about tomorrow’s to-do list. But while we’re busy sleeping, our mattresses are busy collecting… well, stuff. We’re talking dead skin cells, sweat, dust mites, and whatever pet dander follows your furry friends onto the bed. It’s not exactly the most glamorous thought, is it?
Most of us are great at washing our sheets once a week (or at least trying to!), but the mattress itself often gets ignored. Over time, those invisible "guests" can lead to funky odors and even trigger allergies. But don't worry: you don't need expensive equipment or harsh chemicals to hit the reset button on your bed. Today, we’re diving into a classic "Ninja Tip" that we swear by here at The Cleaning Ninjas Inc: the Baking Soda Deep Clean. It’s simple, it’s cheap, and it’s pure magic for your sleep sanctuary.
Why Baking Soda?
You probably have a box of baking soda sitting in the back of your pantry right now, and while it's great for cookies, it’s even better for cleaning. Baking soda (sodium bicarbonate) is a natural odor neutralizer. Unlike air fresheners that just mask smells with heavy perfumes, baking soda actually works on a molecular level to balance pH and absorb the acids that cause odors.
Beyond just smells, baking soda is fantastic for absorbing moisture. If you live in a humid climate or tend to "run hot" while you sleep, your mattress can trap moisture, which eventually leads to that stale, musty smell. A good dusting of baking soda pulls that moisture out, leaving the fabric fresh and dry. Plus, it’s non-toxic and safe for kids and pets, making it the ultimate tool for a healthy home.
Step 1: Strip the Bed and Start the Laundry
You can’t deep clean a mattress if it’s covered in layers of linens. Start by stripping everything off: pillows, pillowcases, sheets, mattress pads, and protectors.
While you’re working on the mattress, toss all your bedding into the washing machine. Use the hottest setting recommended on the care labels to kill off any lingering dust mites or bacteria. If it’s a sunny day, try to hang your pillows or comforter outside for a bit; the UV rays from the sun act as a natural disinfectant. By the time you’re done with the mattress, you’ll have fresh, warm sheets ready to go.
Step 2: The Initial Vacuum (The "De-Gunking" Phase)
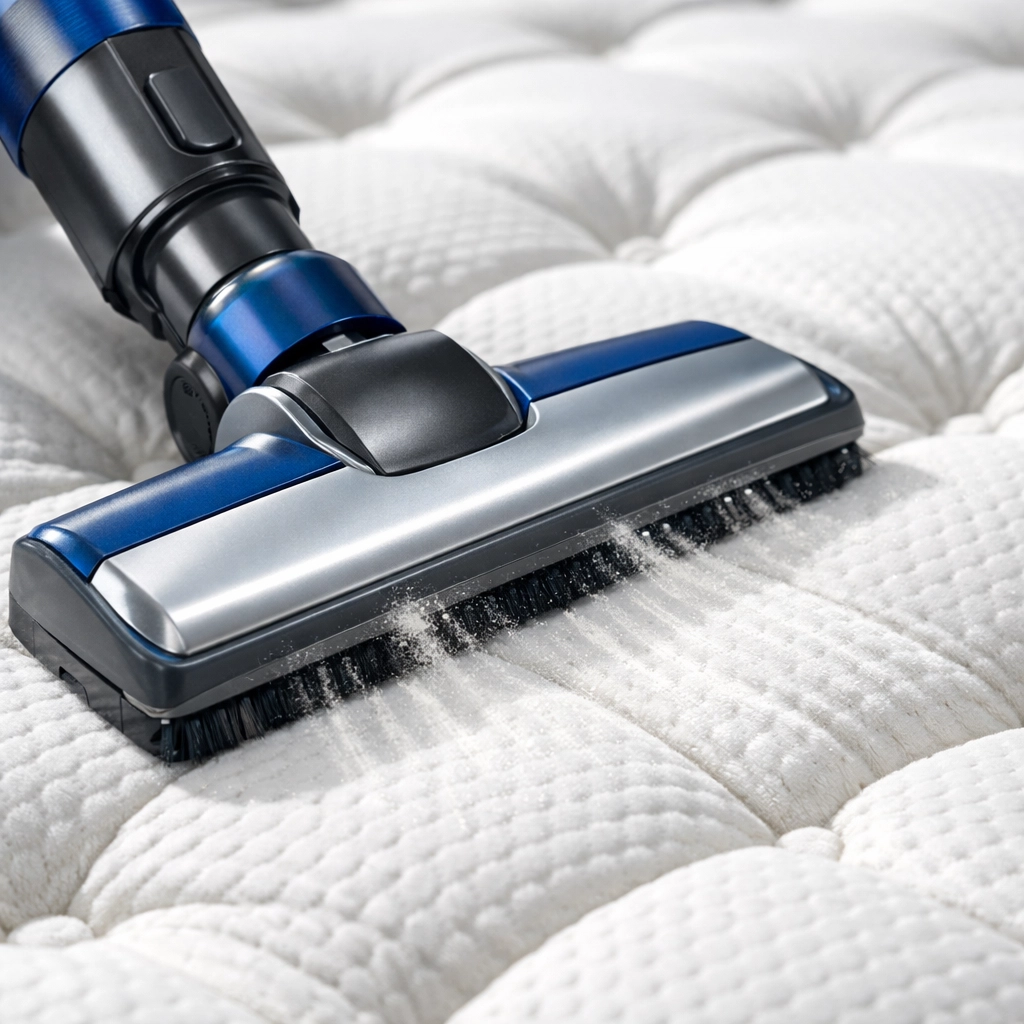
Before we bring out the "magic powder," we need to clear the surface. Grab your vacuum cleaner and use the upholstery attachment. This step is crucial because it removes the loose debris that has settled into the fabric.
Don't just give it a quick once-over. You want to be methodical here. Start at one end of the mattress and move in long, overlapping strokes. Pay extra attention to the seams, tufts, and edges. These little crevices are where dust, hair, and skin cells love to hide. If your vacuum has a HEPA filter, even better: that will ensure the dust you’re picking up doesn't just get blown back out into your bedroom air.
Step 3: Deodorize with the Ninja Secret
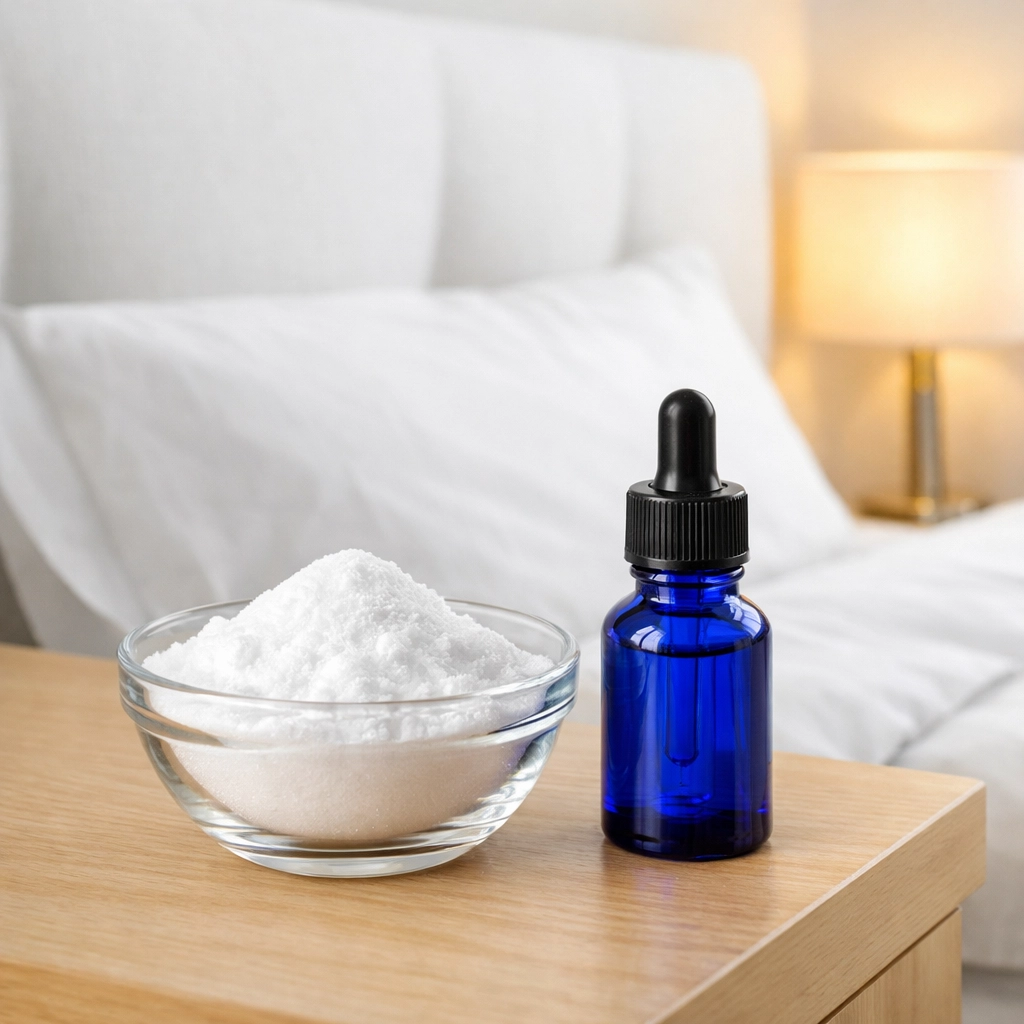
Now for the fun part. Grab your baking soda. For an average queen-sized mattress, you’ll likely use about half a box to a full box.
Pro Tip: If you want to take your mattress game to the next level, mix about 5 to 10 drops of your favorite essential oil into the baking soda before you sprinkle it. Lavender is a fan favorite because it promotes relaxation and better sleep, but eucalyptus or peppermint are great for a "crisp" feeling. Put the baking soda and oil in a jar, give it a good shake to break up any clumps, and you’re ready.
Sprinkle the baking soda over the entire surface of the mattress. You can use a kitchen sifter to get a nice, even coating. If you notice any particularly dingy areas or spots that smell a little stronger, feel free to use a soft-bristled brush or a dry sponge to gently work the powder into the fabric. This helps the baking soda get deeper into the fibers where the odors are trapped.
Step 4: The Waiting Game
This is the hardest part: waiting. For the baking soda to really do its job, it needs time to sit. At a minimum, let it hang out for about 30 to 60 minutes. However, if you really want that "deep clean" feel, leave it for 3 or 4 hours.
This is the perfect time to tackle other tasks around the house or check out more cleaning tips on our blog. If you can open the windows in your bedroom while the baking soda is sitting, do it! The combination of the baking soda drawing out odors and the fresh air circulating will leave your room feeling incredible.

Step 5: The Final Vacuum
Once the time is up, it’s time to remove the powder. Use your vacuum’s upholstery attachment again. This time, move a bit slower to ensure you’re sucking up all that powder and the odors it has absorbed.
Check your vacuum’s bag or canister frequently. Baking soda is very fine, and it can fill up a vacuum quickly. A quick word of caution: if you have a very high-end vacuum or one with a sensitive motor, check your manual. Some manufacturers recommend against vacuuming large amounts of fine powder like baking soda because it can bypass the filter. If you're worried, just go slow and empty the bin often.
Dealing with Stubborn Stains
If you discover a stain while you’re cleaning, don't panic. For most fresh stains, a simple mixture of dish soap and water works wonders. If the stain is older (like a coffee spill or a yellowing sweat stain), you might need something a bit stronger.
A paste made of baking soda, salt, and a tiny bit of water can be applied to the stain, left to dry, and then brushed off. For organic stains, an enzyme-based cleaner is usually your best bet. Just remember: mattresses are basically giant sponges. Never soak the mattress. Use as little liquid as possible and make sure it is completely dry before you put your sheets back on, or you’ll risk mold and mildew growth.

How Often Should You Do This?
At The Cleaning Ninjas Inc, we recommend doing this baking soda deep clean at least twice a year: maybe when the seasons change. It’s a great "spring cleaning" ritual. If you have pets that sleep on the bed or if you suffer from bad seasonal allergies, you might want to do it every three months.
In between these deep cleans, a quick vacuum every time you change your sheets will go a long way in keeping the dust levels down. If you want to learn more about how we handle professional-grade cleaning for the rest of your home, feel free to browse our services.
The Power of a Mattress Protector
If you want to keep your mattress in "like-new" condition for years, the best thing you can do is invest in a high-quality, waterproof (but breathable) mattress protector. This acts as a barrier against spills, sweat, and skin cells. Instead of deep cleaning the mattress itself every month, you can just pop the protector in the wash with your sheets. It’s a total game-changer for mattress longevity.
Sleep Better, Breathe Easier
There’s nothing quite like climbing into a bed that you know is truly clean. It’s not just about the smell; it’s about the peace of mind knowing you’re not sharing your pillow with a year’s worth of dust. This baking soda trick is one of the easiest ways to improve your home’s hygiene without breaking the bank.
If your to-do list is feeling a little overwhelming and you'd rather spend your weekend doing anything but cleaning, we’re here to help. At The Cleaning Ninjas Inc, we love turning "chaos into calm" for our clients. You can learn more about us and our mission to provide top-notch service with a friendly, local touch.
Until next time, happy cleaning, and sleep tight! For more home hacks and ninja secrets, keep an eye on our blog.


