

Let’s be honest: when you’re doing your weekly cleaning rounds, the radiator is usually the last thing on your mind. It sits there, quietly keeping you warm all winter, while slowly turning into a Five-Star hotel for dust bunnies. You might wipe down the front every now and then, but have you ever peeked inside those narrow gaps or behind the unit? It’s a whole different world back there.
At The Cleaning Ninjas Inc, we’ve seen our fair share of "dust-clogged" heaters. It’s not just an aesthetic issue; those layers of grey fluff actually act as an insulator, making your heating system work harder and costing you more money on your energy bills. Plus, for anyone with allergies, a dusty radiator is basically a slow-motion pollen and dander distributor.
If you’re ready to tackle those hard-to-reach spots like a pro, you’ve come to the right place. We’re diving deep into the world of radiator dusting, specifically focusing on the narrow tools and "ninja" hacks that make this annoying chore a breeze.
Why Radiators Are Such Dust Magnets
To beat the enemy, you have to understand it. Radiators work through a process of convection. As the air around the radiator warms up, it rises. This creates a vacuum effect that pulls cooler air: along with all the dust, pet hair, and lint floating near the floor: up into the radiator.
While the warm air moves back out into the room, the heavy dust particles get trapped in the narrow fins and the gap between the unit and the wall. Over time, this builds up into a thick "blanket" that traps heat. If you’ve ever noticed a faint "burnt" smell when you first turn the heat on in the autumn, that’s years of accumulated dust getting toasted.
The Essential Ninja Tool Kit
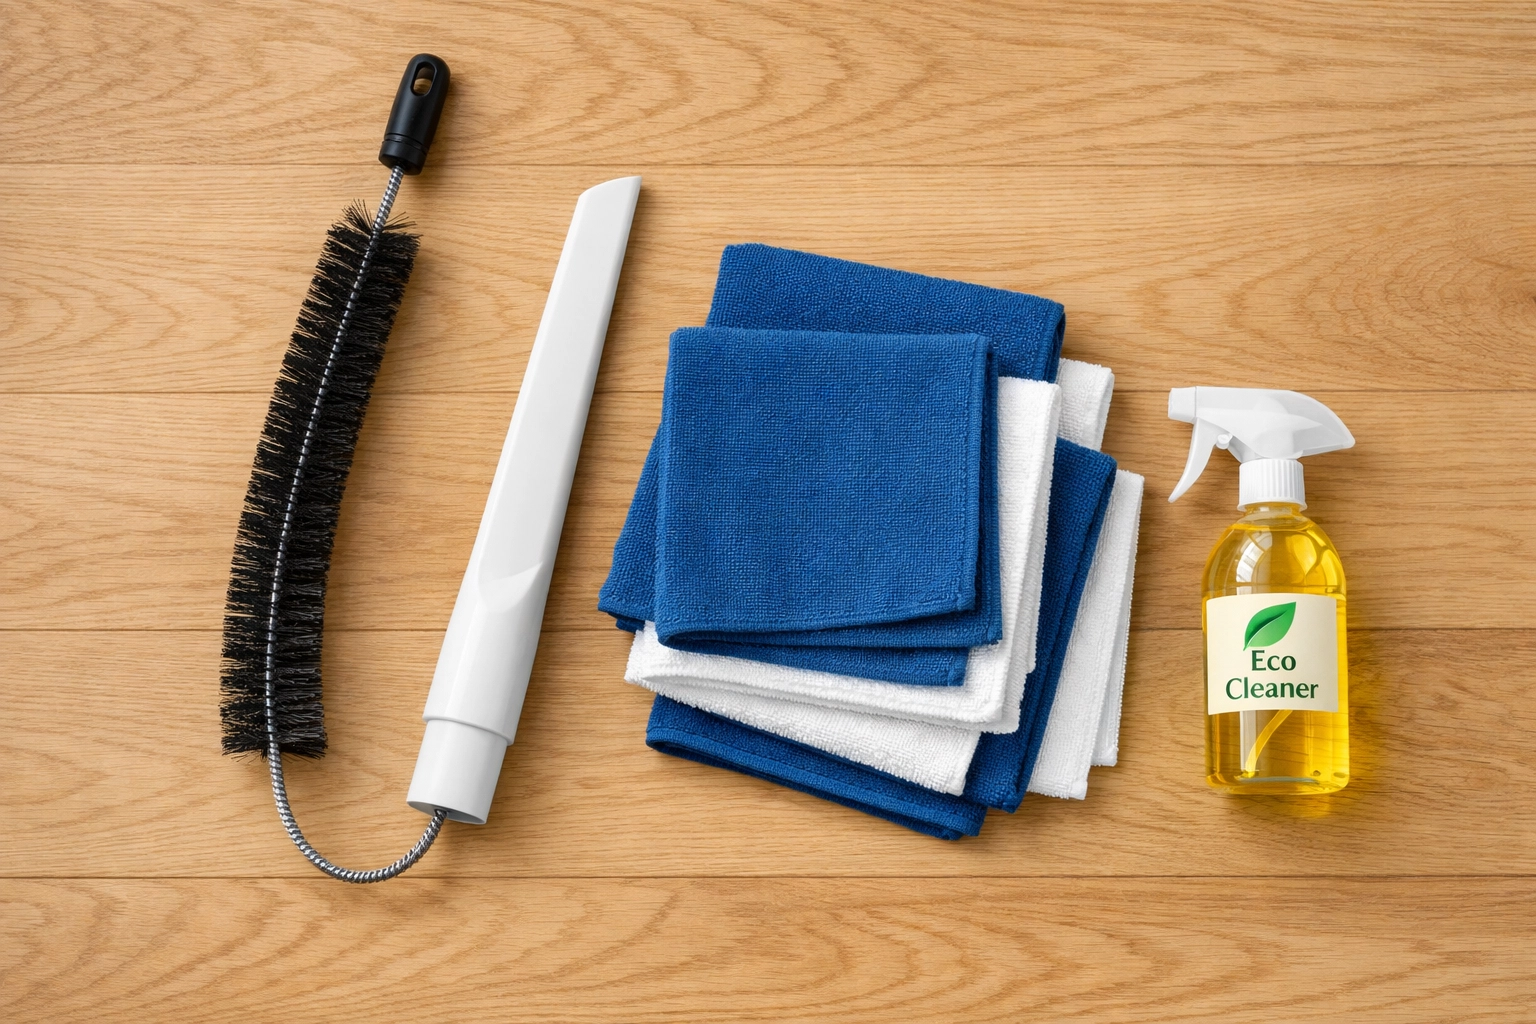
You can’t just go into this with a standard feather duster and hope for the best. To really get into those nooks and crannies, you need tools that are slim, flexible, and long. Here is what we recommend keeping in your cleaning arsenal:
- A Radiator Brush: This is the gold standard. It’s a long, flexible wire brush with soft bristles that can snake down the full height of your radiator.
- A Vacuum with a Crevice Tool: Most vacuums come with that long, skinny attachment. It’s your best friend for catching the "easy" dust at the top and bottom.
- A Hair Dryer: This might sound weird, but it’s one of our favorite secret weapons.
- Microfiber Cloths: These are essential for the final wipe-down and for DIY tool-making.
- A Yardstick or Long Spatula: If you don't want to buy a specialized brush, you can DIY one.
Step 1: Safety First (and Mess Prevention)
Before you start poking around with brushes, make sure your heating is turned off. You don’t want to be working around hot metal, and more importantly, you don't want the convection currents active while you're trying to settle the dust.
Pro Tip: Dusting a radiator can get messy. Before you begin, lay a damp towel or some old newspapers directly under the radiator. This will catch all the clumps of dust you push out from the top, preventing them from floating across your clean floors.
The "Ninja" Technique: Using Narrow Tools
If you have a convector radiator (the ones with the zig-zagging metal fins inside), a standard cloth won't do anything. You need to go vertical.
Using the Radiator Brush:
Take your long-handled radiator brush and start at the top. Push it down through each individual gap in the fins. Move it up and down vigorously to dislodge the dust. You’ll see the "snowfall" of dust landing on the damp towel you placed earlier. Work your way from one end of the radiator to the other.
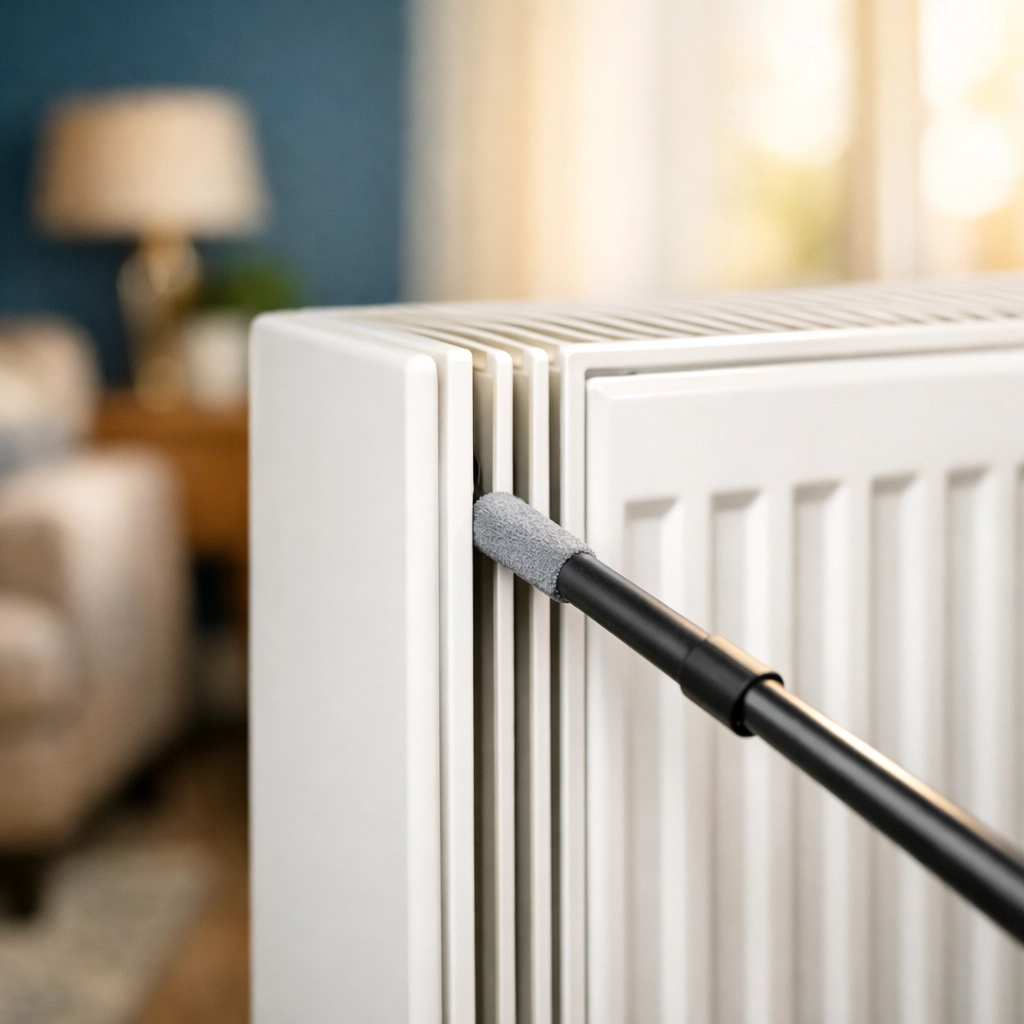
The DIY Spatula Hack:
Don’t have a specialized brush? No problem. Take a long kitchen spatula or a yardstick. Wrap a slightly damp microfiber cloth around the end and secure it tightly with a rubber band. This creates a slim, firm "wand" that can slide into those narrow gaps. The microfiber is great because the static charge helps grab the dust rather than just pushing it around.
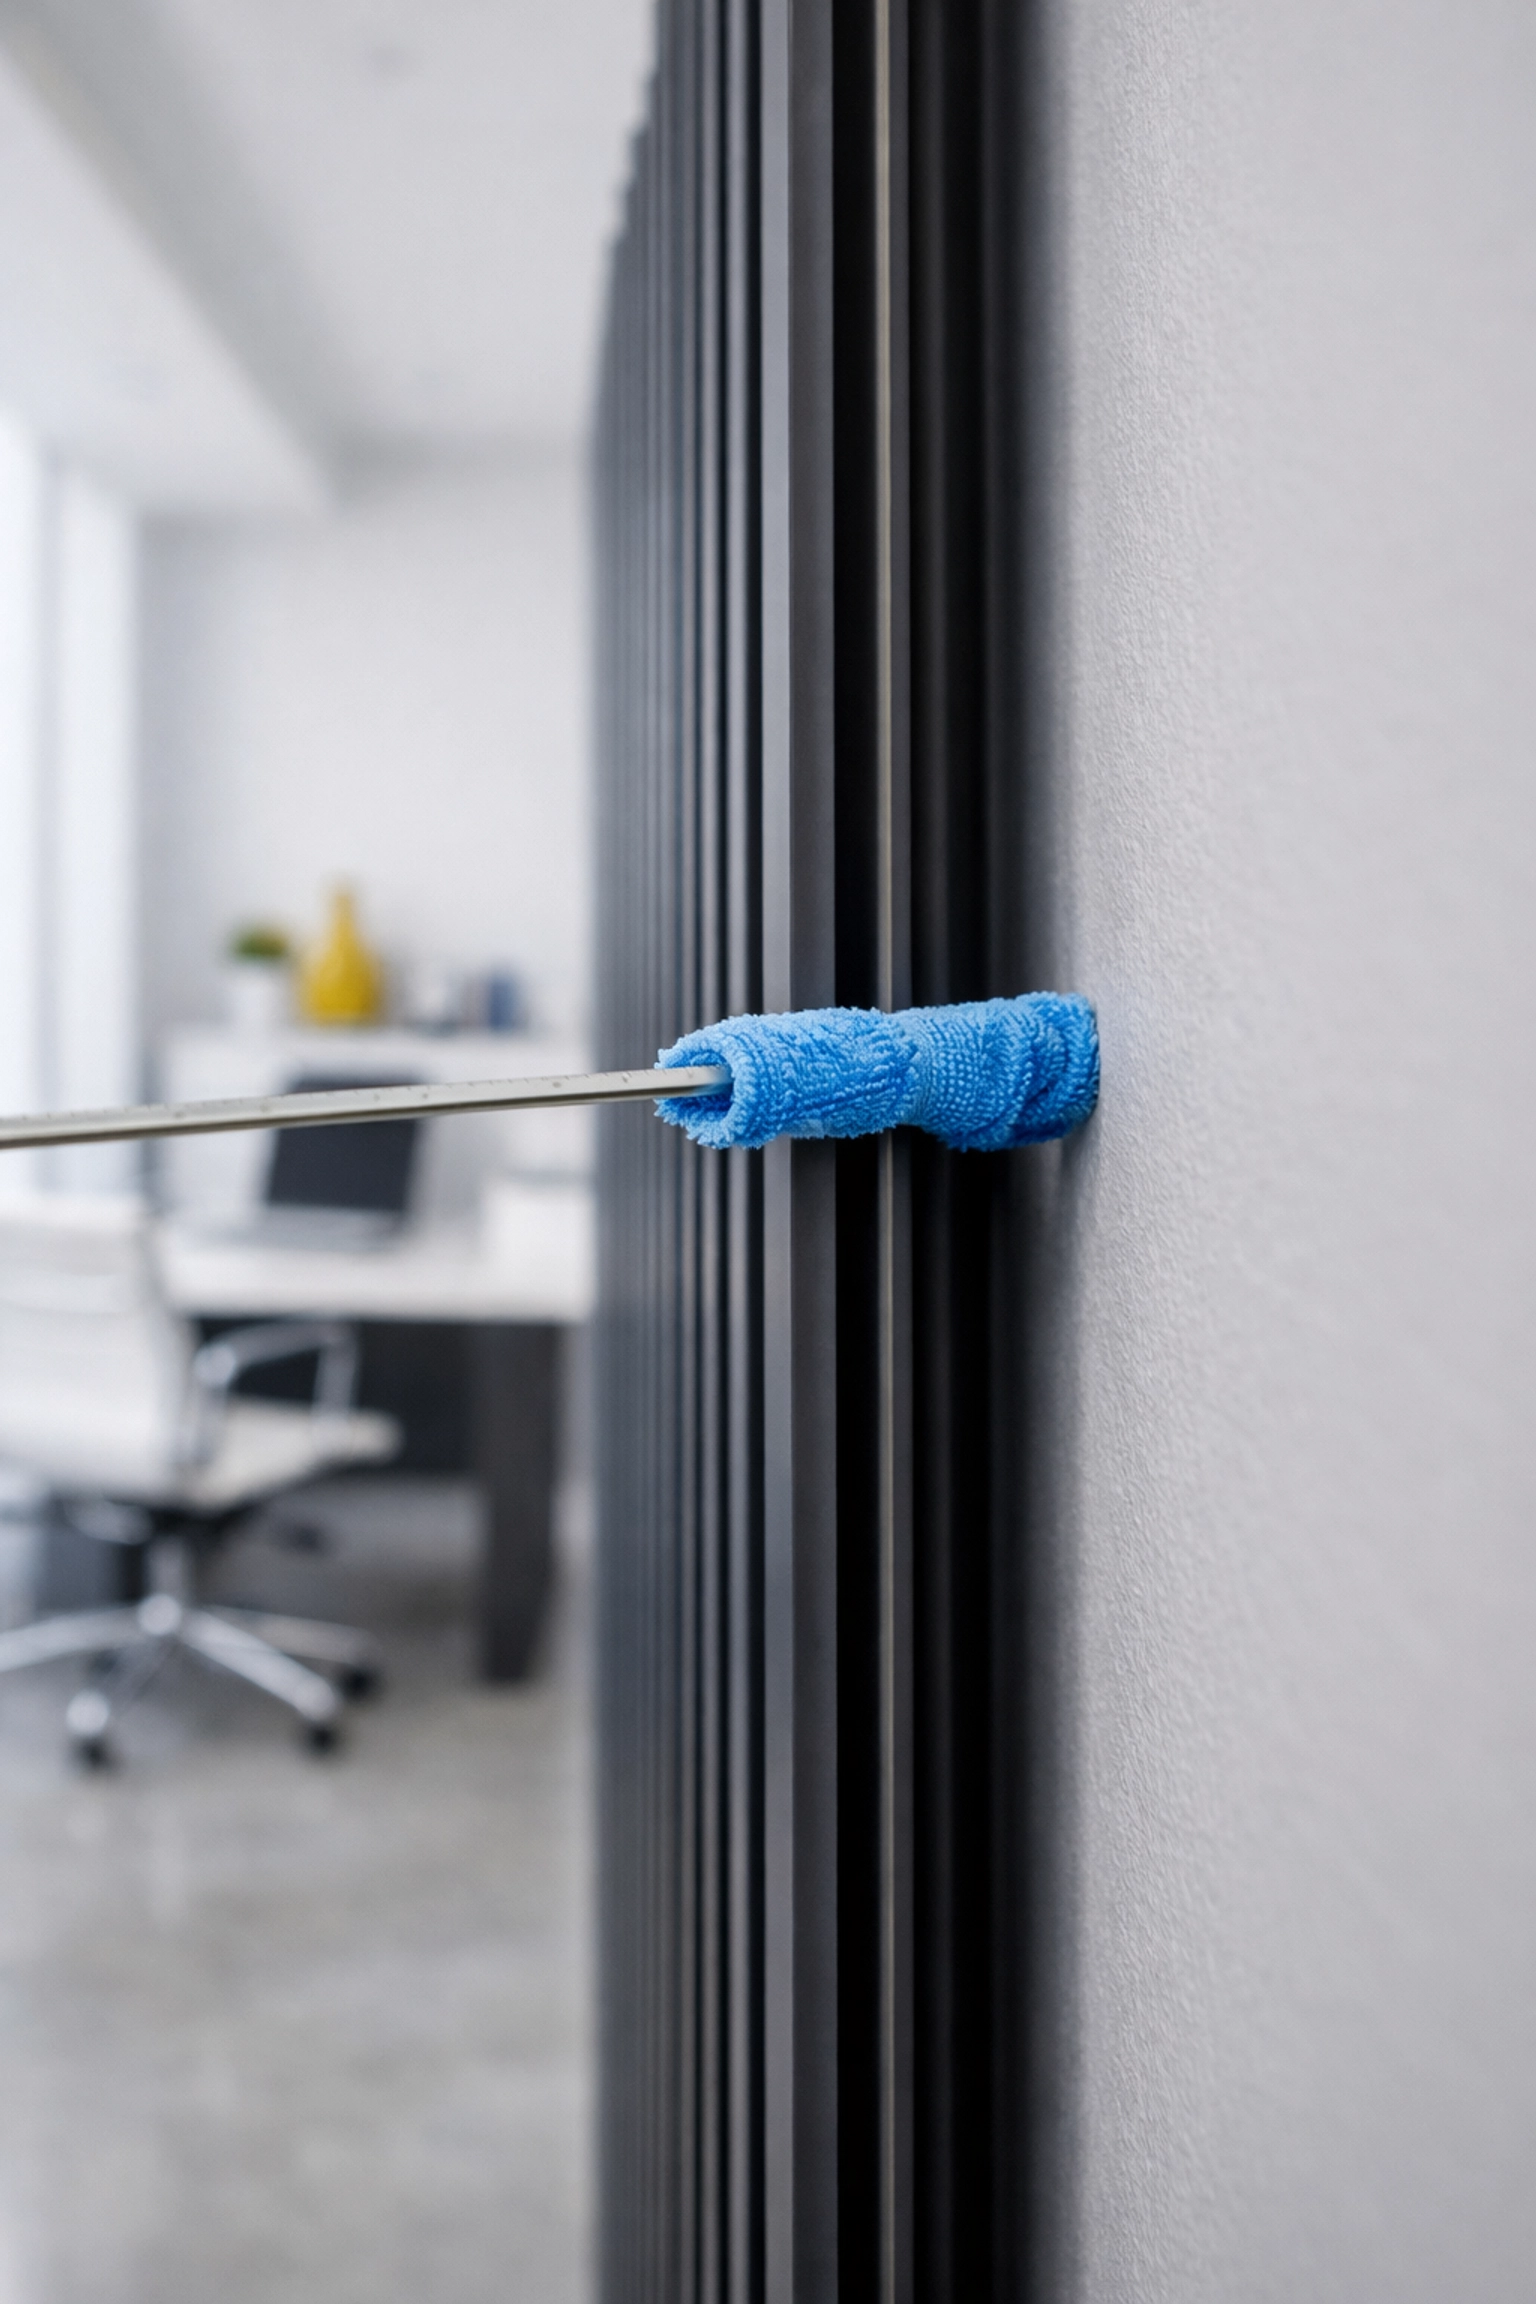
Step 2: Reaching Behind the Radiator
The gap between the back of the radiator and the wall is often the most neglected area. It’s usually too narrow for a hand but just wide enough to collect massive amounts of cobwebs.
To clean this area, use your DIY wand (the yardstick or spatula mentioned above). If the gap is particularly tight, you might need to use a "flossing" technique. Take a long piece of string or a thin cloth, drop it down behind the radiator, and have someone help you pull it back and forth from the sides to scrape the dust loose.
If you’re working solo, the long-handled brush is usually flexible enough to be bent slightly so you can reach behind the unit from the sides and the top. For more cleaning inspiration, check out our other cleaning tips.
Step 3: The Hair Dryer Trick
This is the ultimate hack for radiators that have covers or fins that are simply too tight for a brush.
Once you’ve cleared what you can with the brush, grab your hair dryer. Set it to the highest, coolest setting. Point the nozzle into the top of the radiator fins and blast it. This will force out any stubborn dust bunnies that are stuck in the middle sections where your tools couldn’t reach.
Again, make sure that damp towel is on the floor! The force of the air will send the dust flying downward, and the moisture on the towel will trap it instantly.
Step 4: The Vacuum Finish
Now that you’ve pushed most of the internal dust to the floor, it’s time to clean up the base. Use your vacuum’s crevice tool to suck up the debris from the bottom of the radiator and around the pipes.
If your radiator has a grill on the top, don’t forget to vacuum that thoroughly. Many modern radiators have removable top grills. If yours pops off easily, take it to the sink and give it a good wash with warm, soapy water. Just make sure it’s completely dry before you snap it back on.
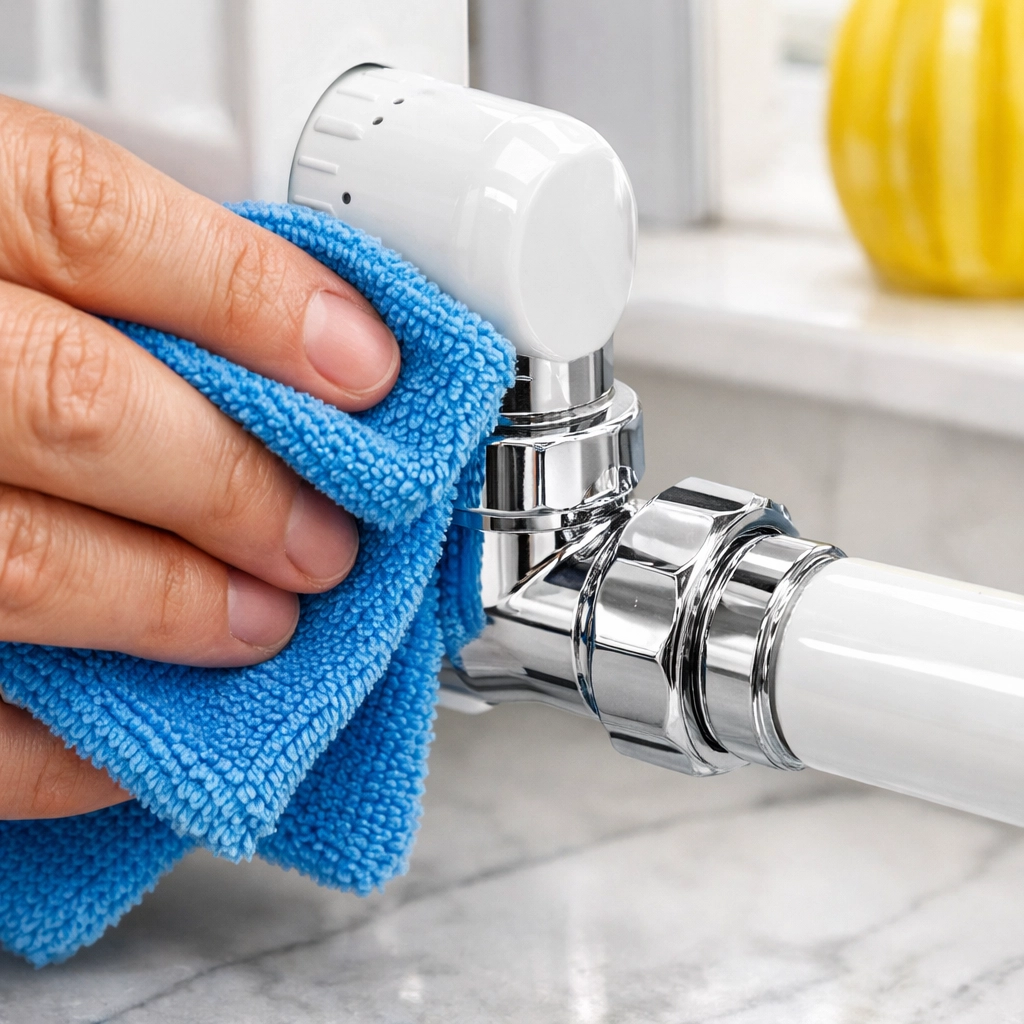
Step 5: The Exterior Wipe Down
Once the insides are pristine, give the exterior a little love. Use a mixture of warm water and a drop of mild dish soap on a microfiber cloth. Wipe down the front, the sides, and the valves.
Ninja Note: Avoid using abrasive cleaners or heavy chemicals on your radiator. They can damage the paint or finish, which might lead to rusting over time. If you have stubborn marks, a bit of baking soda paste usually does the trick without being too harsh.

Why This Matters for Your Home
At The Cleaning Ninjas Inc, we’re big believers that a clean home is a healthy home. Radiators are often overlooked, but they play a massive role in your indoor air quality. When you clear out that dust, you’re not just making the room look better: you’re ensuring that the air being circulated around your bedroom or living room is clean.
Furthermore, keeping those fins clear ensures maximum heat transfer. If your radiator is clogged, it’s like trying to heat your house through a thick sweater. By removing the "dust sweater," you allow the metal to radiate heat directly into the room, which can actually help lower your energy consumption over the long haul.
How Often Should You Do This?
You don't need to do a deep-dive radiator cleaning every week. For most homes, once or twice a year is plenty. We recommend doing it right before the cold season starts (before you turn the heat on for the first time) and again in the spring during your deep clean.
If you have pets that shed a lot, you might want to do a quick "hair dryer blast" once a month just to keep the fur from building up into a felt-like layer inside the unit.
When to Call in the Pros
Sometimes, life gets busy, or maybe you have those old-fashioned Victorian cast iron radiators that are notoriously difficult to clean. If the thought of "flossing" your heaters sounds like too much work, we’re here to help!
Our team knows all the tricks to get into those impossible spots. Whether it’s a standard apartment heater or a complex HVAC system, we bring the tools and the expertise to get it done right. You can learn more about what we do on our About Us page or browse our services to see how we can help you reclaim your weekends.
Final Thoughts
Radiator dusting isn't the most glamorous part of home maintenance, but it’s one of those small tasks that pays off in big ways. With the right narrow tools and a little bit of "ninja" ingenuity, you can reach those hard spots and keep your home warm, efficient, and dust-free.
So, grab that spatula, find an old microfiber cloth, and give your radiators the attention they deserve. Your lungs (and your wallet) will thank you! For more deep-cleaning guides and household hacks, keep an eye on our blog for the latest updates. Happy cleaning!


