Let’s talk about the hardest-working item in your kitchen: the humble sponge. It’s there for the morning coffee spills, the lunchtime crusty plate, and the "oops, I dropped the salsa" dinner disaster. But here is a little secret that might make your skin crawl: that trusty yellow-and-green scrubby might actually be the dirtiest thing in your entire home.
Yes, even dirtier than your toilet seat.
At The Cleaning Ninjas Inc, we spend a lot of time thinking about the science of clean. We’ve seen it all, and if there is one thing that separates a truly clean kitchen from one that just looks clean, it’s sponge management. Sponges are porous, they stay damp, and they are constantly in contact with food particles. It’s basically a luxury resort for bacteria.
In this guide, we’re going to dive deep into sponge safety. We’ll cover how to keep them from becoming a biological hazard, how to properly sanitize them, and: most importantly: how to know when it’s time to say a final, tearful goodbye and toss them in the trash.
The Science of the "Sponge Scuzz"
Why are sponges so prone to getting gross? It comes down to their design. A sponge is essentially a network of tiny tunnels and pockets. These are great for holding soap and water, but they are even better at trapping microscopic bits of food and moisture.
Research shows that a single used sponge can harbor around 8 million bacteria per square inch. Within just two weeks of use, that number can skyrocket. We’re talking about things like E. coli, Salmonella, and Staphylococcus. Every time you wipe a "clean" counter with an old sponge, you might just be spreading a thin layer of bacteria across your food prep surface.
This is why we always tell our clients at The Cleaning Ninjas Inc that a "Ninja Clean" kitchen starts with a fresh sponge.
Daily Habits for a Healthier Sponge
Before we get into the heavy-duty sanitizing methods, let’s talk about daily maintenance. You can significantly extend the life (and safety) of your sponge by following a few simple rules.
- The Big Wring: Never, ever leave a soaking wet sponge sitting at the bottom of the sink. Bacteria love moisture. After every use, rinse the sponge thoroughly under hot water to get out any food particles, then wring it out as hard as you can.
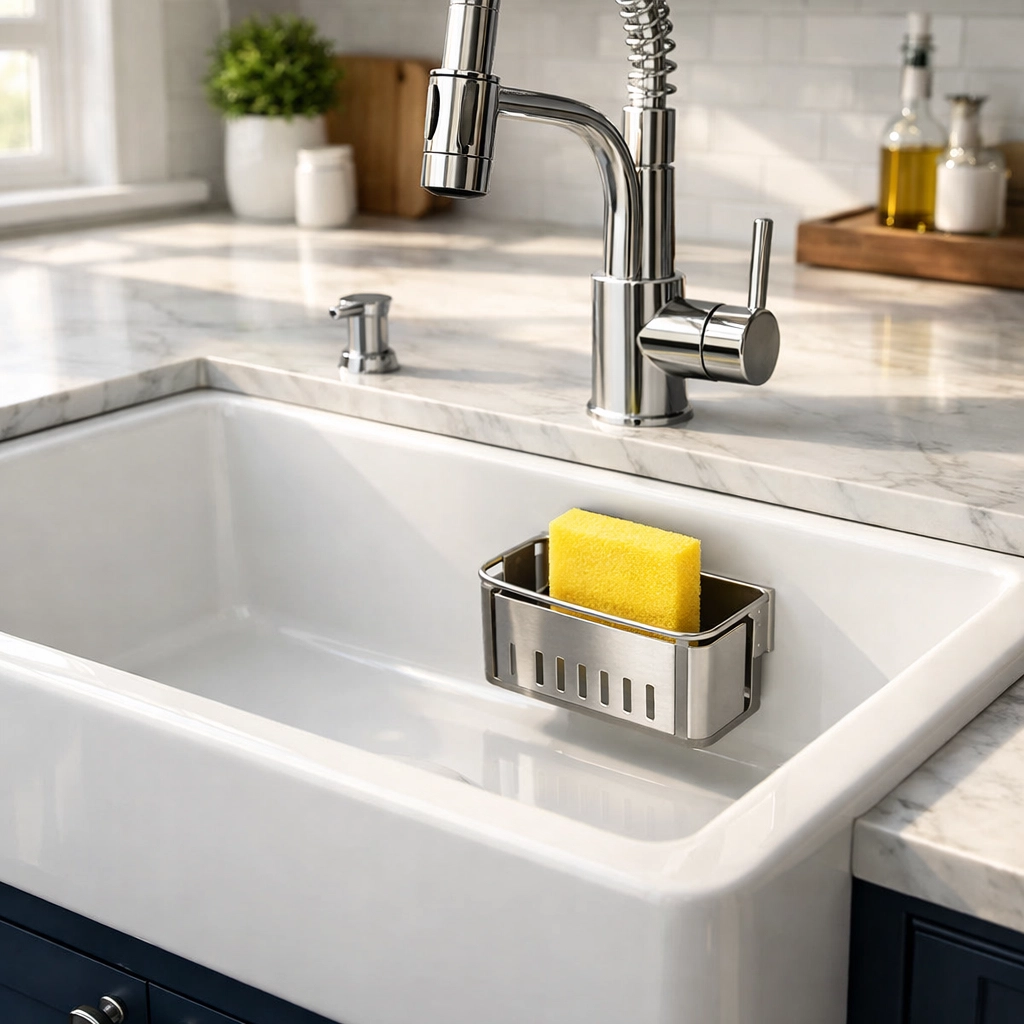
- Location, Location, Location: Stop storing your sponge in a closed container or a dark corner under the sink. It needs airflow to dry out. Use a sponge caddy that allows air to circulate around the entire sponge, or prop it up on its side.
- The "Food Only" Rule: Try to avoid using your kitchen sponge for non-food messes. If you’ve spilled something on the floor, reach for a paper towel or a dedicated floor rag. Keeping your kitchen sponge focused on dishes and countertops reduces the variety of bacteria it encounters.
How to Sanitize Your Sponge Like a Ninja
Even if you’re a master at wringing out your sponge, you still need to kill the bacteria that inevitably move in. There are two "gold standard" methods for sanitizing sponges at home.
The Microwave Method
This is arguably the most effective way to kill germs. Research indicates that microwaving a sponge can kill up to 99.99999% of bacteria.
- The Steps: Make sure the sponge is completely wet. This is vital: a dry sponge can catch fire in the microwave. Place the wet sponge in the microwave and heat it on high for 60 seconds.
- The Warning: Never microwave a sponge that has any metal components (like some heavy-duty scrubbers). Also, wait a few minutes before grabbing it; it will be incredibly hot and full of steam.
The Dishwasher Method
If you’re already running a load of dishes, just toss the sponge in the top rack.
- The Steps: Use the "heated dry" setting and a high-temperature wash cycle. This method is nearly as effective as the microwave, killing about 99.9998% of bacteria. It’s a great way to make sponge cleaning part of your nightly routine.
The Bleach Soak
If you don't have a microwave or dishwasher, a bleach solution is your next best bet.
- The Steps: Mix one part bleach with nine parts water (a 10% solution). Let the sponge soak for at least one minute, then rinse it thoroughly. While effective, it’s slightly less thorough than the heat-based methods, but it’s still miles better than doing nothing!
When to Toss It: The 3 Golden Rules
No matter how many times you microwave it, a sponge isn't meant to live forever. Here at The Cleaning Ninjas Inc, we follow a strict "Toss Strategy." If your sponge hits any of these criteria, it’s time for the bin.
1. The Two-Week Rule
As a general rule of thumb, you should replace your kitchen sponge every one to two weeks. Even with daily sanitizing, the material eventually starts to break down. Small tears and fissures provide "safe houses" for bacteria that even a microwave can’t reach. If you do a lot of heavy cooking, you might even need to swap it out every week. You can find more cleaning tips on our blog about maintaining kitchen hygiene.
2. The "Sniff Test"
We’ve all been there: you walk into the kitchen and wonder, "What is that smell?" If your sponge has developed a funky, sour, or musty odor, it’s already too late. That smell is caused by colonies of bacteria and mold off-gassing. No amount of soap or microwaving will truly make that sponge "clean" again. If it stinks, toss it.
3. Visual Cues
If the sponge looks "tired": meaning it's discolored, the scrubby side is falling off, or it’s starting to crumble: get rid of it. A falling-apart sponge is less effective at scrubbing and more likely to leave micro-particles behind on your dishes.
The "No-Go" Zones: When Sponges are Forbidden
There are certain messes that should never, ever touch your kitchen sponge. Using a sponge in these scenarios is the fastest way to cross-contaminate your entire kitchen.
- Raw Meat Juices: If you’ve just prepped chicken or steak and there’s juice on the counter, do not reach for the sponge. Use a paper towel and a disinfectant spray. Sponges are too porous to safely clean up raw meat pathogens.
- Pet Messes: Keep your kitchen sponge far away from pet bowls or floor accidents. Use dedicated cloths or paper towels for your furry friends.
- The Bathroom: This should go without saying, but never mix kitchen and bathroom sponges. Even if you "clean" them, the risk of cross-contamination is too high.
If you’re feeling overwhelmed by the rules of home maintenance, remember that you can always check out our services to see how we can take the deep cleaning off your plate.
Better Alternatives to the Traditional Sponge
If you’re tired of the "sponge cycle," there are some great alternatives that are easier to keep clean:
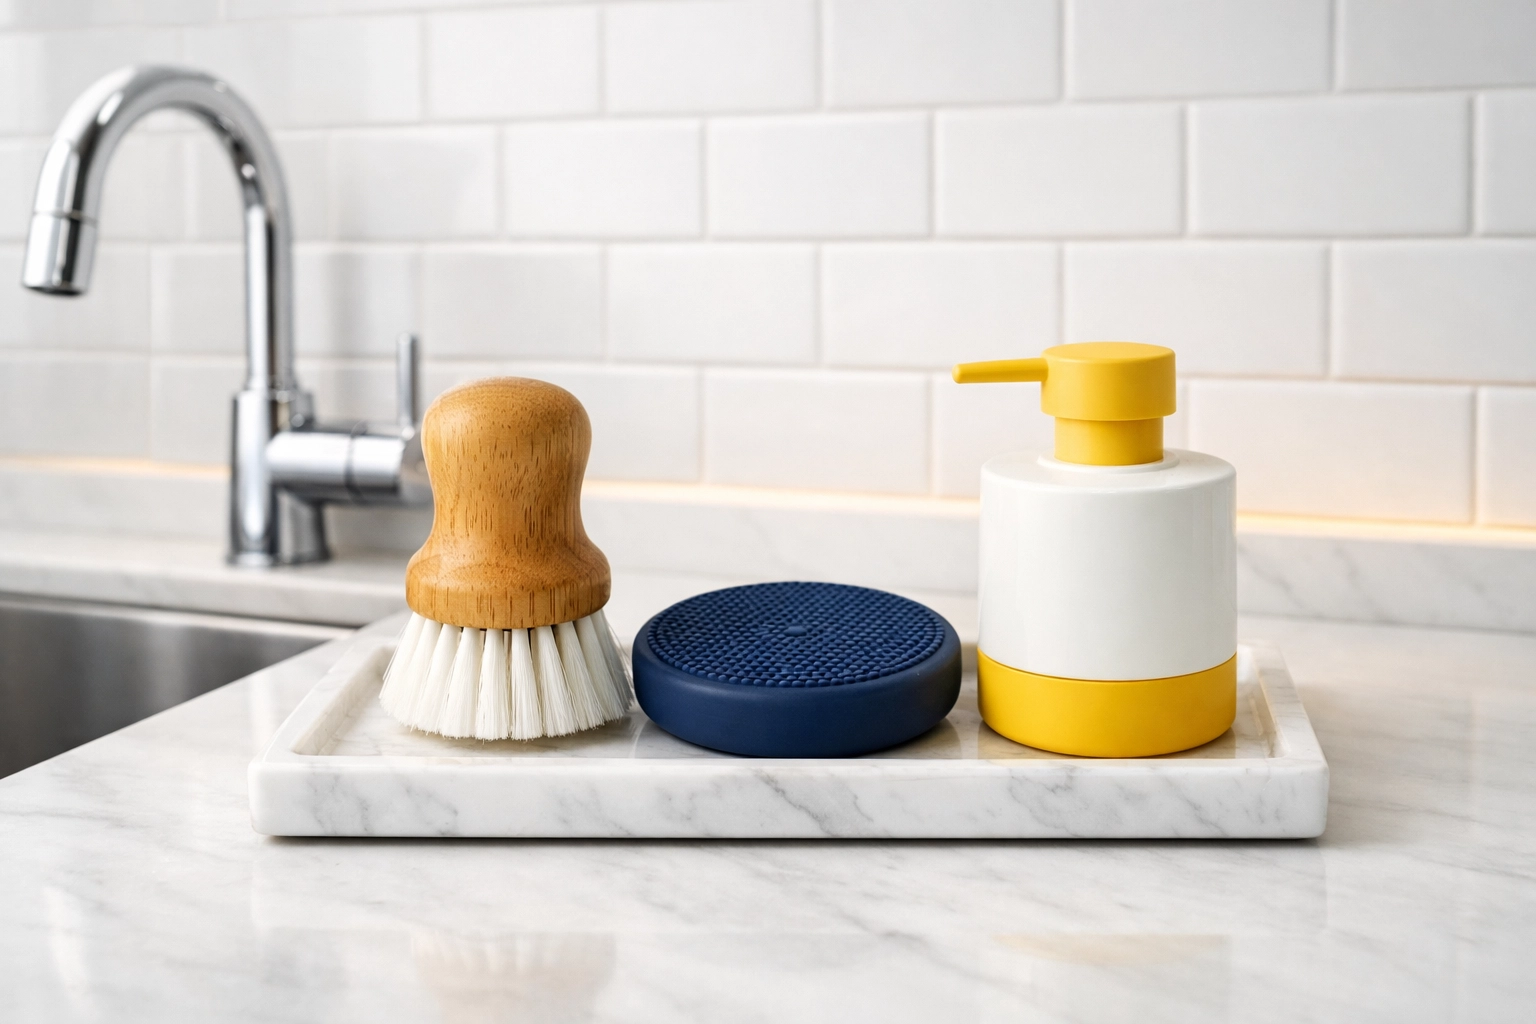
- Silicone Scrubbers: These don’t hold onto water or food particles nearly as much as cellulose sponges. They aren't as good for wiping up spills, but they are great for scrubbing dishes and can be popped in the dishwasher daily.
- Dish Brushes: Plastic or wood dish brushes dry much faster than sponges, making them less hospitable to bacteria.
- Microfiber Cloths: These are great for wiping counters. You can use a fresh one every day and just toss the used ones in the laundry with a bit of bleach or high heat.
Final Ninja Thoughts
The kitchen is the heart of the home, and keeping it safe means being mindful of the tools we use to clean it. A sponge is a tool, and like any tool, it needs to be maintained or replaced when it’s no longer fit for the job.
By sanitizing your sponge daily in the microwave or dishwasher and sticking to a strict two-week replacement schedule, you’re doing more than just cleaning dishes: you’re protecting your family from foodborne illnesses.
Want to learn more about our philosophy on a healthy home? Head over to our About Us page to meet the team dedicated to making your space shine. And for more "Ninja Tips" like these, keep an eye on our blog.
Stay clean, stay safe, and remember: when in doubt, throw it out!