

It is one of the ultimate ironies of adult life: you need a cleaner to clean the thing that does the cleaning. If that sounds like a tongue twister, welcome to the world of vacuum maintenance!
Here at The Cleaning Ninjas Inc, we see a lot of vacuums. We use them every single day, and we know that a vacuum is only as good as the care you give it. Think of your vacuum like a high-performance athlete. If an athlete doesn’t eat right or take care of their gear, they aren't going to win any races. If your vacuum is clogged with hair, dusty filters, and a full canister, it’s not going to win the race against the pet hair on your area rug.
Maintaining your vacuum isn’t just about making sure it picks up crumbs; it’s about protecting your investment and ensuring the air in your home stays fresh. A neglected vacuum actually blows dust and allergens back into your room, which is the opposite of what we want!
The Golden Rule: Don’t Wait for the "Full" Line
Most people wait until their vacuum is screaming for mercy before they empty the dust canister or change the bag. At The Cleaning Ninjas Inc, we recommend the Two-Thirds Rule. Whether you have a bagged model or a bagless canister, once it hits that 2/3 mark, it’s time to empty it.
When the container is packed to the brim, the motor has to work twice as hard to pull air through all that compressed debris. This leads to overheating and a shorter lifespan for your machine. For bagless models, give the canister a quick wipe with a damp microfiber cloth once you empty it to keep the static from building up and holding onto fine dust.
Filter Science: The Lungs of Your Machine
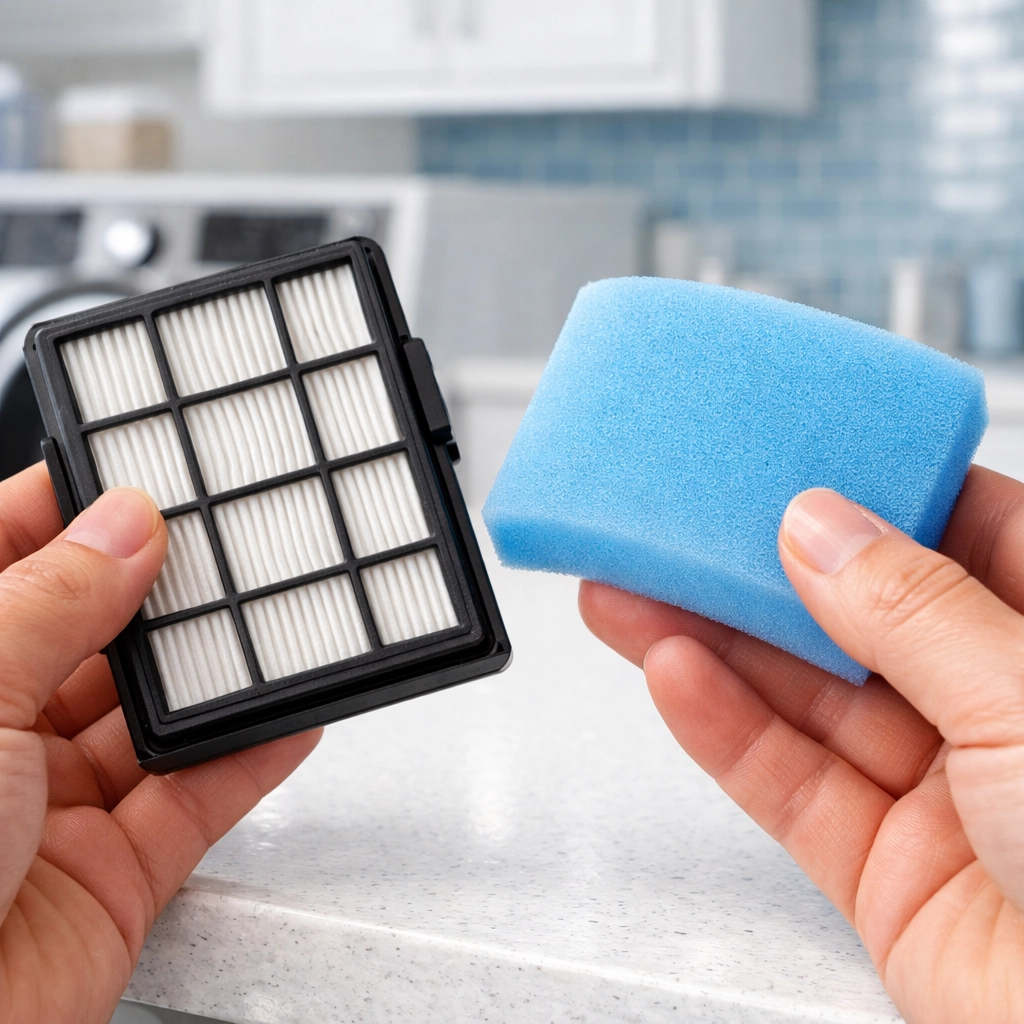
If the motor is the heart of your vacuum, the filters are the lungs. Most modern vacuums have at least two filters: a pre-motor filter and a post-motor filter (often a HEPA filter).
The Pre-Motor Filter: This is usually a foam or felt disc that sits near the dust cup. Its job is to stop large particles from hitting the motor. These are almost always washable. You should rinse these under cool water every month. The "Ninja Secret" here is to never, ever put a damp filter back into your vacuum. It will grow mold faster than you can say "ninja," and your vacuum will start to smell like a wet dog. Let it air dry for at least 24 to 48 hours.
The HEPA Filter: High-Efficiency Particulate Air (HEPA) filters are the gold standard for trapping allergens. Some are washable, but many are not. Check your manual! If it’s not washable, you should replace it every 6 to 12 months. If you have pets or allergies, lean toward the 6-month mark. A clogged HEPA filter is the number one cause of "loss of suction" complaints.
The Brush Roll: The "Hair Monster" Surgery
If you have long hair or pets, your brush roll (the spinning bar at the bottom) is likely a tangled mess. Over time, hair, string, and carpet fibers wrap so tightly around the roller that the bristles can’t even touch the floor. When this happens, your vacuum is just moving air without actually "brushing" the dirt out of the carpet fibers.
To fix this, you’re going to need to perform a little vacuum surgery.
- Unplug the machine. Safety first, Ninjas!
- Flip it over. Most vacuums have a few screws or clips that allow you to remove the bottom plate.
- The Tool of Choice: While scissors work, a seam ripper (from a sewing kit) is actually the best tool for this. It slides right under the hair and slices through it without damaging the wooden or plastic roller.
- Clean the Bearings: Check the ends of the brush roll. Hair loves to wrap around the axles, which can melt the plastic end caps if the friction gets too high.
If the brush roll is really gross, you can often pop it out entirely and give it a good scrub with some dish soap and water. Just like the filters, make sure it is bone-dry before re-installing.
Clearing the Air: Hoses and Obstructions
Ever feel like your vacuum is making a high-pitched whistling sound? Or maybe it sounds like it’s gasping for air? You probably have a clog in the hose or the internal "elbow" of the machine.
Even a small blockage, like a stuck penny or a clump of damp pet hair, can act as a dam, catching everything else that passes by. To clear it, detach the hose and drop a heavy coin or a small marble through it. If it doesn't come out the other side, you’ve found your clog. You can use a broom handle to gently push the obstruction through: just be careful not to puncture the hose material.
While the hose is off, give the inside a quick sniff. If it smells funky, you can run a mixture of warm water and a little bit of white vinegar through it in the bathtub. Hang it over the shower rod to dry completely before snapping it back onto the vacuum.
Belt Check: Why Your Brush Isn't Spinning
If you notice your vacuum is humming but the brush roll isn't moving, the belt is likely the culprit. Most upright vacuums use a rubber belt to transfer power from the motor to the brush roll. Over time, these belts stretch out, slip, or snap.
Even if the belt isn't broken, it might be stretched. If you can easily slide the belt around with your finger, it’s too loose. A loose belt means the brush roll won't spin at the high RPMs needed to vibrate dirt out of your carpet. We suggest replacing the belt once a year as part of your "Annual Ninja Tune-Up." It’s a $5 part that makes your vacuum feel brand new.
Keeping the Exterior Looking Sharp
At The Cleaning Ninjas Inc, we believe that clean tools lead to a clean home. If your vacuum is covered in scuffs and dust, it’s going to leave marks on your white baseboards and furniture.
Every few months, take a damp cloth with a mild all-purpose cleaner and wipe down the exterior of the machine. Pay special attention to the wheels: hair and gunk often get caught in the wheel axles, which can lead to scratches on hardwood floors.
Check out our About Us page to see how much we care about the details: even our equipment gets the VIP treatment!
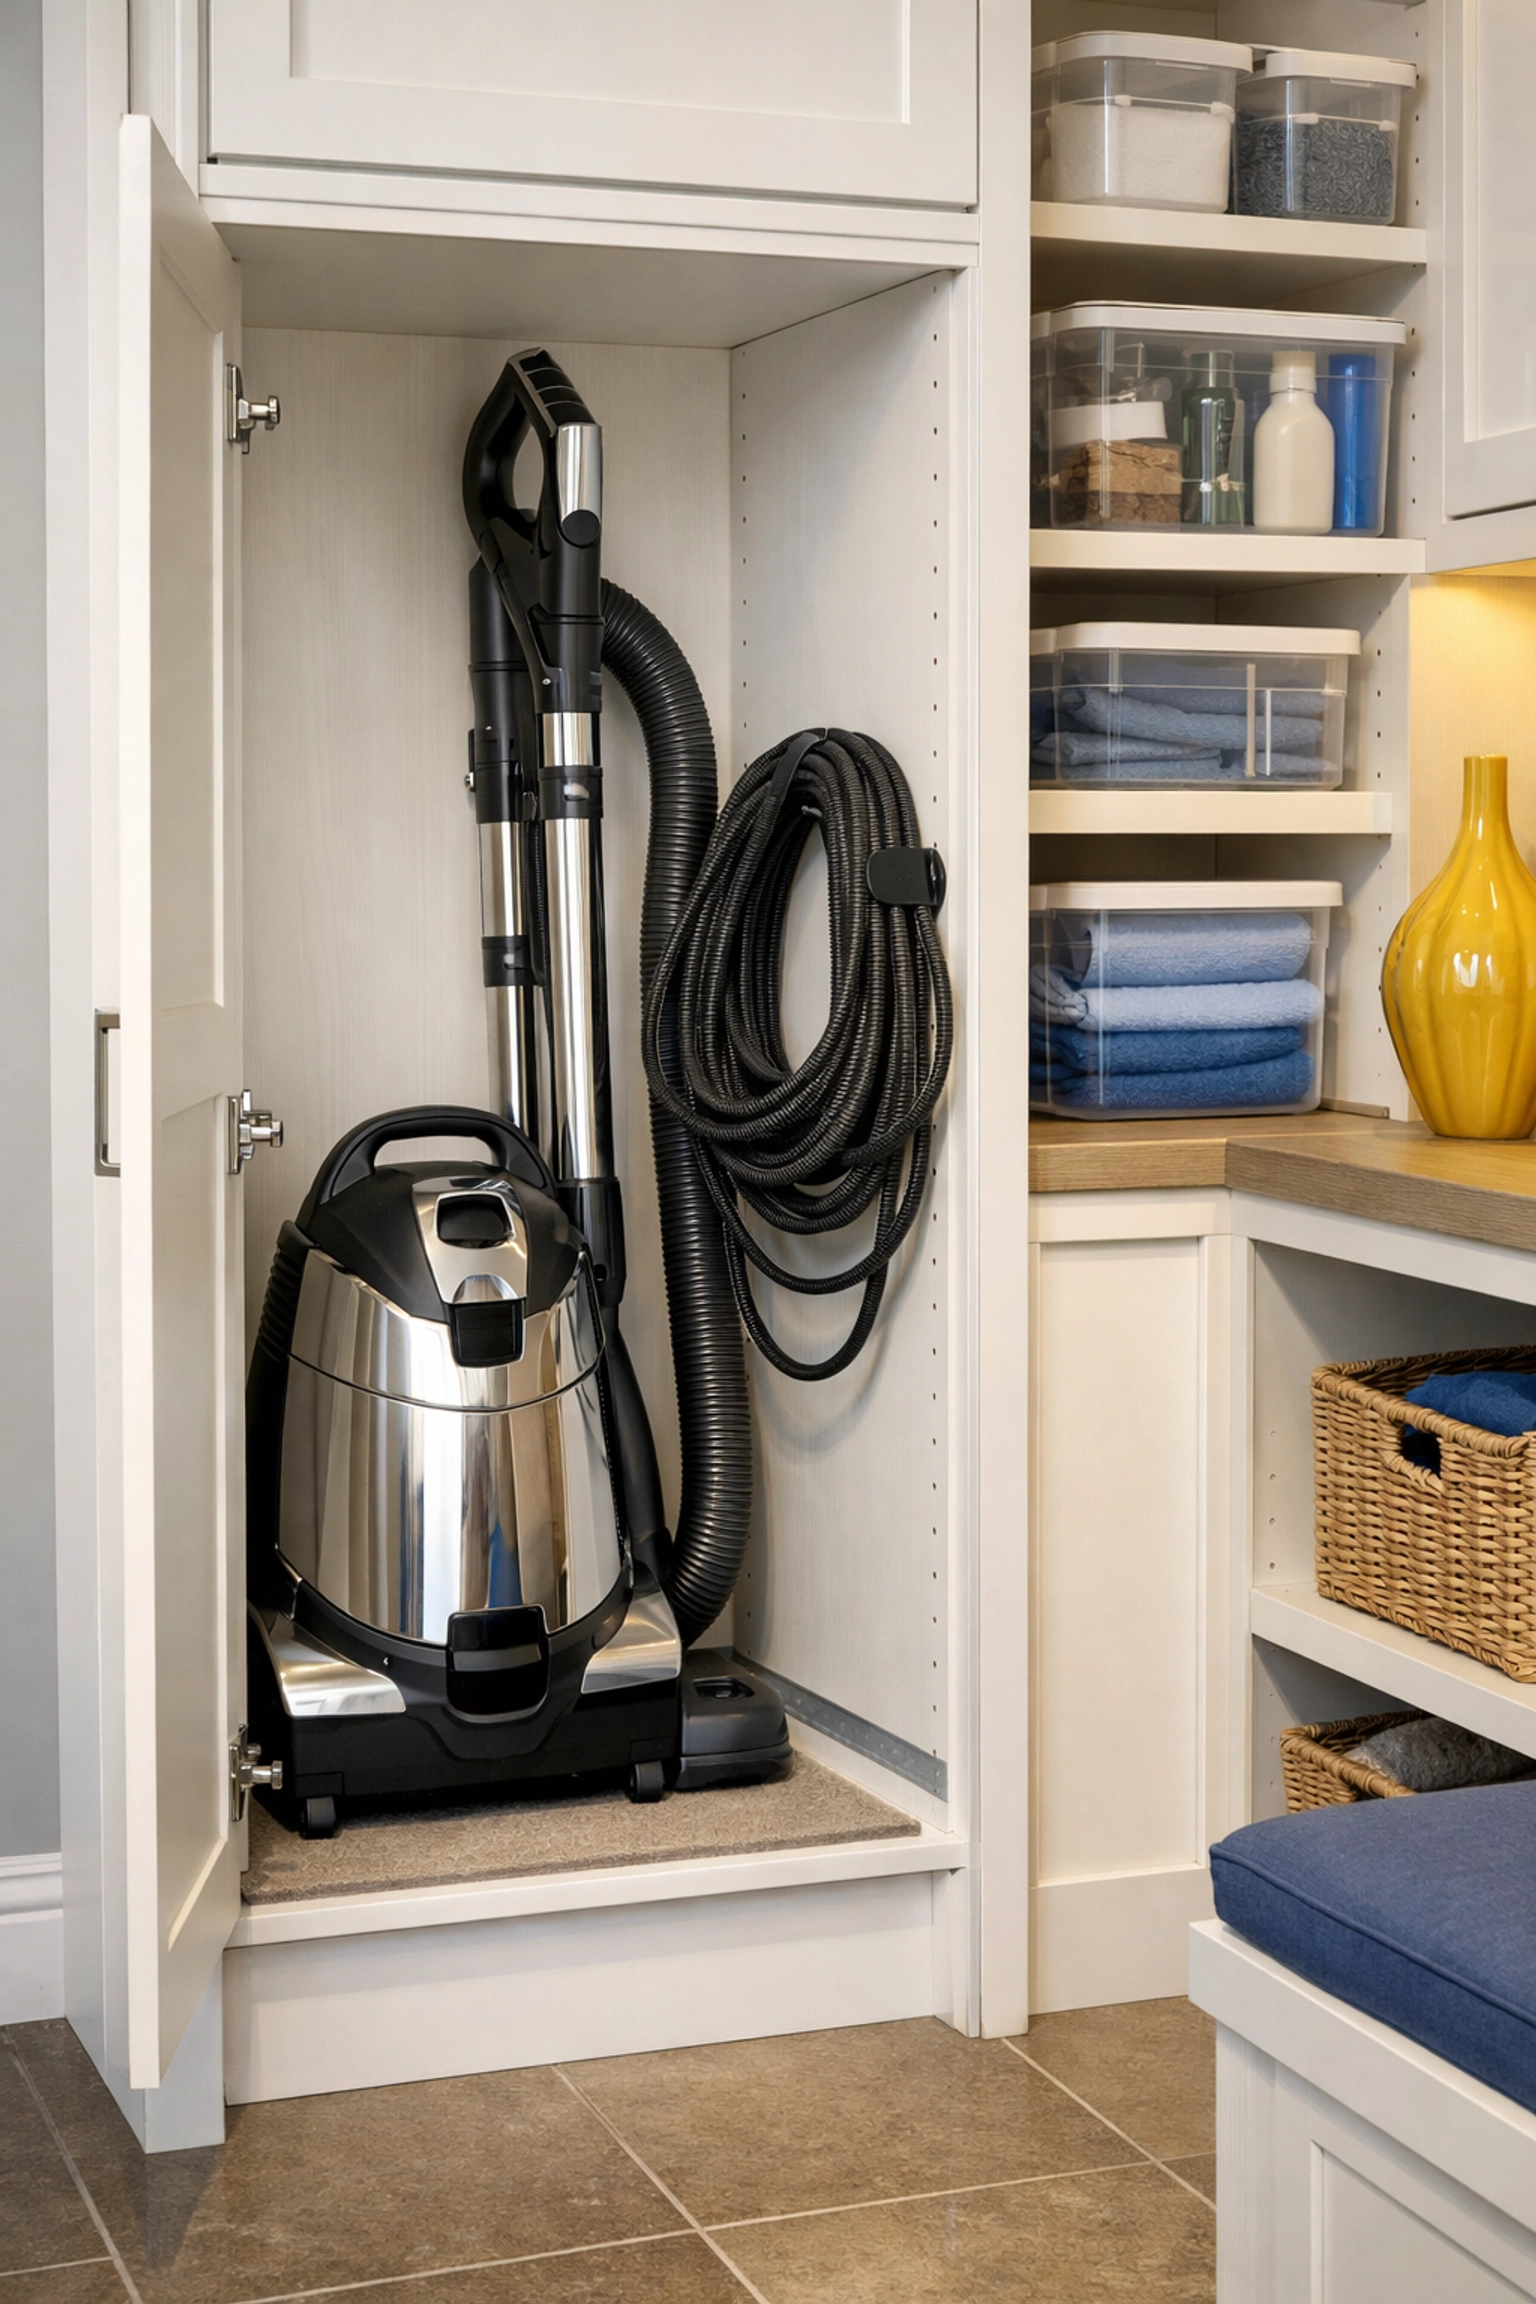
Storage and Cord Care
How you store your vacuum matters. Avoid the temptation to wrap the cord as tightly as possible around the storage hooks. This creates tension at the points where the cord enters the machine, leading to frayed wires (which is a major fire hazard). Wrap it loosely, leaving a little "tail" at the top and bottom.
Store your vacuum in a dry, climate-controlled area. Storing a vacuum in a damp garage or a dusty shed can lead to rusted internal parts or a motor that gets seized up by environmental debris.
When to Call in the Pros
Sometimes, a vacuum needs more than just a filter rinse. If your motor is making a grinding noise, if there’s a burning rubber smell that doesn't go away after a belt change, or if the cord is damaged, it might be time for professional repair.
However, for the day-to-day cleaning of your home, having a perfectly maintained vacuum makes the job so much faster and more effective. If you’d rather spend your weekend doing something other than performing surgery on your vacuum, you can always check out our services and let us bring our top-tier equipment to your doorstep.
Quick Maintenance Checklist:
- Every Use: Empty the canister/bag if it's 2/3 full.
- Monthly: Rinse the pre-motor foam filters and check the brush roll for hair.
- Every 3 Months: Inspect the hose for clogs and wipe down the exterior/wheels.
- Every 6-12 Months: Replace the HEPA filter and the rubber belt.
Taking ten minutes a month to maintain your vacuum will save you hundreds of dollars in replacement costs and keep your home's air quality at its best. For more "Ninja Tips" on keeping every corner of your home spotless, head back to our blog and see what else we’ve been up to.
Happy vacuuming, everyone! Keep it clean, keep it ninja! 🥷✨


