

Laundry day is a staple in every household. It’s the rhythm of the spinning drum, the scent of fresh linen, and the comfort of warm towels. But behind that cozy domestic scene, there’s a stealthy villain lurking in the shadows of your utility room: lint. At The Cleaning Ninjas Inc, we deal with all sorts of messes, but lint buildup in a dryer vent isn't just a "mess": it's a genuine safety hazard.
Every year, thousands of house fires are caused by clogged dryer vents. It’s a statistic that sounds scary, but the good news is that this is one of the most preventable risks in your home. With a little "Ninja" discipline and some basic know-how, you can keep your dryer running efficiently and, more importantly, keep your home safe.
In this guide, we’re going to walk through the essential safety tips and cleaning methods to ensure your dryer vent is clear, your energy bills stay low, and your home stays protected.
The Science of the Sneaky Lint
You might be thinking, "But Penny, I clean my lint screen after every load! I'm good, right?"
Not exactly. While cleaning the screen is vital, it’s not a perfect defense. Research shows that up to 75% of lint actually bypasses that mesh filter. It hitches a ride on the moist air traveling out of your dryer and into the venting system. Over time, this lint sticks to the walls of the ductwork, especially in bends and corners.
Lint is incredibly flammable. Combine that with a dryer’s heating element, which can reach temperatures of up to 550 degrees Fahrenheit, and you have a recipe for disaster. When the vent is clogged, airflow is restricted. This causes heat to back up into the dryer housing. If that heat hits a pocket of dry, fluffy lint, it can ignite in seconds.

Step 1: The Daily Ninja Ritual (The Lint Screen)
The first rule of Dryer Ninja Club is simple: Clean the lint trap before and after every single load.
It seems like a small task, but it’s the most important habit you can form. A clogged screen doesn't just increase fire risk; it forces your dryer to work significantly harder. This means more wear and tear on the motor and higher electricity or gas bills.
Ninja Tip: Once a month, take your lint screen to the sink and scrub it with a bit of dish soap and an old toothbrush. Over time, dryer sheets and fabric softeners can leave a waxy, invisible film on the mesh that restricts airflow even if the screen looks clean. If water doesn't run straight through the mesh, it’s time for a scrub.
Step 2: Clearing the Dryer Cavity
Lint doesn't just stay in the vent; it likes to hide inside the dryer itself. Every few months, it’s a good idea to perform a "deep dive" into the dryer housing.
- Unplug the dryer: Safety first! Always disconnect the power before poking around.
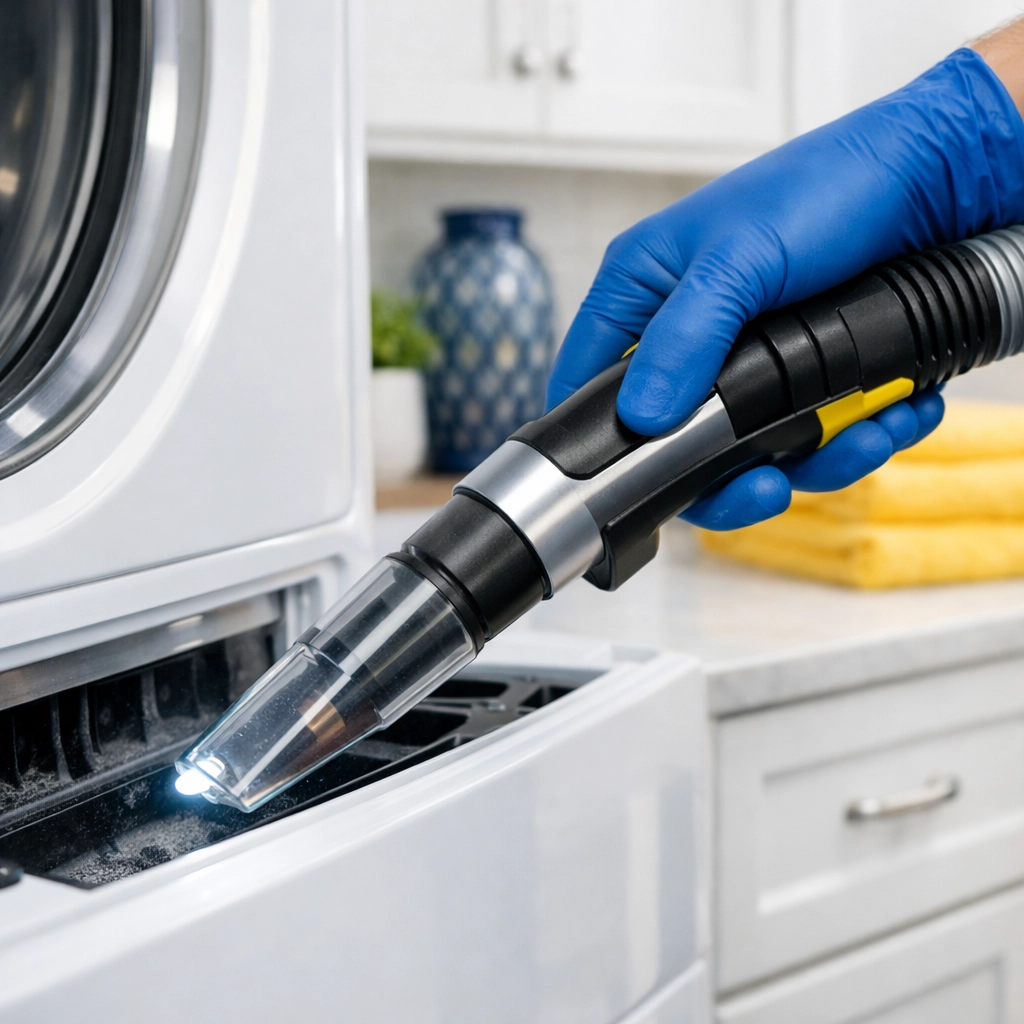
- Vacuum the slot: Use a long, thin vacuum attachment to reach down into the slot where the lint screen sits. You’d be surprised how much "fuzz" settles at the very bottom.
- Check behind the machine: Pull the dryer out from the wall. Lint often accumulates on the floor and back of the machine. A clean workspace is a safe workspace.
Step 3: Choosing the Right "Armor" (Duct Materials)
Not all dryer vents are created equal. If you take a look behind your dryer and see a white plastic "accordion" hose or a thin foil "slinky" tube, it’s time for an upgrade.
These flexible, ribbed hoses are notorious for trapping lint in their ridges. They are also easily crushed or kinked, which cuts off airflow almost entirely. Even worse, if a fire starts inside a plastic vent, the vent itself will melt or burn, allowing the fire to spread into your wall cavities.
The "Ninja-approved" standard is smooth, rigid metal venting. Rigid pipes have smooth interior walls, which means there’s nowhere for lint to get snagged. If you must use a flexible transition duct to connect the dryer to the wall, ensure it is a heavy-duty metal foil UL-listed duct, and keep it as short and straight as possible.
Step 4: The Exterior Inspection
Your dryer vent has to end somewhere, usually on the side of your house or on the roof. This exterior vent cap is a critical checkpoint.
Once a month, head outside while the dryer is running. You should see the vent flap blowing wide open and feel a strong, warm breeze coming out. If the flap is barely moving or if you see lint sticking out of the louvers, you have a blockage.
Common Exterior Villains:
- Bird Nests: Birds love the warmth of a dryer vent in the spring.
- Wasp Hives: Insects find the vent to be a perfect sheltered spot.
- Snow and Ice: In the winter, ensure snow isn't drifted over the exit point.

Recognizing the Red Flags
Your dryer is a smart piece of machinery, and it will often try to tell you when it’s struggling. Here are the warning signs that you have a dangerous lint buildup:
- Longer Drying Times: If your usual 40-minute cycle now takes 80 minutes, or if towels are still damp after a full run, your vent is likely restricted.
- Excessive Heat: If the top of the dryer or the laundry room feels unusually hot while the machine is running, the heat isn't escaping properly.
- The Burning Smell: This is an immediate red flag. If you smell something scorching, stop the dryer and call in a pro.
- The "No Flap" Sign: As mentioned before, if the outside vent flap isn't opening, you have a clog.
The Deep Clean: A Step-by-Step Guide
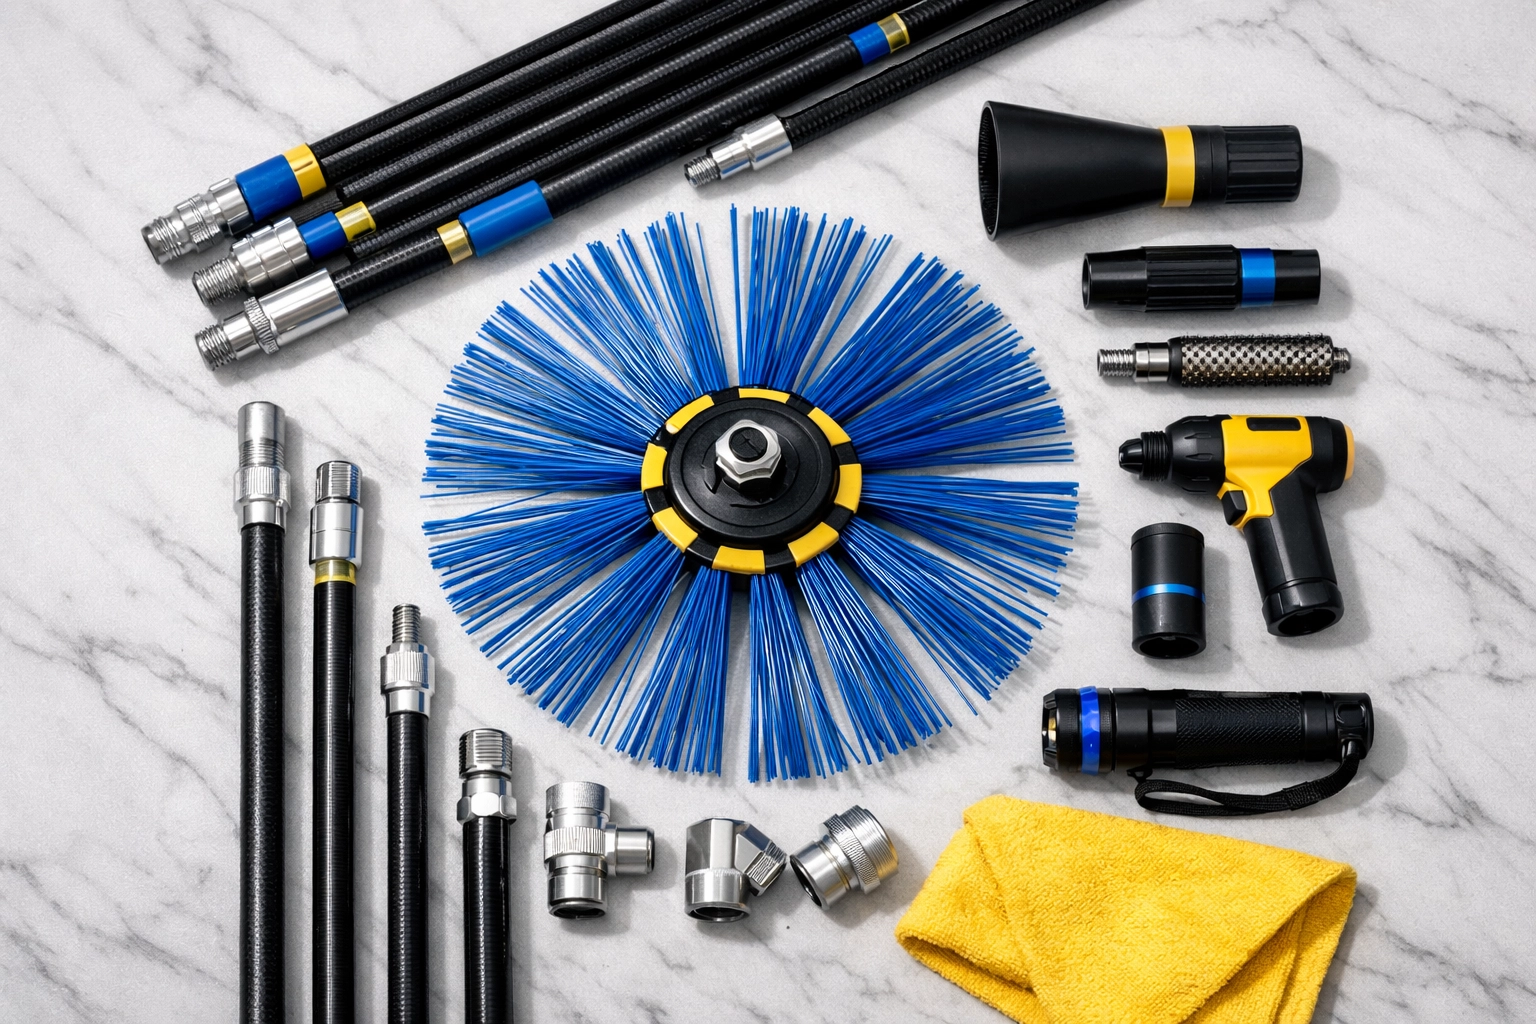
At least once a year (more often if you have a large family or pets), you need to clean the entire length of the ductwork. You can buy a dryer vent cleaning kit at most hardware stores, which consists of a brush on a long, flexible rod that can be attached to a power drill.
- Disconnect: Unplug the power and disconnect the vent from the back of the dryer.
- The Brush Run: Feed the brush into the ductwork, spinning it slowly with the drill. This knocks the lint loose from the walls of the pipe.
- Vacuum/Blow Out: Use a leaf blower or a high-powered vacuum to push or pull the loosened lint out of the pipe.
- Reconnect: Ensure all metal clamps are tight and the vent is not kinked when you slide the dryer back into place.
Why Professional Cleaning Matters
While DIY maintenance is great for the day-to-day, there are times when you need to bring in the experts. Some dryer vents run through the attic or inside walls for 20 or 30 feet. Standard home kits might not reach the full length, or they might get stuck in a complex turn.
At The Cleaning Ninjas Inc, we believe in a holistic approach to home care. While we focus on making your living spaces sparkle, we always encourage homeowners to stay on top of these technical maintenance tasks. If you’re ever unsure about the safety of your home systems, it’s always better to consult a specialist who has the high-powered equipment to clear the "deep-seated" clogs.
For more insights into keeping every corner of your home in top shape, feel free to browse our blog or explore our services to see how we can help take the stress out of your cleaning routine.
Final Thoughts
Dryer vent safety isn't the most glamorous part of homeownership, but it is one of the most vital. By treating your laundry routine with the precision of a Ninja: cleaning the filter, inspecting the ducts, and watching for warning signs: you protect your home and your family from a completely avoidable danger.
Keep it clean, keep it clear, and keep those towels fluffy! If you need a hand with the rest of your home’s cleaning needs, you know who to call. Stay safe out there!


