

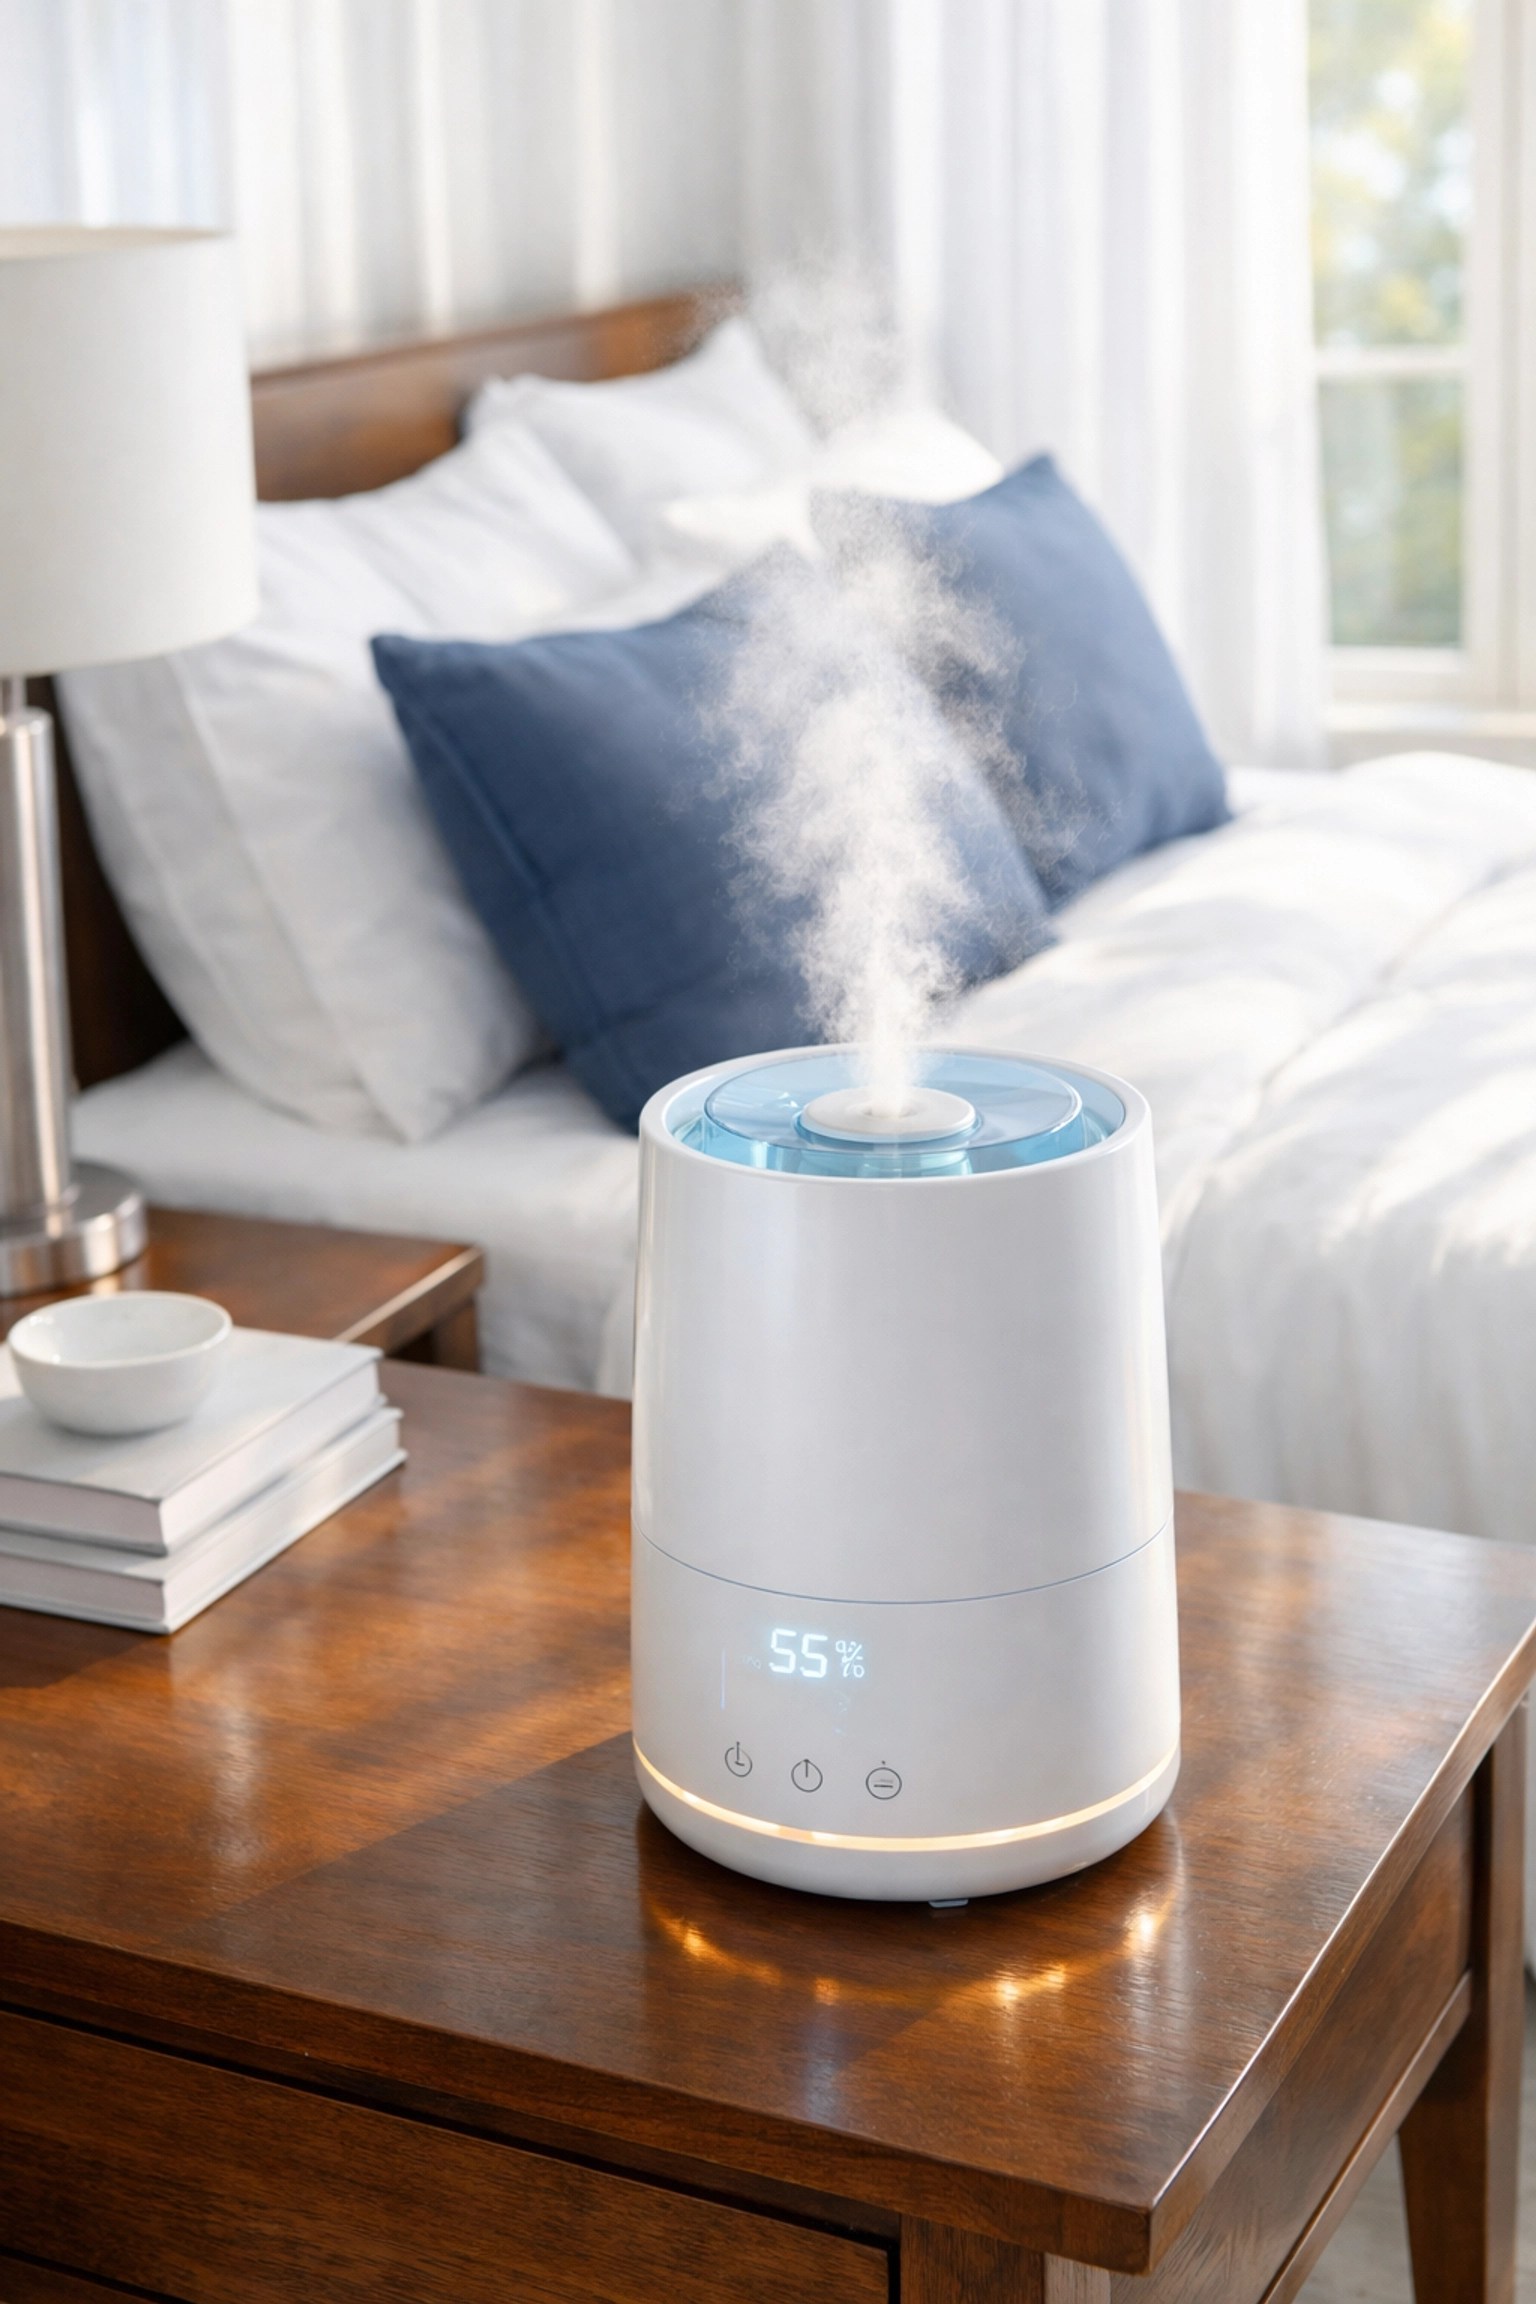
There’s nothing quite like the relief a humidifier brings during those bone-dry winter months or when a nasty head cold hits the household. It turns your bedroom into a soothing oasis, helps your skin stay hydrated, and keeps your indoor plants from looking like crispy snacks. But here is the thing: that little machine pumping moisture into your air can quickly turn from your best friend into a secret hideout for mold, bacteria, and mineral "scuzz."
If you’ve noticed a weird smell coming from your unit, or if you see a pinkish slime or white crusty buildup inside the tank, it’s time for a deep clean. At The Cleaning Ninjas Inc, we’re all about making your home a sanctuary, and air quality is a massive part of that. In this guide, we’re going to walk you through the ultimate "Ninja" way to deep clean your humidifier, ensuring you and your family are breathing nothing but fresh, clean mist.
Why Humidifier Hygiene is a Non-Negotiable
Before we get into the "how," let's talk about the "why." Humidifiers are basically dark, damp caves: the exact environment where mold spores and bacteria love to throw a party. If you don't clean the unit regularly, you’re not just pumping water into the air; you’re aerosolizing those microbes.
Breathing in moldy mist can lead to respiratory issues, flu-like symptoms, and worsened allergies. Then there’s the mineral buildup. If you use tap water, the minerals (like calcium and magnesium) settle at the bottom of the tank and on the heating element or nebulizer. This creates a "white dust" that settles on your furniture and can eventually burn out the machine’s motor.
We want your humidifier to last for years and your lungs to stay clear. That’s why a deep clean once a week is the golden rule.
Gathering Your Ninja Gear
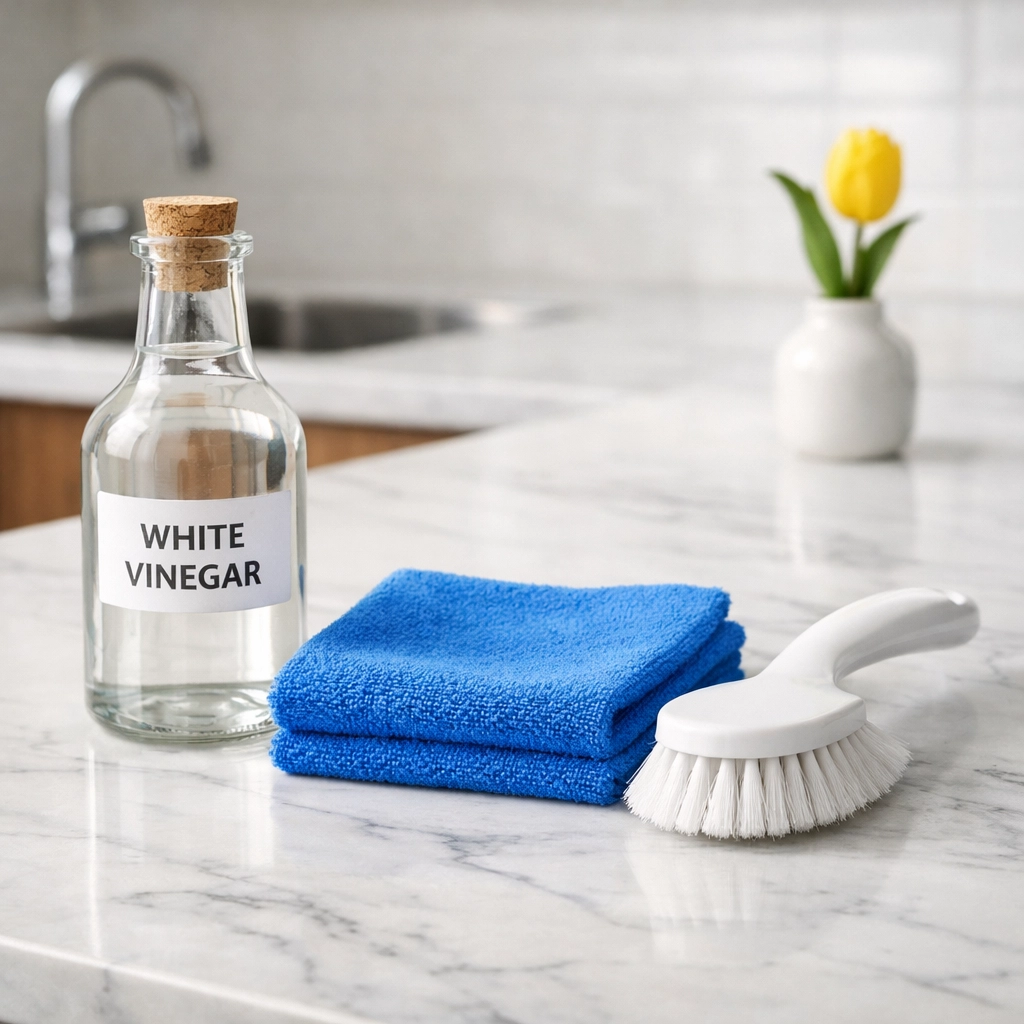
You don’t need a fancy "humidifier cleaning kit" from the store. Most of what you need is likely sitting in your kitchen pantry right now. Here’s what you should have on hand:
- White Vinegar: This is our MVP for breaking down mineral scale and mild disinfection.
- Liquid Bleach: (Optional, for heavy-duty disinfection).
- A Soft-Bristled Brush: An old toothbrush is perfect for getting into those tiny nooks and crannies.
- A Clean Microfiber Cloth: For wiping down the exterior.
- Distilled Water: If you want to prevent future buildup (more on this later!).
- Fresh Towels: To lay your parts out to dry.
A quick safety note from the Ninjas: Never, ever mix vinegar and bleach. It creates toxic chlorine gas. If you decide to use both, make sure you rinse every single part incredibly well between steps.
Method 1: The Natural Deep Clean (Vinegar)
For most weekly cleanings, white vinegar is all you need. It’s natural, safe, and incredibly effective at eating through that white, crusty mineral buildup.
Step 1: Disassemble and Drain
Unplug your humidifier. This sounds obvious, but you’d be surprised how many people forget! Carry the whole unit to the sink. Remove the water tank and any detachable parts like the mist nozzle, the tank cap, and the filter (if your model has one). Empty any standing water from the tank and the base reservoir. If your filter is replaceable and looks yellow or crusty, toss it and grab a new one. If it’s permanent, follow the manufacturer's instructions for rinsing.
Step 2: The Vinegar Soak
Pour one to two cups of undiluted white vinegar into the water tank. Put the cap back on and give it a good shake so the vinegar coats every interior surface. Let it sit for at least 30 minutes.
While the tank is soaking, pour enough vinegar into the base reservoir to fill it up to the brim (being careful not to get liquid into the motor housing or electrical components). Let the base soak for 30 minutes as well. This soak time is crucial because it does the heavy lifting for you, softening the minerals so they slide right off.
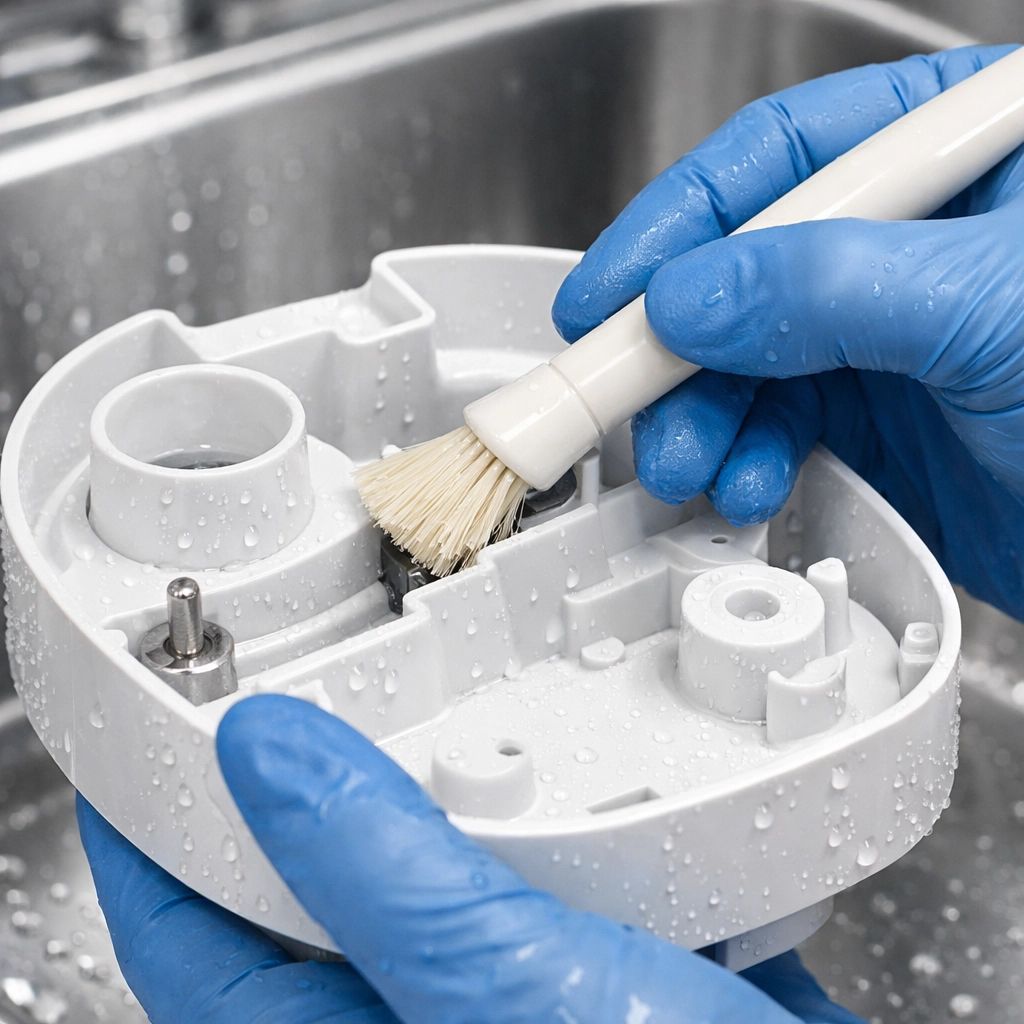
Step 3: Scrub Like a Ninja
After 30 minutes, pour the vinegar out. Take your soft toothbrush and start scrubbing. Focus on the corners, the mist outlet, and the transducer (that little ring at the bottom of the base). If you see any stubborn white spots, dip your brush in fresh vinegar and give it a bit more elbow grease.
Step 4: Rinse, Rinse, and Rinse Again
This is where most people go wrong. You want to rinse every component under running tap water until that "salad dressing" smell is completely gone. If you don’t rinse well, your room will smell like vinegar the next time you turn it on. Not exactly the spa vibe we’re going for!
Method 2: Disinfecting (The Bleach Method)
If you haven't cleaned your humidifier in a month, or if you see visible black mold or pink slime, it’s time to bring out the big guns.
- Mix the Solution: Mix one teaspoon of bleach with one gallon of water.
- Soak: Fill the tank about halfway with this solution and let it sit for 30 minutes.
- Sanitize the Base: Use a cloth dipped in the bleach solution to wipe down the base reservoir. Do not soak the electrical parts.
- Rinse Thoroughly: This is even more important with bleach. Rinse until you can no longer smell any chemicals. Your safety is our priority, and we don't want you breathing in bleach fumes.
The Importance of Drying
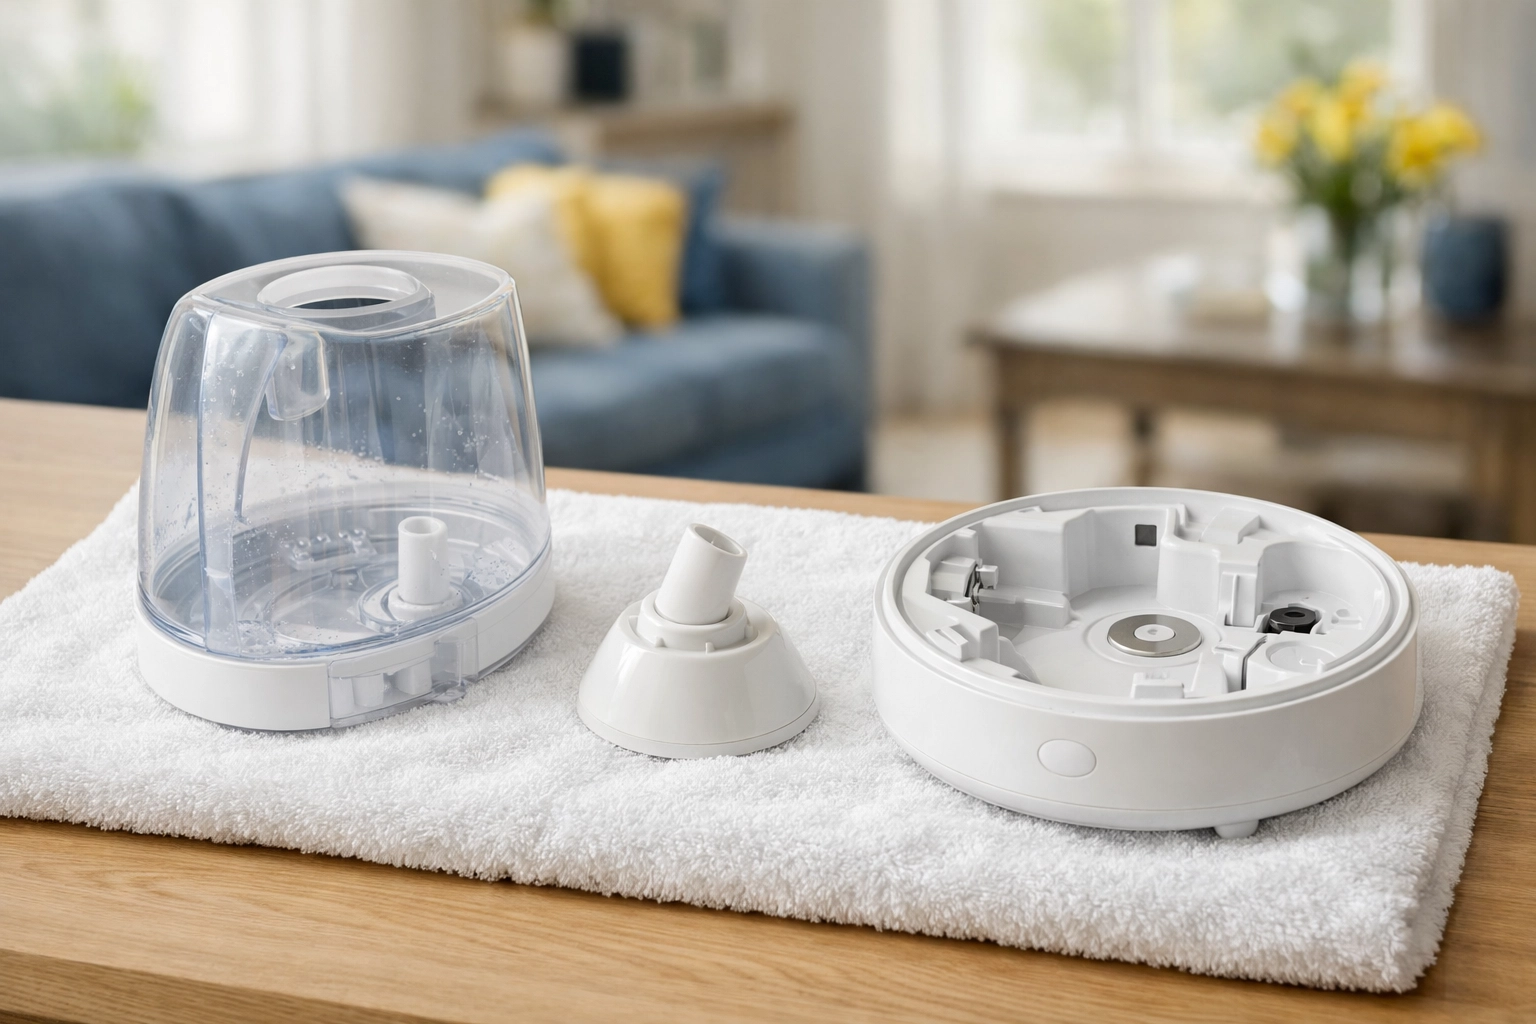
One of the most common mistakes is reassembling the humidifier while it’s still damp. If you trap moisture inside a closed tank or base, you’re just inviting mold back in before you even turn the machine on.
Lay all the parts out on a clean towel in a well-ventilated area. Let them air dry completely: this might take a few hours. Once they are bone dry, you can put everything back together. If you're looking for more ways to keep your home healthy and sparkling, check out our blog for more professional cleaning tips.
Ninja Pro-Tips for Daily Maintenance
Deep cleaning once a week is the "Ninja" standard, but what you do daily matters just as much.
- Empty and Refill Daily: Don’t let water sit in the tank for days on end. Stagnant water is a breeding ground for bacteria. Empty it every morning, let it air dry during the day, and refill it with fresh water at night.
- Use Distilled Water: If you're tired of scrubbing away mineral buildup, switch to distilled water. Since the minerals have been removed, your humidifier will stay much cleaner, and you won't get that "white dust" on your electronics.
- Dry Before Storage: When spring arrives and you’re ready to put the humidifier away, give it one final deep clean and make sure it is 100% dry before boxing it up.

When to Call in the Pros
Maintaining your appliances is a great way to keep your home environment healthy, but we know life gets busy. Sometimes you need a deeper clean for the rest of your house while you focus on the small details. That’s where we come in!
At The Cleaning Ninjas Inc, we handle the heavy lifting so you can enjoy a spotless home without the stress. Whether you need a one-time deep clean or recurring service, our team is ready to jump into action. You can learn more about us and the values we bring to every home, or explore our services to see how we can help you reclaim your free time.
Cleaning your humidifier might seem like a chore, but once you get into a rhythm, it only takes a few minutes of active work. Your health, your sleep, and your machine will thank you for it. Stay fresh, stay clean, and keep breathing easy!


