There is something undeniably satisfying about a drawer full of gleaming silverware. Whether it’s the heirloom set you pull out for the holidays or the stainless-steel spoons you use for your morning cereal, shiny cutlery just makes a meal feel a little more special. But let’s be real: silver has a mind of its own. One day it’s sparkling, and the next, it’s covered in that dull, yellowish-gray film we call tarnish.
At The Cleaning Ninjas Inc, we believe your home should shine from the baseboards to the butter knives. Tarnish isn't just an eyesore; it can also carry a metallic smell and a funky taste that ruins a perfectly good meal. If you’ve been hiding your favorite forks in the back of the drawer because they’ve lost their luster, it’s time to bring them back into the light.
In this guide, we’re going to walk you through the ultimate "Ninja" methods for removing tarnish, eliminating odors, and keeping your cutlery in tip-top shape without spending hours scrubbing.
Why Does Silver Tarnish Anyway?
Before we get into the "how-to," let’s talk about the "why." Silver tarnishes when it reacts with sulfur in the air or in certain foods (like eggs, onions, and mayonnaise). This reaction creates silver sulfide, which is that dark layer you see on the surface. Factors like high humidity and even certain storage materials: like rubber bands or wool: can accelerate this process.
It’s not a sign that your silverware is poor quality; in fact, tarnish is a hallmark of real silver. Even high-quality stainless steel can develop a "tea stain" or buildup from hard water and food residue. Luckily, you don’t need to be a professional chemist to fix it.
The "Magic" Aluminum Foil Method (The Ninja Favorite)
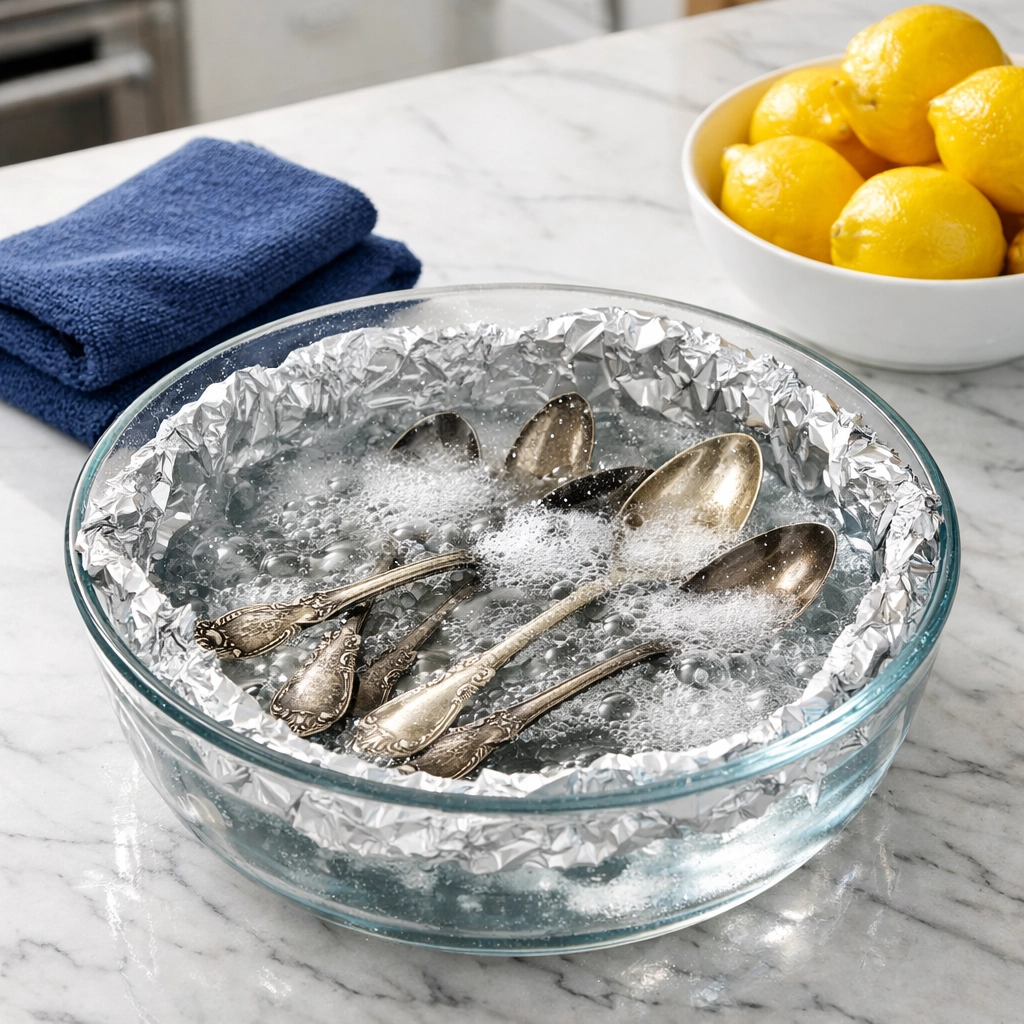
If you have a large amount of silverware to clean, you don’t want to sit there with a tiny cloth for three hours. The aluminum foil method is an electrochemical process that literally pulls the tarnish off the silver and onto the foil. It feels like a middle school science experiment, but the results are pure magic.
What You’ll Need:
- A large pan or your kitchen sink
- Aluminum foil
- Baking soda
- Boiling water
- Tongs (to protect your hands)
- A soft, lint-free cloth
The Steps:
- Line the Base: Line your pan or sink with a layer of aluminum foil, shiny side up.
- Add the Soda: Sprinkle a generous amount of baking soda over the foil. Usually, about 1/4 cup for a standard sink or 2 tablespoons for a small pan does the trick.
- Arrange the Silver: Place your tarnished items on top of the foil. Crucial Ninja Tip: Every piece of silver must be touching the foil or touching another piece of silver that is touching the foil. This creates the electrical circuit needed for the reaction.
- The Boiling Pour: Carefully pour boiling water over the silverware until everything is completely submerged.
- Watch the Magic: You’ll likely see some bubbling and smell something slightly like rotten eggs (that’s the sulfur leaving the silver). Let it soak for 3 to 5 minutes.
- Rinse and Dry: Use your tongs to remove the pieces. Rinse them under cool, clean water and dry them immediately with a soft cloth. Drying is the most important step to prevent water spots!
Dealing with Persistent Odors and Buildup
Sometimes, silverware doesn’t just look dull; it smells… off. If your cutlery drawer has a metallic or musty scent, it’s usually due to a combination of old food residues, moisture, and tarnish.
To tackle odors, a simple soap-and-water wash isn't always enough. Try a deep-cleaning soak using white vinegar and baking soda. Fill a bowl with warm water, add a cup of white vinegar, and a tablespoon of baking soda. Let the cutlery sit for 15 minutes. The vinegar breaks down the mineral buildup from hard water, while the baking soda neutralizes odors.
If you want more professional insights into keeping your kitchen pristine, check out our About Us page to see how we tackle the tough stuff.
Alternative DIY Hacks for Quick Fixes
Don’t have a mountain of baking soda? No problem. There are plenty of household items that can help you get that sparkle back in a pinch.
The Ketchup Method
It sounds crazy, but the acid in tomatoes combined with the salt in ketchup makes it a fantastic tarnish remover. Squirt some ketchup on a paper towel and rub it over the tarnished spots. If the tarnish is stubborn, let the ketchup sit for 15 minutes, then rinse and buff. This is great for small spots on spoons or decorative handles.
The Toothpaste Trick
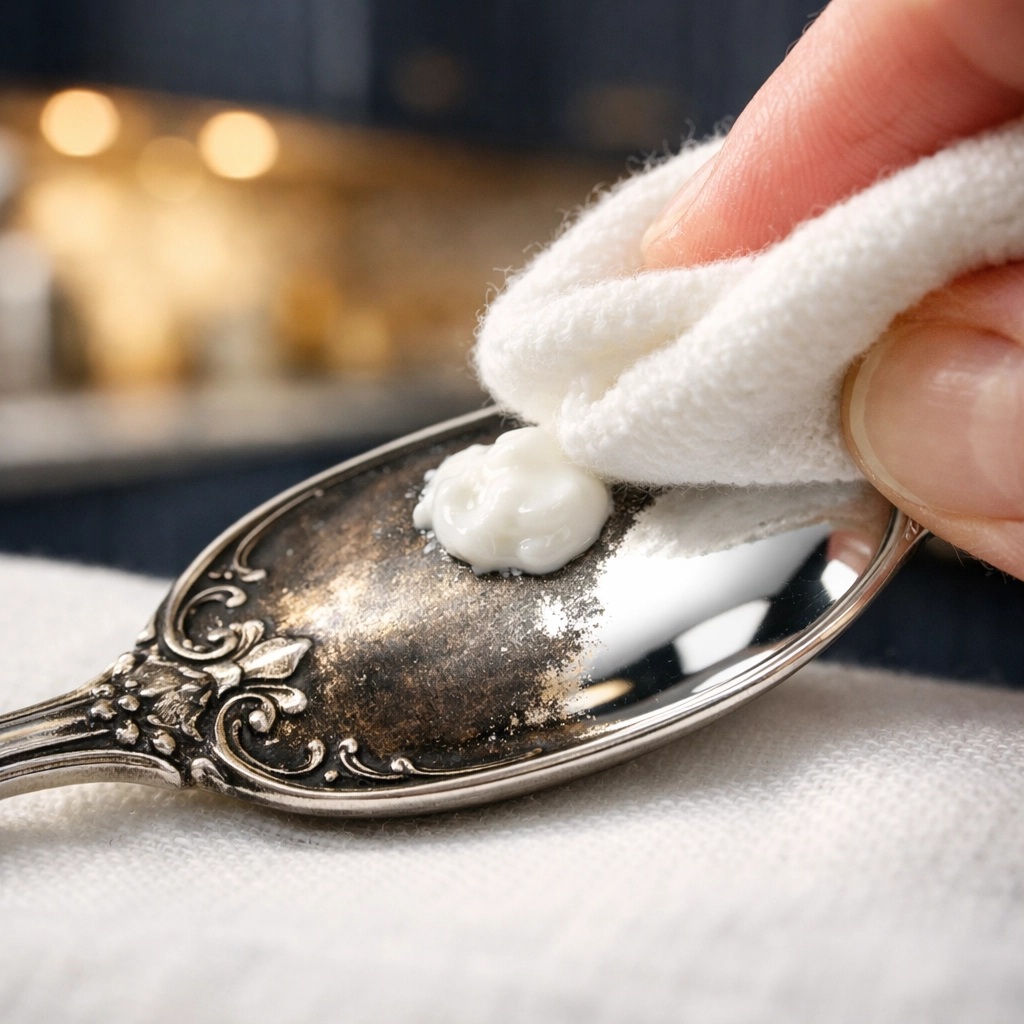
If you’re only dealing with one or two pieces, non-gel, non-whitening toothpaste works wonders. Apply a pea-sized amount to a soft cloth and rub the silver in circular motions. Rinse with warm water and dry. Be careful not to use this on silver-plated items, as toothpaste can be slightly abrasive and might wear down thin plating.
Commercial Polishes: When to Bring in the Big Guns
While we love a good DIY hack, sometimes old heirlooms need a professional touch. Commercial silver polishes like Wright’s Silver Cream or Hagerty’s contain specialized ingredients that leave behind a protective coating to prevent future tarnishing.
When using a commercial polish, always follow the "less is more" rule. Use a tiny amount of cream and rub gently. The goal is to remove the tarnish, not the silver itself! If you are interested in seeing how our pros handle deep cleans, you can explore our services.
Maintaining the Sparkle: Preventative Ninja Tips
Cleaning your silver is one thing, but keeping it clean is the real secret. Here is how the pros at The Cleaning Ninjas Inc recommend maintaining your cutlery:
- Avoid the Dishwasher for Real Silver: If it’s sterling silver or silver-plated, keep it out of the dishwasher. The high heat and harsh detergents can cause "pitting" and permanent damage. Hand wash only!
- Dry Immediately: Never let your silverware air dry. Water droplets contain minerals that leave spots and can lead to faster tarnishing. Use a soft microfiber cloth to buff them dry as soon as you’re done washing.
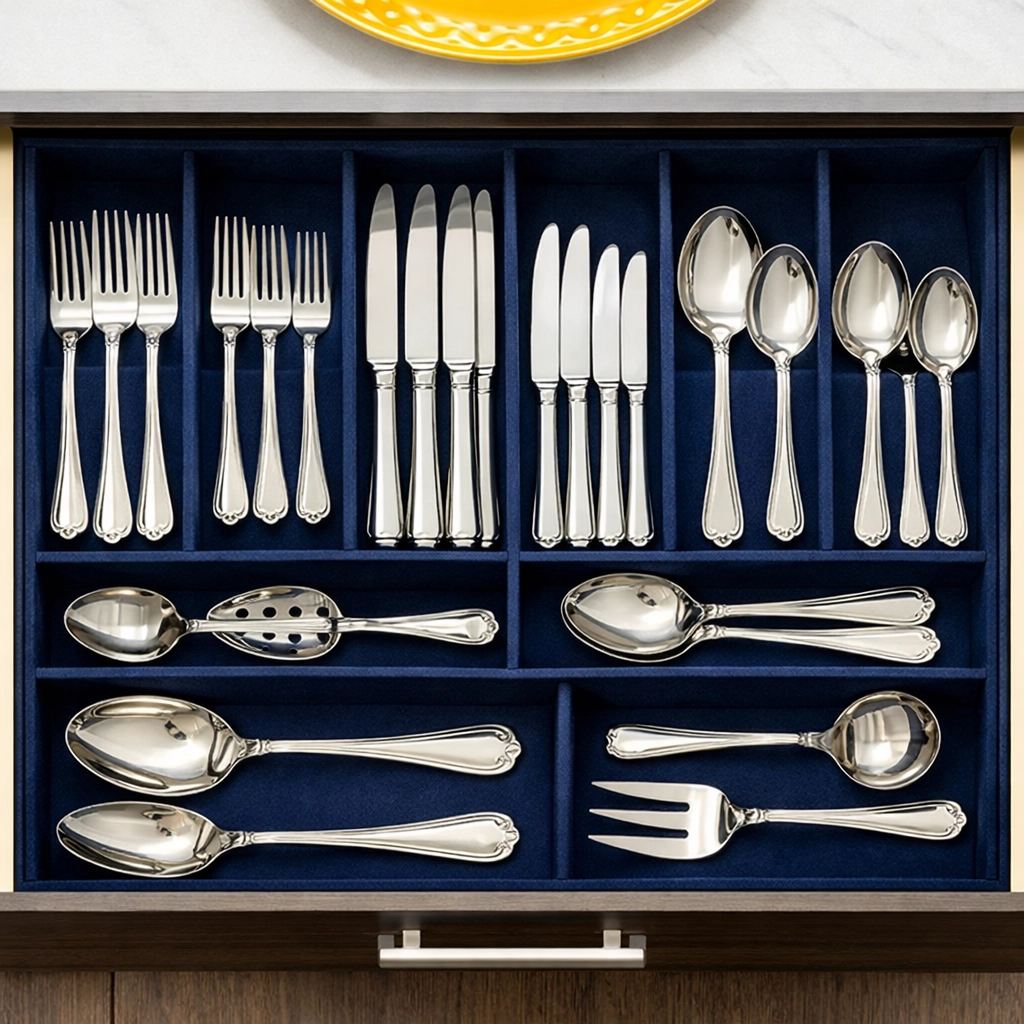
- Store it Properly: Humidity is the enemy. Store your silver in a chest lined with tarnish-resistant cloth (often called "Pacific Cloth"). You can also toss a piece of chalk or a silica gel packet into your cutlery drawer to absorb excess moisture.
- Use It Often: Believe it or not, the best way to keep silver from tarnishing is to use it! Regular use and regular washing prevent the sulfur buildup from taking hold.
Special Considerations: Antique and Composite Items
Before you start boiling water and grabbing the foil, take a look at your cutlery handles. If your silverware has handles made of bone, wood, ivory, or mother-of-pearl, do not use the boiling water method. Extreme heat can cause these materials to crack or loosen the glue holding the knife blades in place.
For these delicate items, stick to the toothpaste method or a very mild liquid silver polish, taking care to only touch the metal parts.
If you're ever in doubt about a specific cleaning task in your home, our Cleaning Tips blog is packed with guides on everything from kitchen organization to deep-cleaning bathroom tiles.
Wrapping Up
Removing tarnish doesn't have to be a chore that you put off for months. With the aluminum foil method, you can restore an entire set of silverware in the time it takes to brew a pot of coffee. By taking a few extra seconds to dry your cutlery properly and storing it away from humidity, you’ll ensure that every meal you serve has that professional, "Ninja-cleaned" glow.
A clean home is a happy home, and the details: like a sparkling spoon: are what truly make a space feel cared for. If your home needs a little extra love beyond the cutlery drawer, remember that The Cleaning Ninjas Inc are always here to help you reclaim your time and your sparkle.