

We’ve all been there. You spend ten minutes scrubbing the bathroom mirror, step back to admire your handiwork, and, as soon as the light hits it at a certain angle, it looks like a group of toddlers used it for finger-painting practice. Streaks, smudges, and those weird little lint fuzzies are everywhere.
At The Cleaning Ninjas Inc, we believe that mirrors are the "eyes" of a room. If they’re cloudy, the whole space feels a bit dim. Most people think the secret to a crystal-clear reflection is a more expensive blue spray or a fancier squeegee. But here’s the truth: the secret isn’t what you’re using; it’s how you’re using it.
In this edition of our Cleaning Tips series, we’re pulling back the curtain on professional-grade mirror cleaning. Grab your microfiber, and let’s get into the ninja way of doing things.
The Enemy of the Mirror: Why Your Current Method Fails
Before we talk about the right way, let’s talk about the "wrong" way, which happens to be how 90% of the world does it.
Usually, the process goes like this: grab a roll of paper towels, spray a gallon of blue liquid directly onto the glass, and rub in circles until your arm hurts. The result? A mirror that looks okay from the front but looks like a mess from the side.
The Problem with Paper Towels
Paper towels are essentially ground-up wood pulp. They are designed to be absorbent, but they are also incredibly "linty." As you rub the glass, the paper towel breaks down, leaving behind thousands of tiny white fibers. Plus, paper towels often just move the dirt around rather than lifting it off.
The Problem with Circular Motions
When you rub in circles, you’re just redepositing the grime you just picked up back onto the surface. You’re also creating static electricity, which acts as a magnet for dust the second you walk away.
The Problem with "The Direct Spray"
This is the biggest mistake of all. When you spray cleaner directly onto a mirror, the liquid drips down into the frame. Over time, that liquid seeps behind the silver coating of the mirror, causing those ugly black "rot" spots around the edges. Once that happens, there’s no cleaning it, you’re buying a new mirror.
The Ninja Tool Kit: What You Actually Need
If you want professional results, you need the tools our team uses when providing cleaning services in Massachusetts. Luckily, you probably already have these in your pantry.
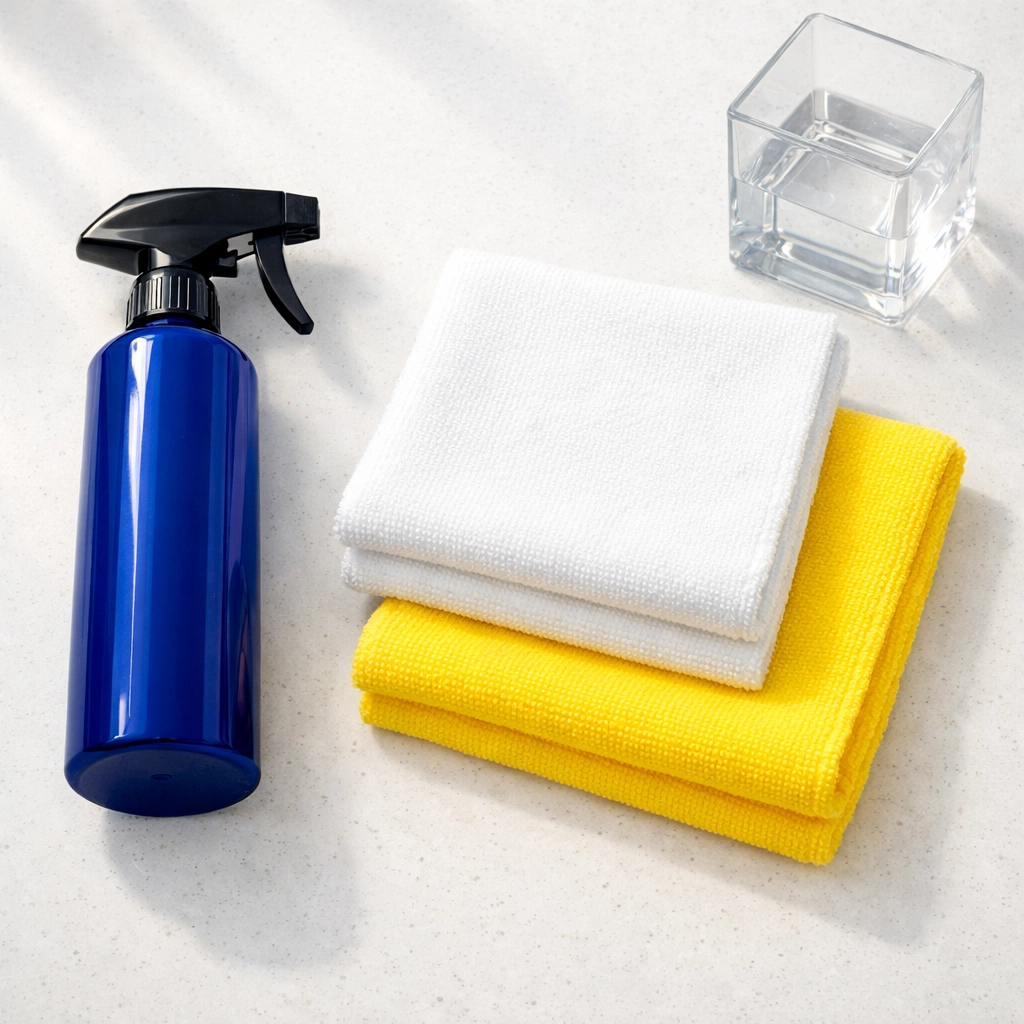
- Two High-Quality Microfiber Cloths: Not the cheap ones from the dollar bin. You want flat-weave microfiber for glass. One will be for cleaning, and one will be for buffing.
- Distilled Water: If you have hard water in your home, using tap water to clean mirrors is a recipe for disaster. The minerals in the water (calcium and lime) are what create those stubborn white streaks.
- White Vinegar: The ultimate natural degreaser.
- Rubbing Alcohol (Optional): Great for removing hairspray or toothpaste buildup.
- A Small Spray Bottle: For your custom "Ninja Shine" solution.
Step 1: The Pre-Dust (The Step Everyone Skips)
If you try to clean a dusty mirror with liquid, you’re essentially making "mirror mud." You’re mixing dust, hairspray, and skin cells into a paste and spreading it across the glass.
Before you ever let a drop of liquid touch that mirror, take a dry, clean microfiber cloth and give the surface a quick wipe. This removes the loose particles, lint, and dust. It takes ten seconds, but it saves you five minutes of scrubbing later. Think of it like sweeping a floor before you mop it, it’s just common sense!
Step 2: The "Secret Sauce" Recipe
Forget the neon-blue chemicals. The best glass cleaner on the planet is cheap, eco-friendly, and smells like a salad (briefly).
The Ninja Mirror Solution:
- 1 ½ cups distilled water
- ½ cup white vinegar
- 1 tablespoon rubbing alcohol (this helps the solution evaporate faster, preventing streaks)
Mix these in your spray bottle and give it a gentle shake. The vinegar breaks down the oils from fingerprints, and the distilled water ensures no mineral deposits are left behind.
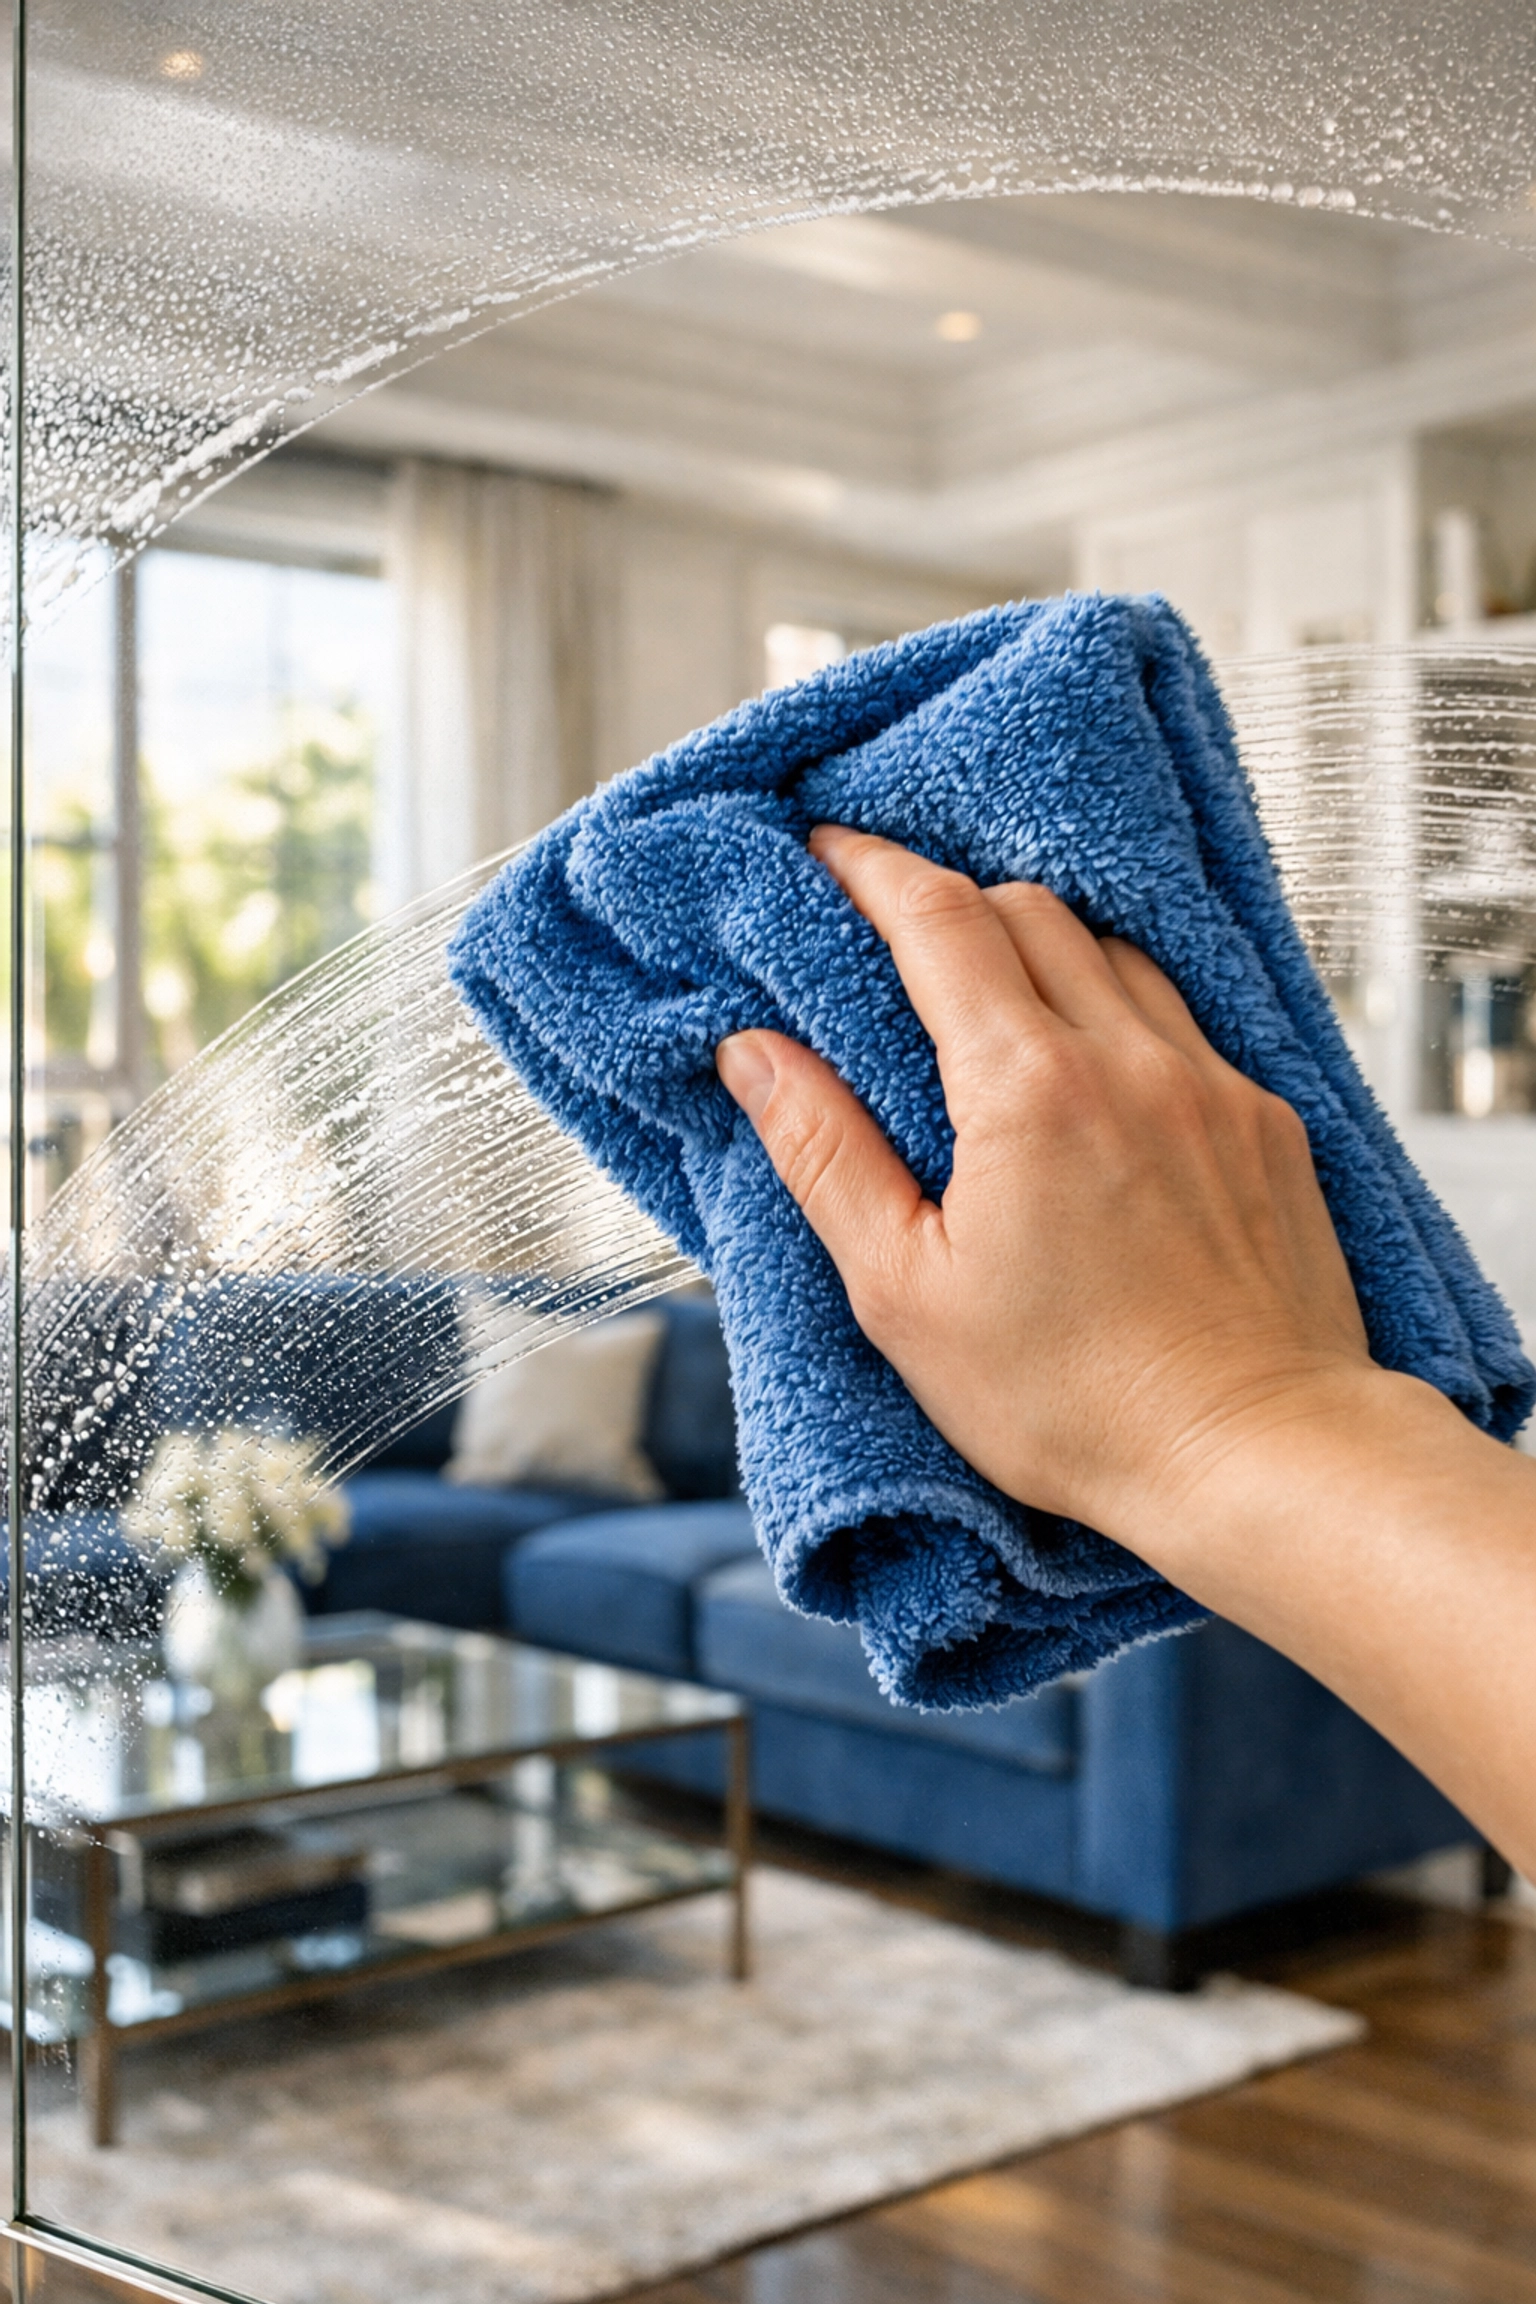
Step 3: The Golden Rule , Spray the Cloth, Not the Glass
This is the "It’s Not What You Think" part of the title. If you take away only one thing from this blog, let it be this: never spray the mirror directly.
Instead, fold your microfiber cloth into quarters. Spray your DIY solution onto the cloth until it’s damp, but not dripping wet. By controlling the moisture on the cloth, you prevent liquid from seeping into the edges of the mirror (preventing that black rot we mentioned) and you ensure you aren’t over-saturating the surface.
Over-saturation is a leading cause of streaks. If the glass stays wet for too long, it catches dust from the air before it can dry.
Step 4: The "S" Pattern (Mastering the Ninja Stroke)
Now it’s time for the technique. Most people go in circles, but a Ninja uses the "S" pattern.
Start at the top-left corner of the mirror. Wipe horizontally all the way to the right corner. Then, without lifting the cloth, sweep back to the left, slightly overlapping the first pass. Continue this "zigzag" or "S" shape all the way down to the bottom.
This technique ensures that you are always moving the dirt downward and toward the edges, rather than just swirling it around the center. It also ensures you don't miss any spots.
Step 5: The Final Buff (The Secret to the Sparkle)
Even with the perfect solution and the perfect "S" pattern, you might see a tiny bit of moisture left behind. This is where the magic happens.
Take your second, completely dry microfiber cloth. While the mirror is still slightly damp, use quick, circular motions (yes, circles are okay for buffing!) to polish the glass. This final pass removes any remaining residue and "buffs out" any microscopic streaks.
When you’re done, do the "Side Check." Lean against the wall and look at the mirror from a side profile. This angle reveals the streaks that look invisible from the front. If you see a smudge, give it one more quick buff with the dry cloth.
Dealing with Tough Spots: Hairspray and Toothpaste
Bathrooms are high-traffic zones for grime. If you have "mystery crust" on your mirror (usually a mix of toothpaste and hairspray), the vinegar solution might need a little help.
Before you do your main clean, dip a cotton pad in rubbing alcohol and rub it directly onto the stubborn spots. Rubbing alcohol acts as a solvent that dissolves the resins in hairspray instantly. Once the spots are gone, proceed with your "S" pattern cleaning.
Why Does This Matter?
You might think, "It's just a mirror, Penny. Is it really that serious?"
Well, a clean home is about more than just aesthetics: it’s about how you feel in your space. When you catch your reflection in a streak-free mirror, it’s a small "win" for your day. It’s those small details that separate a "mostly clean" house from a professionally maintained home.
If managing these details feels overwhelming, that’s where we come in. At The Cleaning Ninjas Inc, we specialize in the details so you don't have to. Whether you’re looking at weekly vs. bi-weekly house cleaning, we make sure every reflection in your home is crystal clear.

Quick Tips for Other Glass Surfaces
The "Ninja Mirror Method" isn't just for bathrooms. You can use this exact same process for:
- Glass Coffee Tables: Use the "S" pattern to avoid that cloudy look in the center.
- Picture Frame Glass: Always spray the cloth! You don't want vinegar seeping into your precious family photos.
- Windows: For large windows, you can scale this up with a squeegee, but for interior windows, the microfiber method is king.
- Phone and Tablet Screens: Use a dry microfiber first, then a very slightly damp one with just distilled water (skip the vinegar here to protect the screen coatings).
Final Thoughts
Cleaning doesn't have to be a chore if you have the right strategy. By switching from paper towels to microfiber and ditching the "spray the glass" habit, you’ll save money, protect your mirrors from damage, and finally achieve that streak-free shine you’ve been chasing.
Want more hacks like this? Check out our full blog for more ways to keep your home looking sharp. And if you’re tired of being the one holding the microfiber cloth, give us a shout! Explore our services and let the Ninjas take over the dirty work.
Now, go take a look in that mirror: you look great! (And so does the glass.)


