

It’s one of those modern life ironies that catches us all off guard: the machine meant to clean your dishes can actually become one of the dirtiest spots in your kitchen. We’ve all been there: you open the dishwasher door expecting that fresh, steam-cleaned scent, but instead, you’re hit with a "funk." Maybe it’s a damp, musty odor, or perhaps it’s more of a "last Tuesday’s lasagna" vibe.
Even if it doesn't smell yet, you might notice your glasses coming out cloudy or little bits of food stuck to your "clean" plates. At The Cleaning Ninjas Inc, we call this the Dishwasher Paradox. To keep your dishes sparkling, you have to keep the machine itself in fighting shape.
In this guide, we’re going to show you how to deep clean your dishwasher like a pro. We’ll cover everything from unclogging those tiny spray holes to the secret "two-step" vinegar and baking soda punch that knocks out odors for good. If you're looking for more ways to keep your home in top shape, don't forget to check out our other Cleaning Tips.
Why Does a Dishwasher Get Dirty?
Before we jump into the "how," let’s talk about the "why." Every time you run a cycle, your dishwasher deals with grease, food particles, and detergent residue. Over time, these materials settle into the nooks and crannies. If you live in an area with hard water, you’re also dealing with limescale: calcium and magnesium deposits that can clog the internal mechanics and leave that annoying white film on your glassware.
Left untreated, this build-up creates a perfect breeding ground for mold and bacteria, especially around the rubber seals. But don't worry! You don’t need a degree in appliance repair to fix this. You just need a little "ninja" strategy and about an hour of active work time.
Step 1: The Great Removal
The first step in a true deep clean is getting everything out of the way. You can’t clean the hidden corners if the racks are in your path.
- Empty the machine: Ensure there are no dishes left behind.
- Remove the racks: Most bottom racks just roll right out. For the top rack, check the ends of the plastic tracks; there’s usually a small clip you can pop open to slide the whole rack out.
- Utensil holders: Take these out too.
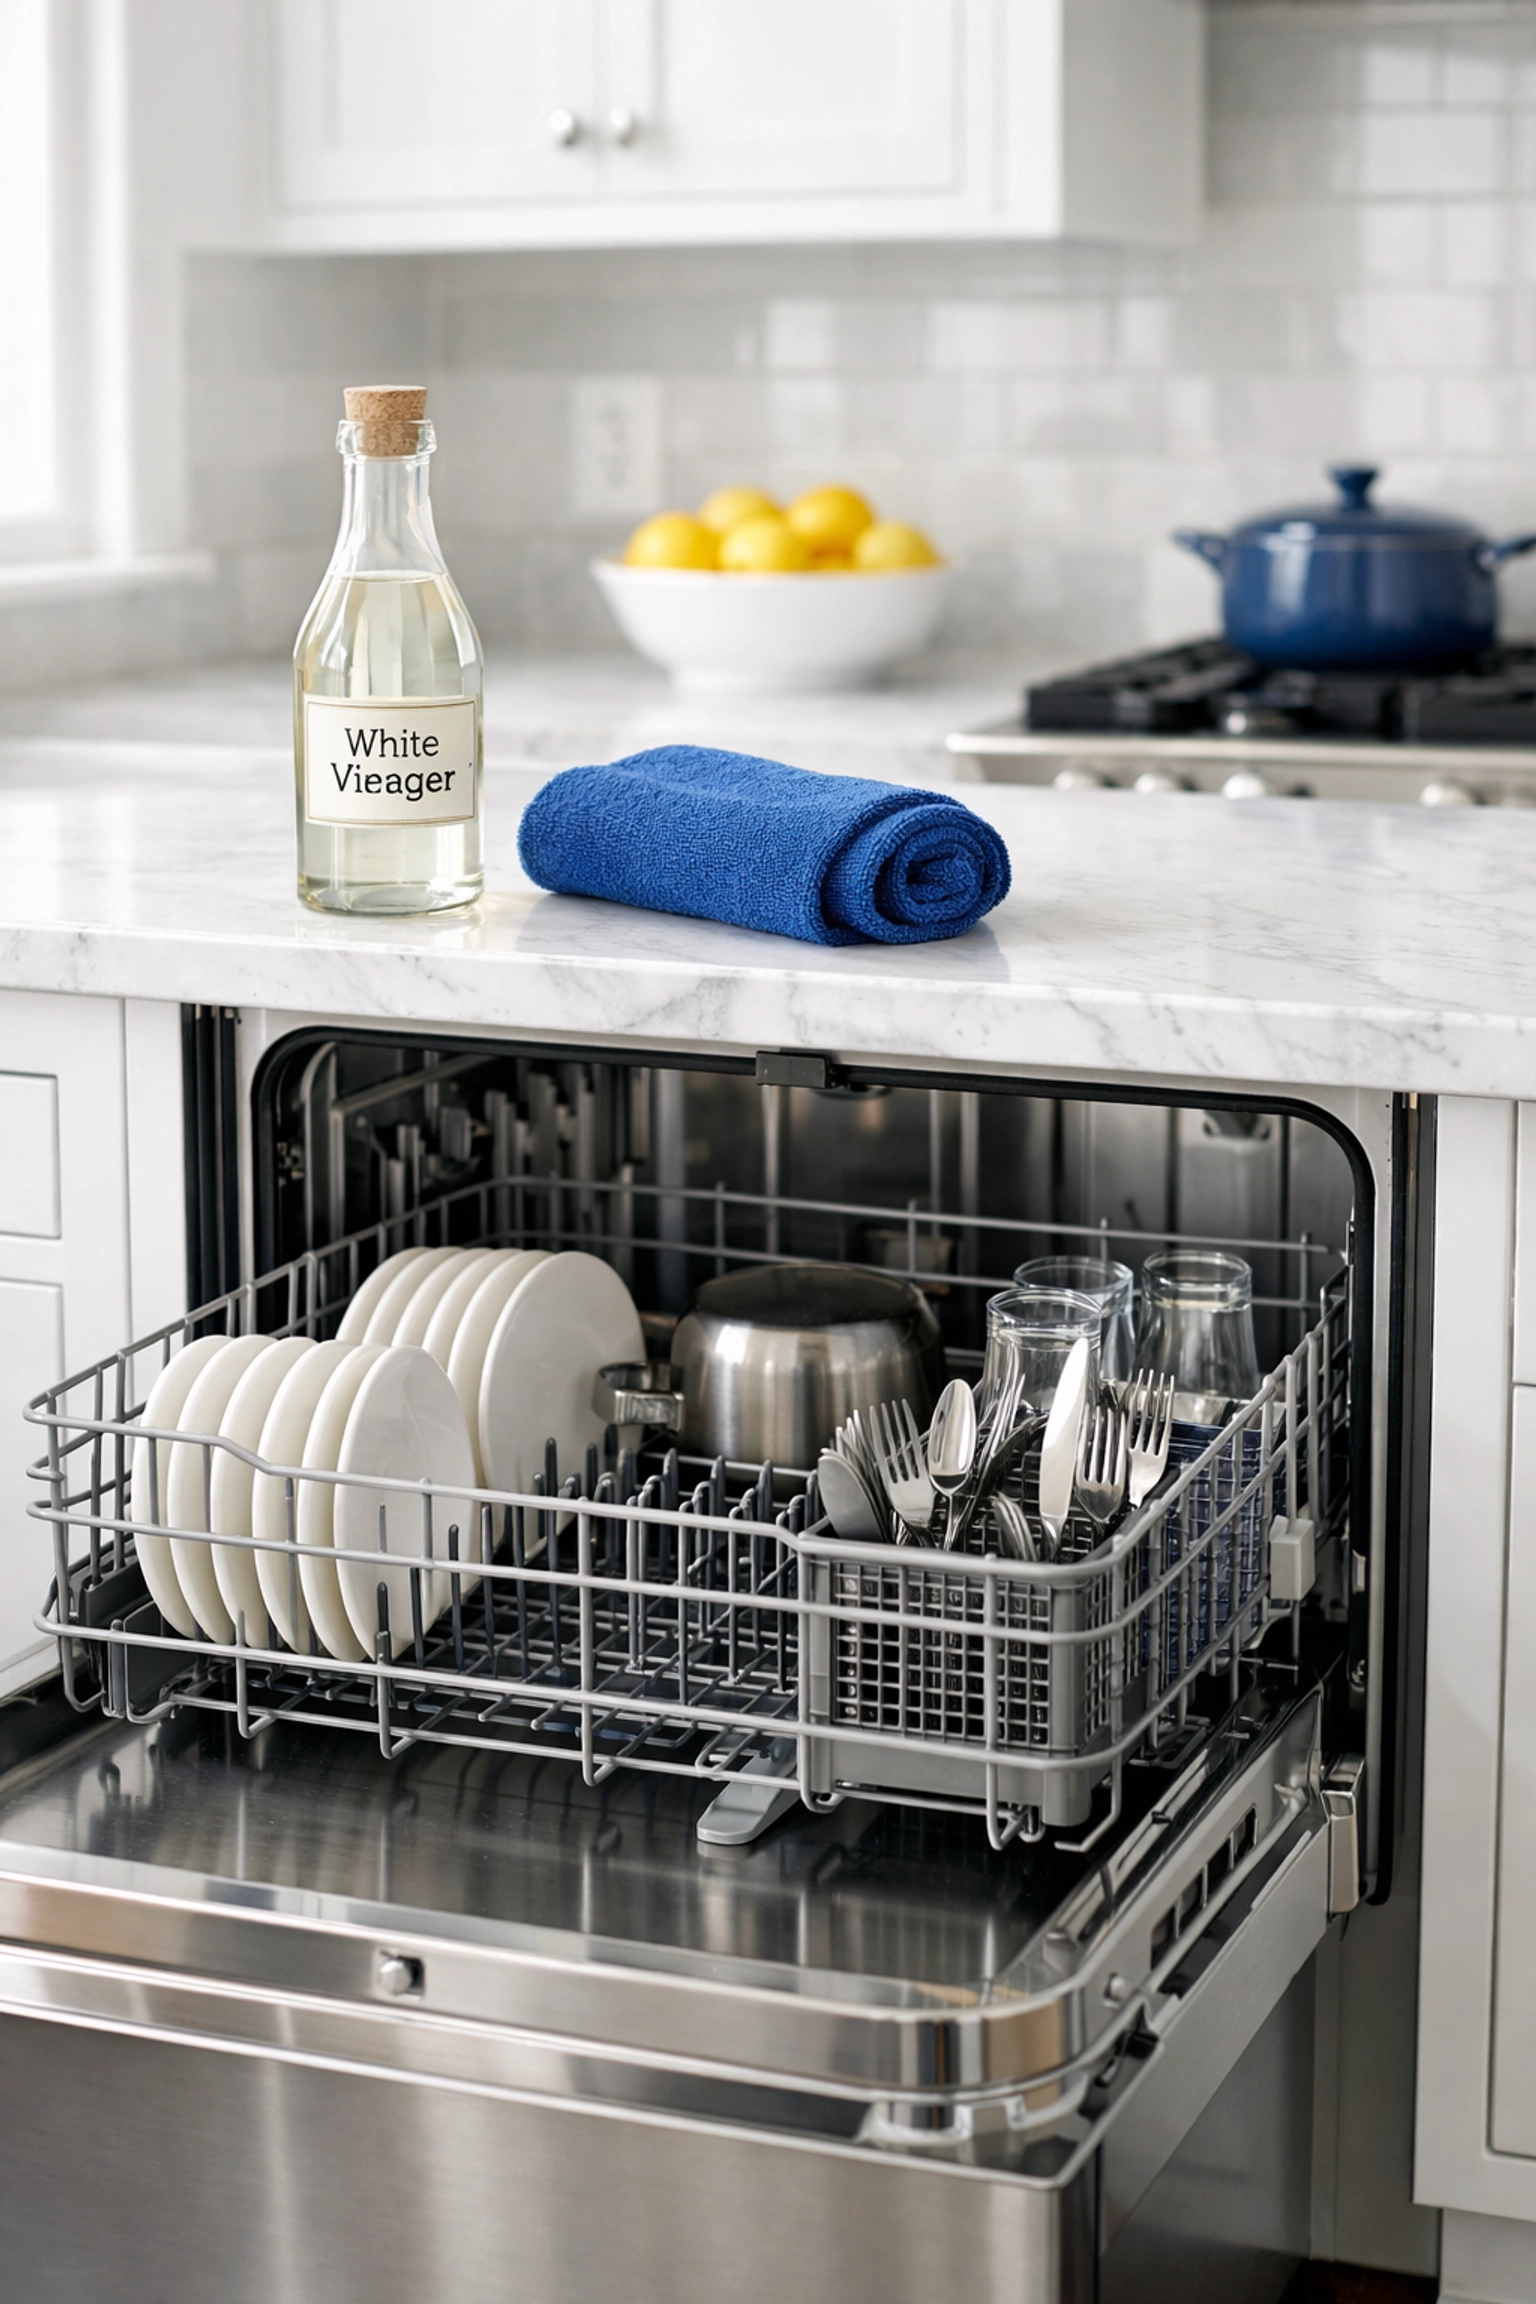
Once you have the removable parts out, give them a inspection. If they look greasy or have stuck-on food, soak them in your kitchen sink with warm water and a cup of white vinegar for about 30 minutes. If they are just a bit dusty, a quick spray with an all-purpose cleaner and a wipe-down will do.
Step 2: Clearing the Spray Arms
The spray arms are the "engine" of the cleaning process. If the tiny holes in these arms are clogged with mineral deposits or a rogue peppercorn, the water can’t reach your dishes with enough pressure.
Take a look at the arms (usually one at the bottom and one under the top rack). Most models allow you to unscrew them by hand or by removing a small plastic cap. Once they’re out, take them to the sink.
Use a toothpick, a sewing needle, or a piece of flexible wire to poke through each individual hole. You’d be surprised what gets stuck in there! Shake the arm to see if anything is rattling around inside, then rinse it under the tap until water flows freely through all the openings. This small step can drastically improve how clean your dishes get in a single cycle.
Step 3: Tackling the "Gunk Zone" (The Filter and Drain)
If your dishwasher smells, the culprit is almost certainly the filter. This is where the "heavy lifting" of the cleaning happens, and it’s where food debris goes to die: or rather, to rot.
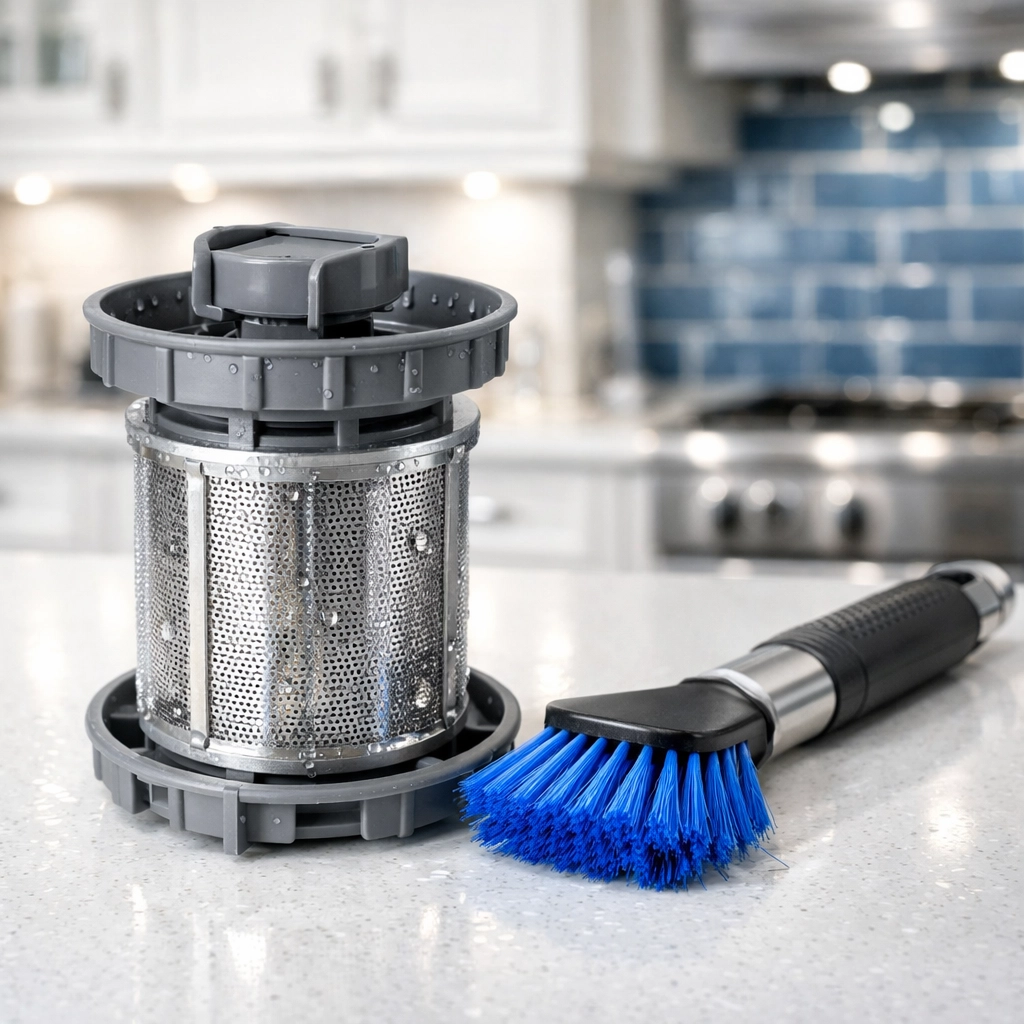
- Remove the Filter: Most modern dishwashers have a cylindrical filter at the bottom that you can unlock by twisting it counter-clockwise. Some models also have a flat mesh screen below that.
- Scrub it down: Take these parts to the sink. Use a soft brush (an old toothbrush is perfect for this) and some dish soap to scrub away the slimy build-up. If it’s particularly greasy, an all-purpose cleaner or a soak in vinegar will help break down the fats.
- Check the Drain: While the filter is out, look into the drain area. Use a paper towel to scoop out any visible chunks of food, broken glass, or those weird plastic stickers that come off new Tupperware.
For a deeper drain clean, try the "Ninja Flush." Mix one cup of warm white vinegar with a scoop of oxygen boost (like OxiClean) and pour it down the drain. Let it sit for 10 to 20 minutes to dissolve any organic matter, then flush it with a kettle of hot water.
Step 4: The Door and the Gasket
The rubber gasket (the seal around the door) is a prime spot for mold and mildew. Because this area stays damp and doesn't always get hit by the high-heat water during a cycle, it can get pretty gross.
Spray an all-purpose cleaner or a 50/50 vinegar and water mix directly onto the gasket. Use a small brush or a microfiber cloth to get into the folds of the rubber. Wipe down the entire inner door, including the bottom edge which often collects "drip" marks that never get washed away.
Pro Tip: Don't forget the sides and top of the door! Steam escapes here and can leave sticky residue on the edges that are technically "outside" the wash zone when the door is closed.
Step 5: The Two-Step Cycle Deep Clean
Now that the manual labor is done, it's time to let the machine do the rest of the work. We use a two-step process that utilizes chemistry to strip away smells and hard water stains.
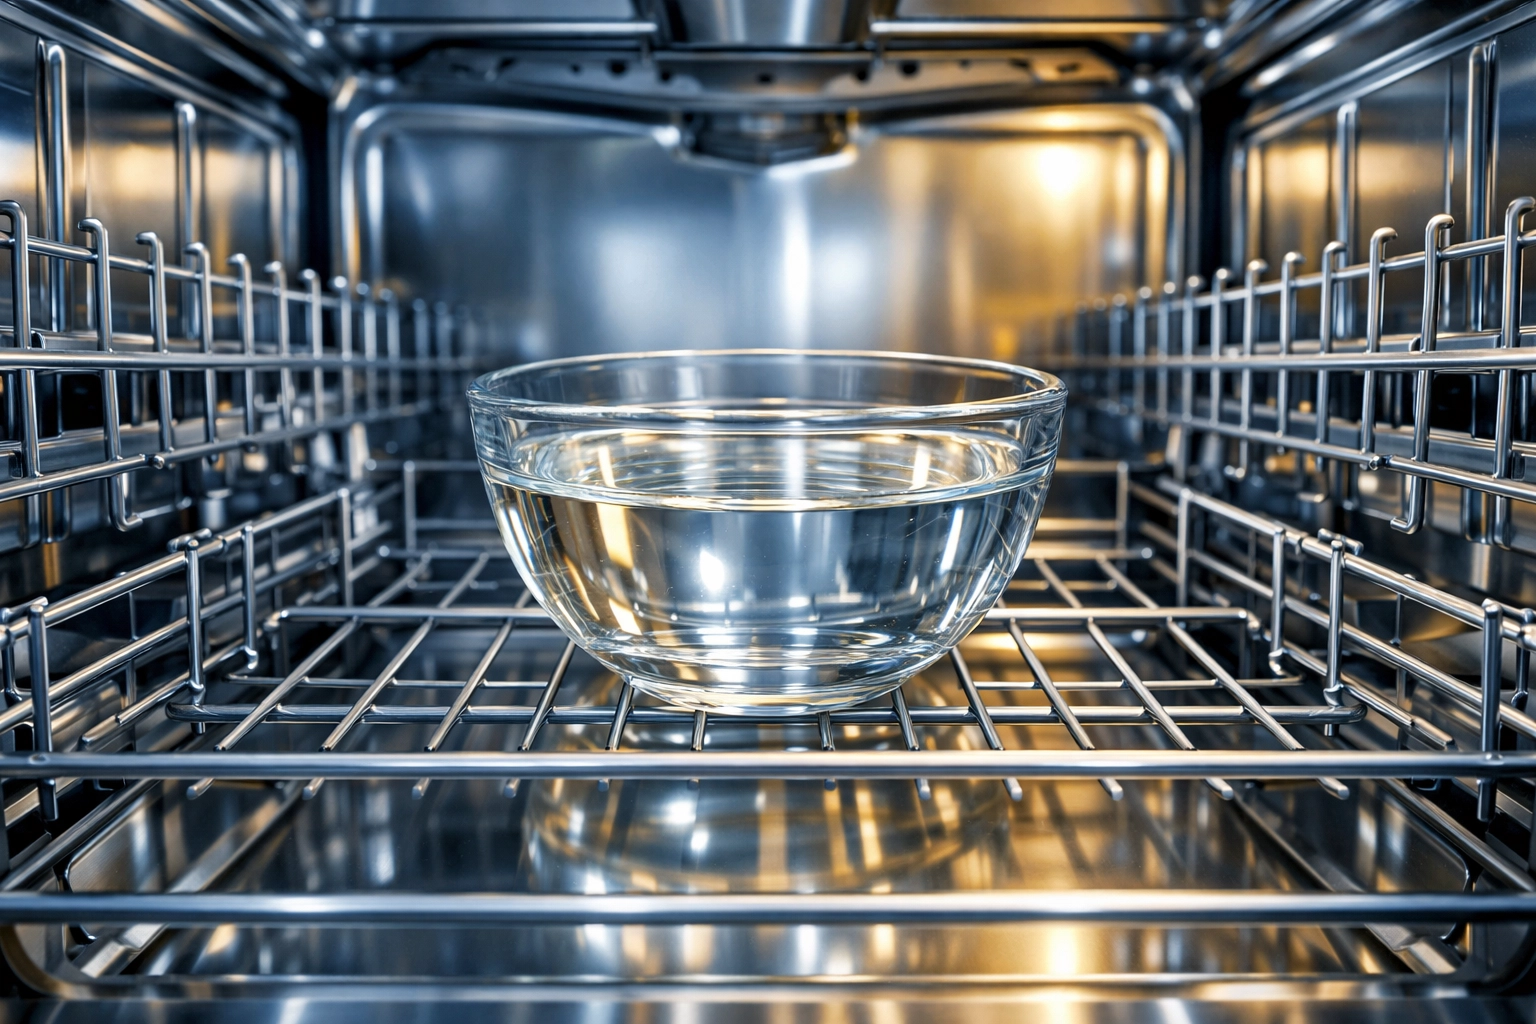
Cycle 1: The Vinegar Strip
Place a dishwasher-safe bowl or a wide-mouth jar on the top rack. Fill it with one cup of plain white vinegar. Do not add detergent. Run a full cycle on the hottest water setting. As the machine runs, the vinegar will gradually overflow from the bowl and circulate, breaking down limescale and grease.
Cycle 2: The Baking Soda Refresh
Once the vinegar cycle is finished, sprinkle one cup of baking soda across the very bottom of the dishwasher. Run another short, hot cycle. The baking soda acts as a mild abrasive to scrub away remaining stains and is a legendary odor neutralizer.
Important Note: Never run vinegar and baking soda in the same cycle. If you mix them together at the start, they just fizz up and neutralize each other, leaving you with nothing but slightly salty water. They work best as a 1-2 punch!
Maintaining the Shine
Congratulations! Your dishwasher is now officially Ninja-clean. But how do you keep it that way? Here are a few quick habits to keep things fresh:
- Scrape, Don't Rinse: You don't need to pre-wash your dishes (modern detergents actually need some food enzymes to work correctly), but you should scrape off large chunks. Your filter will thank you.
- Leave it Cracked: After a cycle ends, leave the door slightly ajar for 20 minutes. This allows the moisture to escape and prevents that "wet dog" smell from developing.
- Monthly Maintenance: You don't have to do a full deep clean every week, but try the vinegar bowl trick once a month to keep limescale at bay.
- Check the Temperature: Ensure your water heater is set to at least 120°F (49°C). If the water isn't hot enough, the detergent won't dissolve properly, leading to more build-up.
Need a Hand?
We know that life gets busy. Sometimes, between work, kids, and trying to have a social life, deep cleaning the appliances is the last thing on your mind. That’s where we come in! At The Cleaning Ninjas Inc, we pride ourselves on being the best in the business when it comes to keeping your home healthy and happy.
If you want your whole kitchen (or your whole house!) to get the Ninja treatment, take a look at Our Services. From routine maintenance to deep "move-in/move-out" cleans, we’ve got you covered. You can also learn more about our team and our mission over on our About Us page.

Keeping your home clean shouldn't be a chore that drains your energy. By spending just a little time on your dishwasher today, you’re ensuring cleaner dishes, a fresher kitchen, and a longer life for your appliance. For more home hacks and professional advice, be sure to browse through our Full Blog.
Stay fresh, and happy cleaning!


