

Imagine this: You’ve spent your Saturday morning armed with a mop, a bucket, and a playlist that makes you feel like you’re in a 90s montage. You’ve scrubbed the kitchen, wiped the baseboards, and sanitized the bathroom. The house smells like lemons and victory. But here’s the plot twist that would make a horror movie director proud: What if I told you that you didn’t actually clean your house? What if you just moved the germs from the bathroom and gave them a guided tour of your kitchen?
It sounds like a nightmare, but for many well-intentioned DIY cleaners, it’s a reality. At The Cleaning Ninjas Inc, we see it all the time. People use the same sponge for a month or a mop that hasn't seen a washing machine since the last solar eclipse.
If your cleaning tools are dirty, you aren't cleaning, you’re just "redecorating" with bacteria. Today, we’re diving into the why and the how of cleaning your cleaning tools. Grab a cup of coffee (in a clean mug, hopefully), and let’s get into the nitty-gritty of cleaning tips that actually matter.
The Science of the "Gross" Factor
We don’t want to scare you, but the science is a little bit spicy. Research shows that the average human hand carries about 3,200 different germs from 150 species. Every time you grab your spray bottle, your vacuum handle, or your scrub brush, you are transferring those microbes onto the tool.
Once those germs hitch a ride on your cleaning equipment, they don’t just disappear. In fact, many types of bacteria can survive on plastic surfaces for up to five months. If you’re using a plastic scrub brush that you used to clean the grout behind the toilet three months ago, those same germs are likely still hanging out, waiting for their chance to migrate to your kitchen sink.
Using hygienic equipment is the difference between a "surface clean" and a "ninja clean." By sanitizing your tools, you reduce the risk of cross-contamination, which is a fancy way of saying you won't get bathroom germs on your dinner table.
The Hall of Shame: Which Tools Are the Worst Offenders?
Not all tools are created equal when it comes to filth. Some are basically five-star resorts for bacteria.
1. The Mop: The Petri Dish of the Home
If your mop smells "funky," that’s not the smell of hard work. That’s the smell of millions of bacteria throwing a party in the damp fibers. Traditional cotton string mops are the biggest offenders because they stay wet for a long time, providing the perfect breeding ground for mold and mildew.
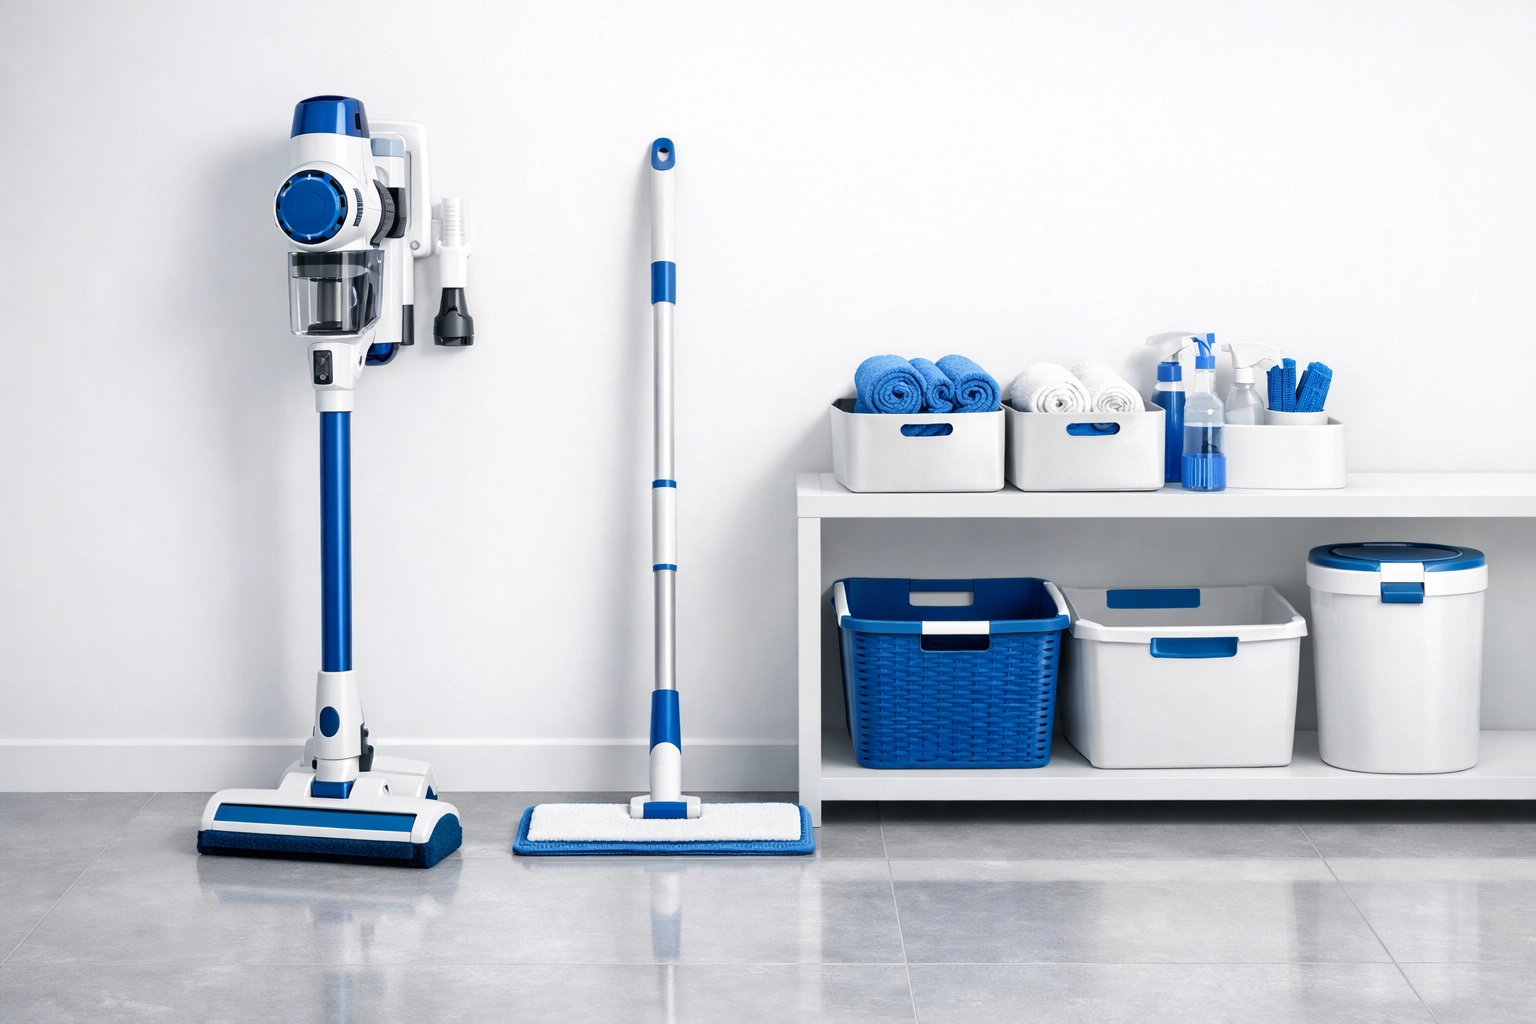
2. The Vacuum: The Dust-Burping Beast
Your vacuum is designed to suck up dirt, but if you don't clean the filters and the agitator brush (that spinning thing on the bottom), it starts to blow fine dust and allergens back into the air. If your vacuum smells like a wet dog every time you turn it on, it’s time for a deep clean.
3. The Kitchen Sponge: The Final Boss
We’ve all heard it, but it bears repeating: your kitchen sponge is probably the filthiest item in your house. It’s porous, it stays damp, and it’s constantly in contact with food particles. Using a dirty sponge to "clean" a counter is essentially just smearing a layer of E. coli across your prep surface.
4. Microfiber Cloths
We love microfiber here at The Cleaning Ninjas. It’s the gold standard for eco-friendly cleaning. But microfiber works by "trapping" dirt in its tiny fibers. If you don't wash them correctly, those fibers stay clogged, and the cloth becomes useless (and gross).
How to Clean Your Tools (The Ninja Protocol)
Now that we’ve thoroughly grossed you out, let’s talk about the solution. You don’t need a degree in microbiology to keep your gear fresh. You just need a strategy. At The Cleaning Ninjas Inc, we recommend a full tool-sanitization session at least once a month.
Step 1: Remove Visible Dirt (The "Pre-Game")
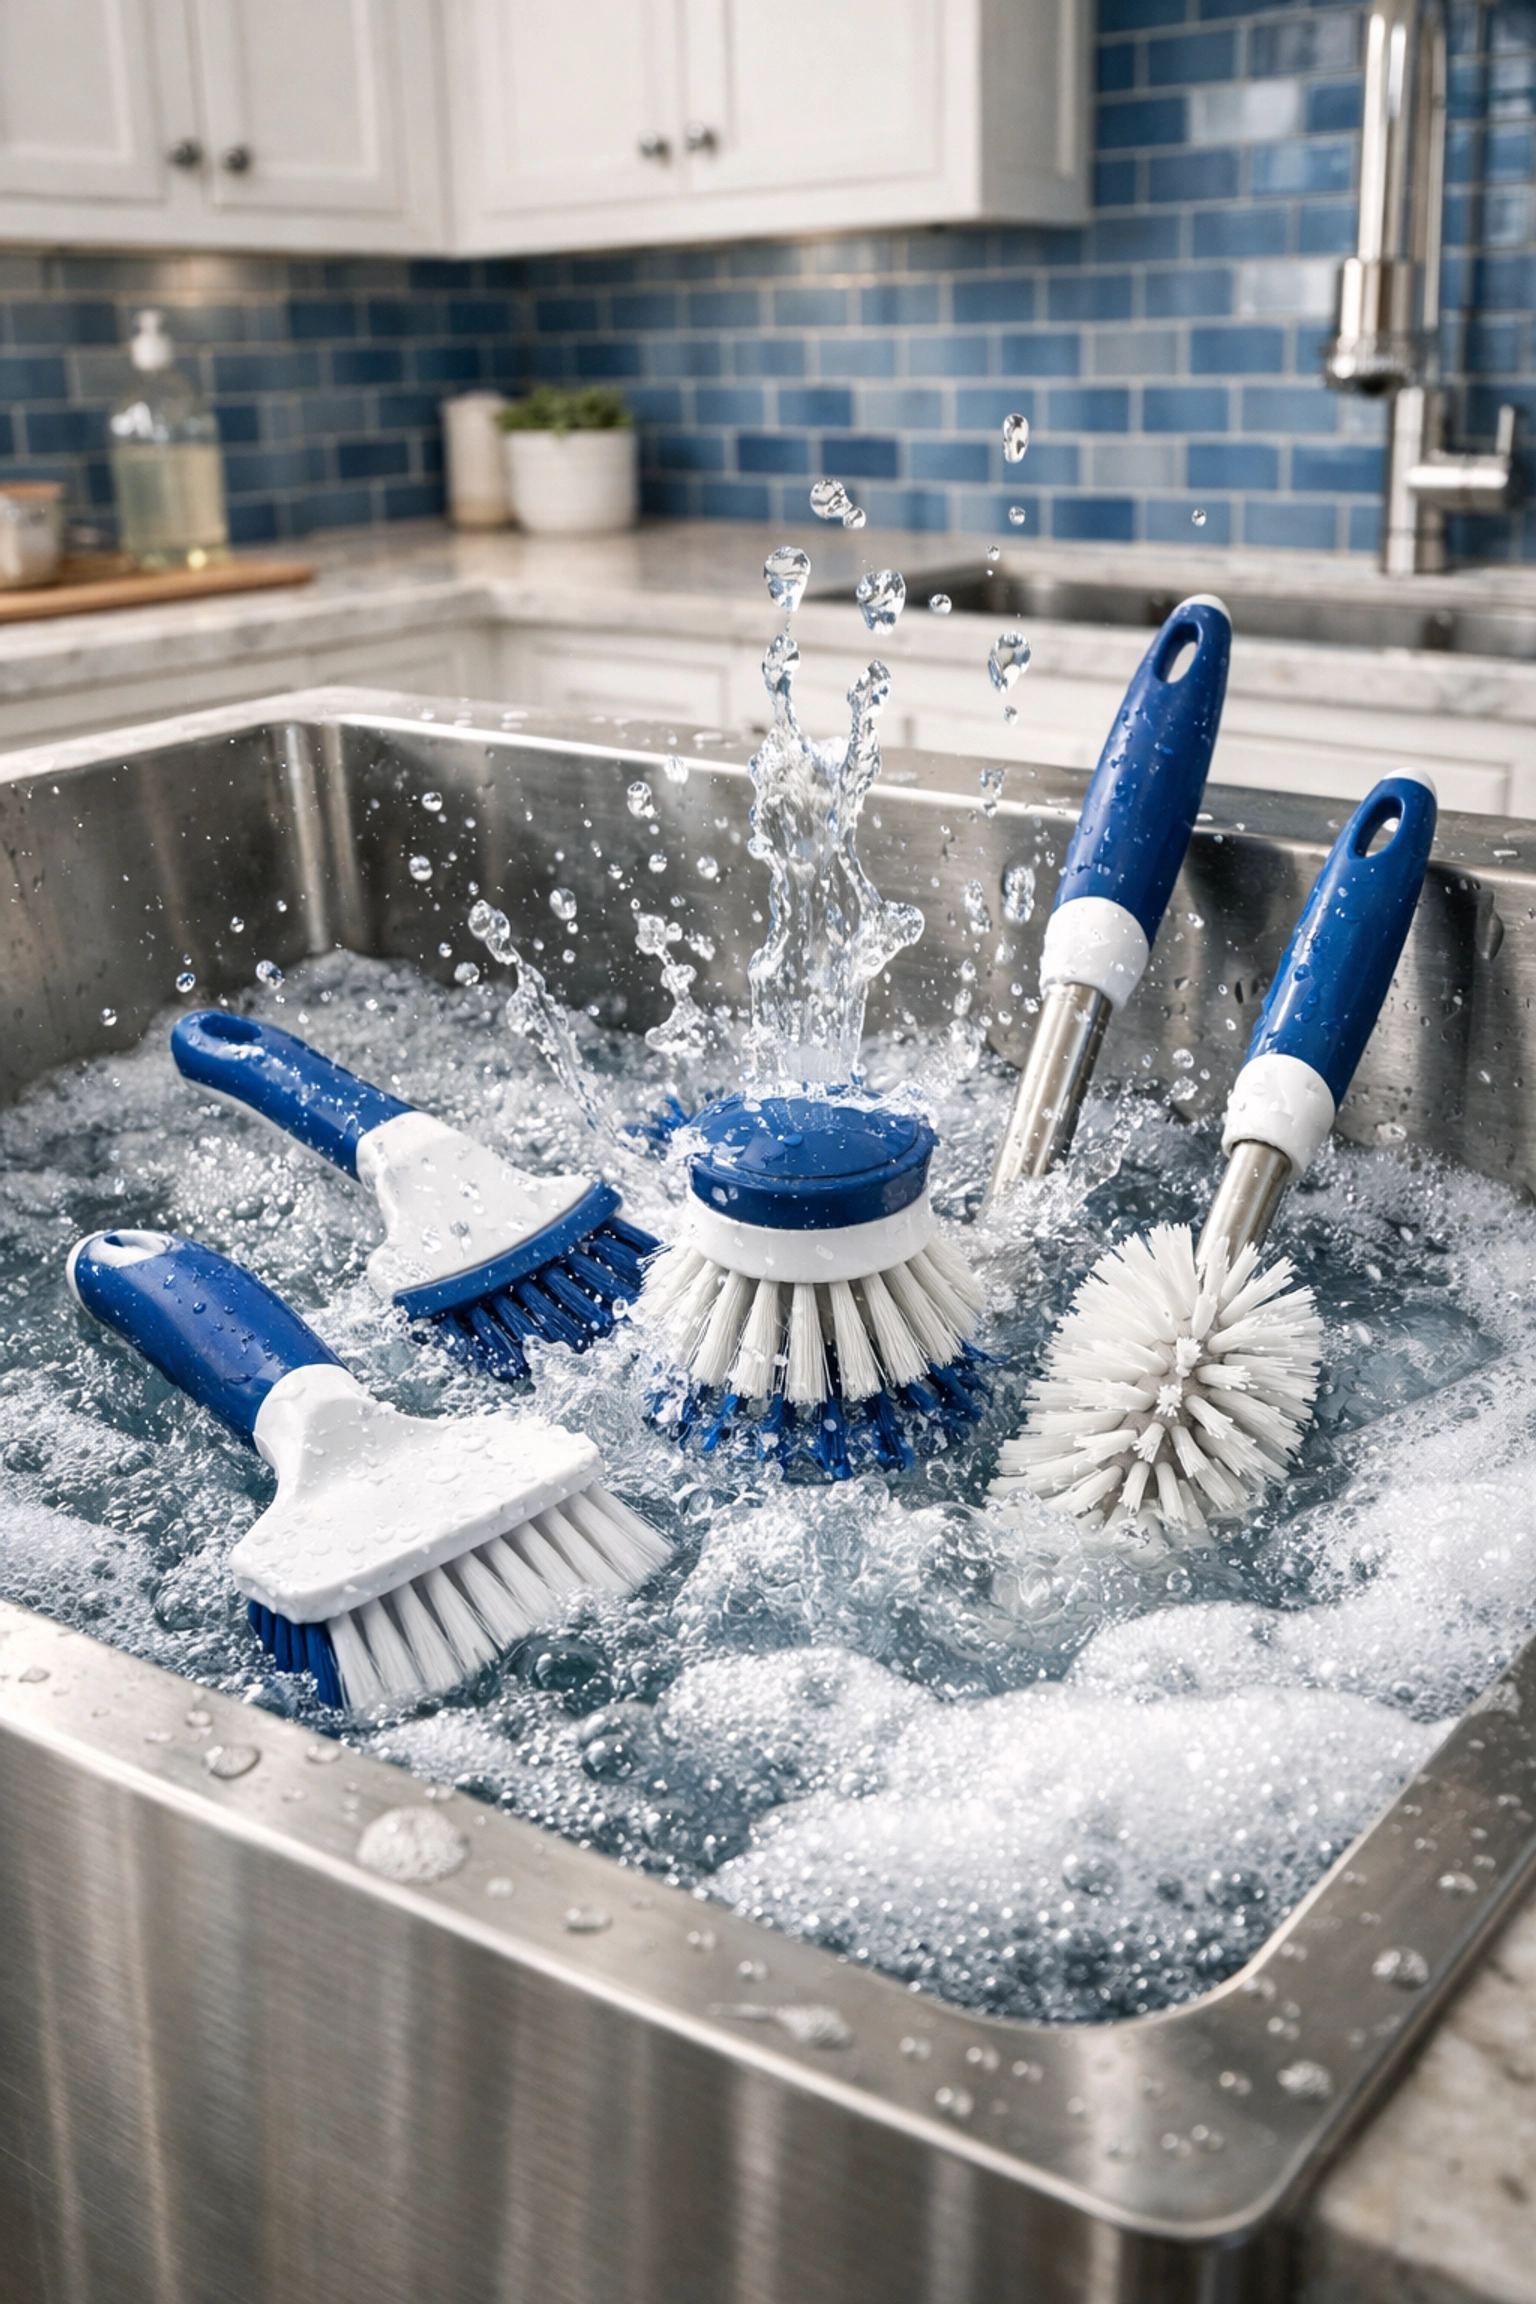
Before you sanitize, you have to declutter the tool itself. Use a stiff brush or even an old comb to pull hair and lint out of your vacuum’s floor head. Shake out your duster. Remove the gunk trapped in the bristles of your scrub brushes. If the tool is covered in physical debris, the disinfectant can't get to the surface to do its job.
Step 2: The Deep Wash
For most plastic tools, brushes, and even some mop heads, a hot soapy bath is the first step. Use a cleaning solution with a low pH (5 or less) to help break down lime residue and mineral buildup.
Pro Tip: If your tools are dishwasher-safe (check the labels!), running them through a cycle at 82°C (180°F) is an absolute game-changer. It’s like a spa day for your scrub brushes.
Step 3: Rinse and Repeat
Rinse your tools thoroughly with clean water. You want to make sure all the soap and loosened grime are completely gone.
Step 4: Disinfect (The Final Boss)
This is where you actually kill the germs. Apply an approved disinfectant to all surfaces of the tool. You can use a diluted bleach solution (if the material allows) or a high-quality botanical disinfectant if you prefer the green route. Let it sit for the "dwell time" listed on the bottle, usually 3 to 10 minutes, to ensure it actually kills the bacteria.
Step 5: The Final Rinse and Air Dry
Rinse one last time to remove any disinfectant residue. Then, and this is the most important part, let everything dry completely before putting it away. Storing a damp mop in a dark closet is how you start the germ cycle all over again. Hang your mops and brushes so they get plenty of airflow.
Specific Tips for Common Items
- Microfiber Cloths: Never use fabric softener! It coats the fibers and ruins their ability to trap dirt. Wash them in hot water with a clear detergent and tumble dry on low or air dry.
- The Vacuum: Check the "HEPA" filter. Most modern vacuums have washable filters. Rinse them until the water runs clear and let them dry for at least 24 hours.
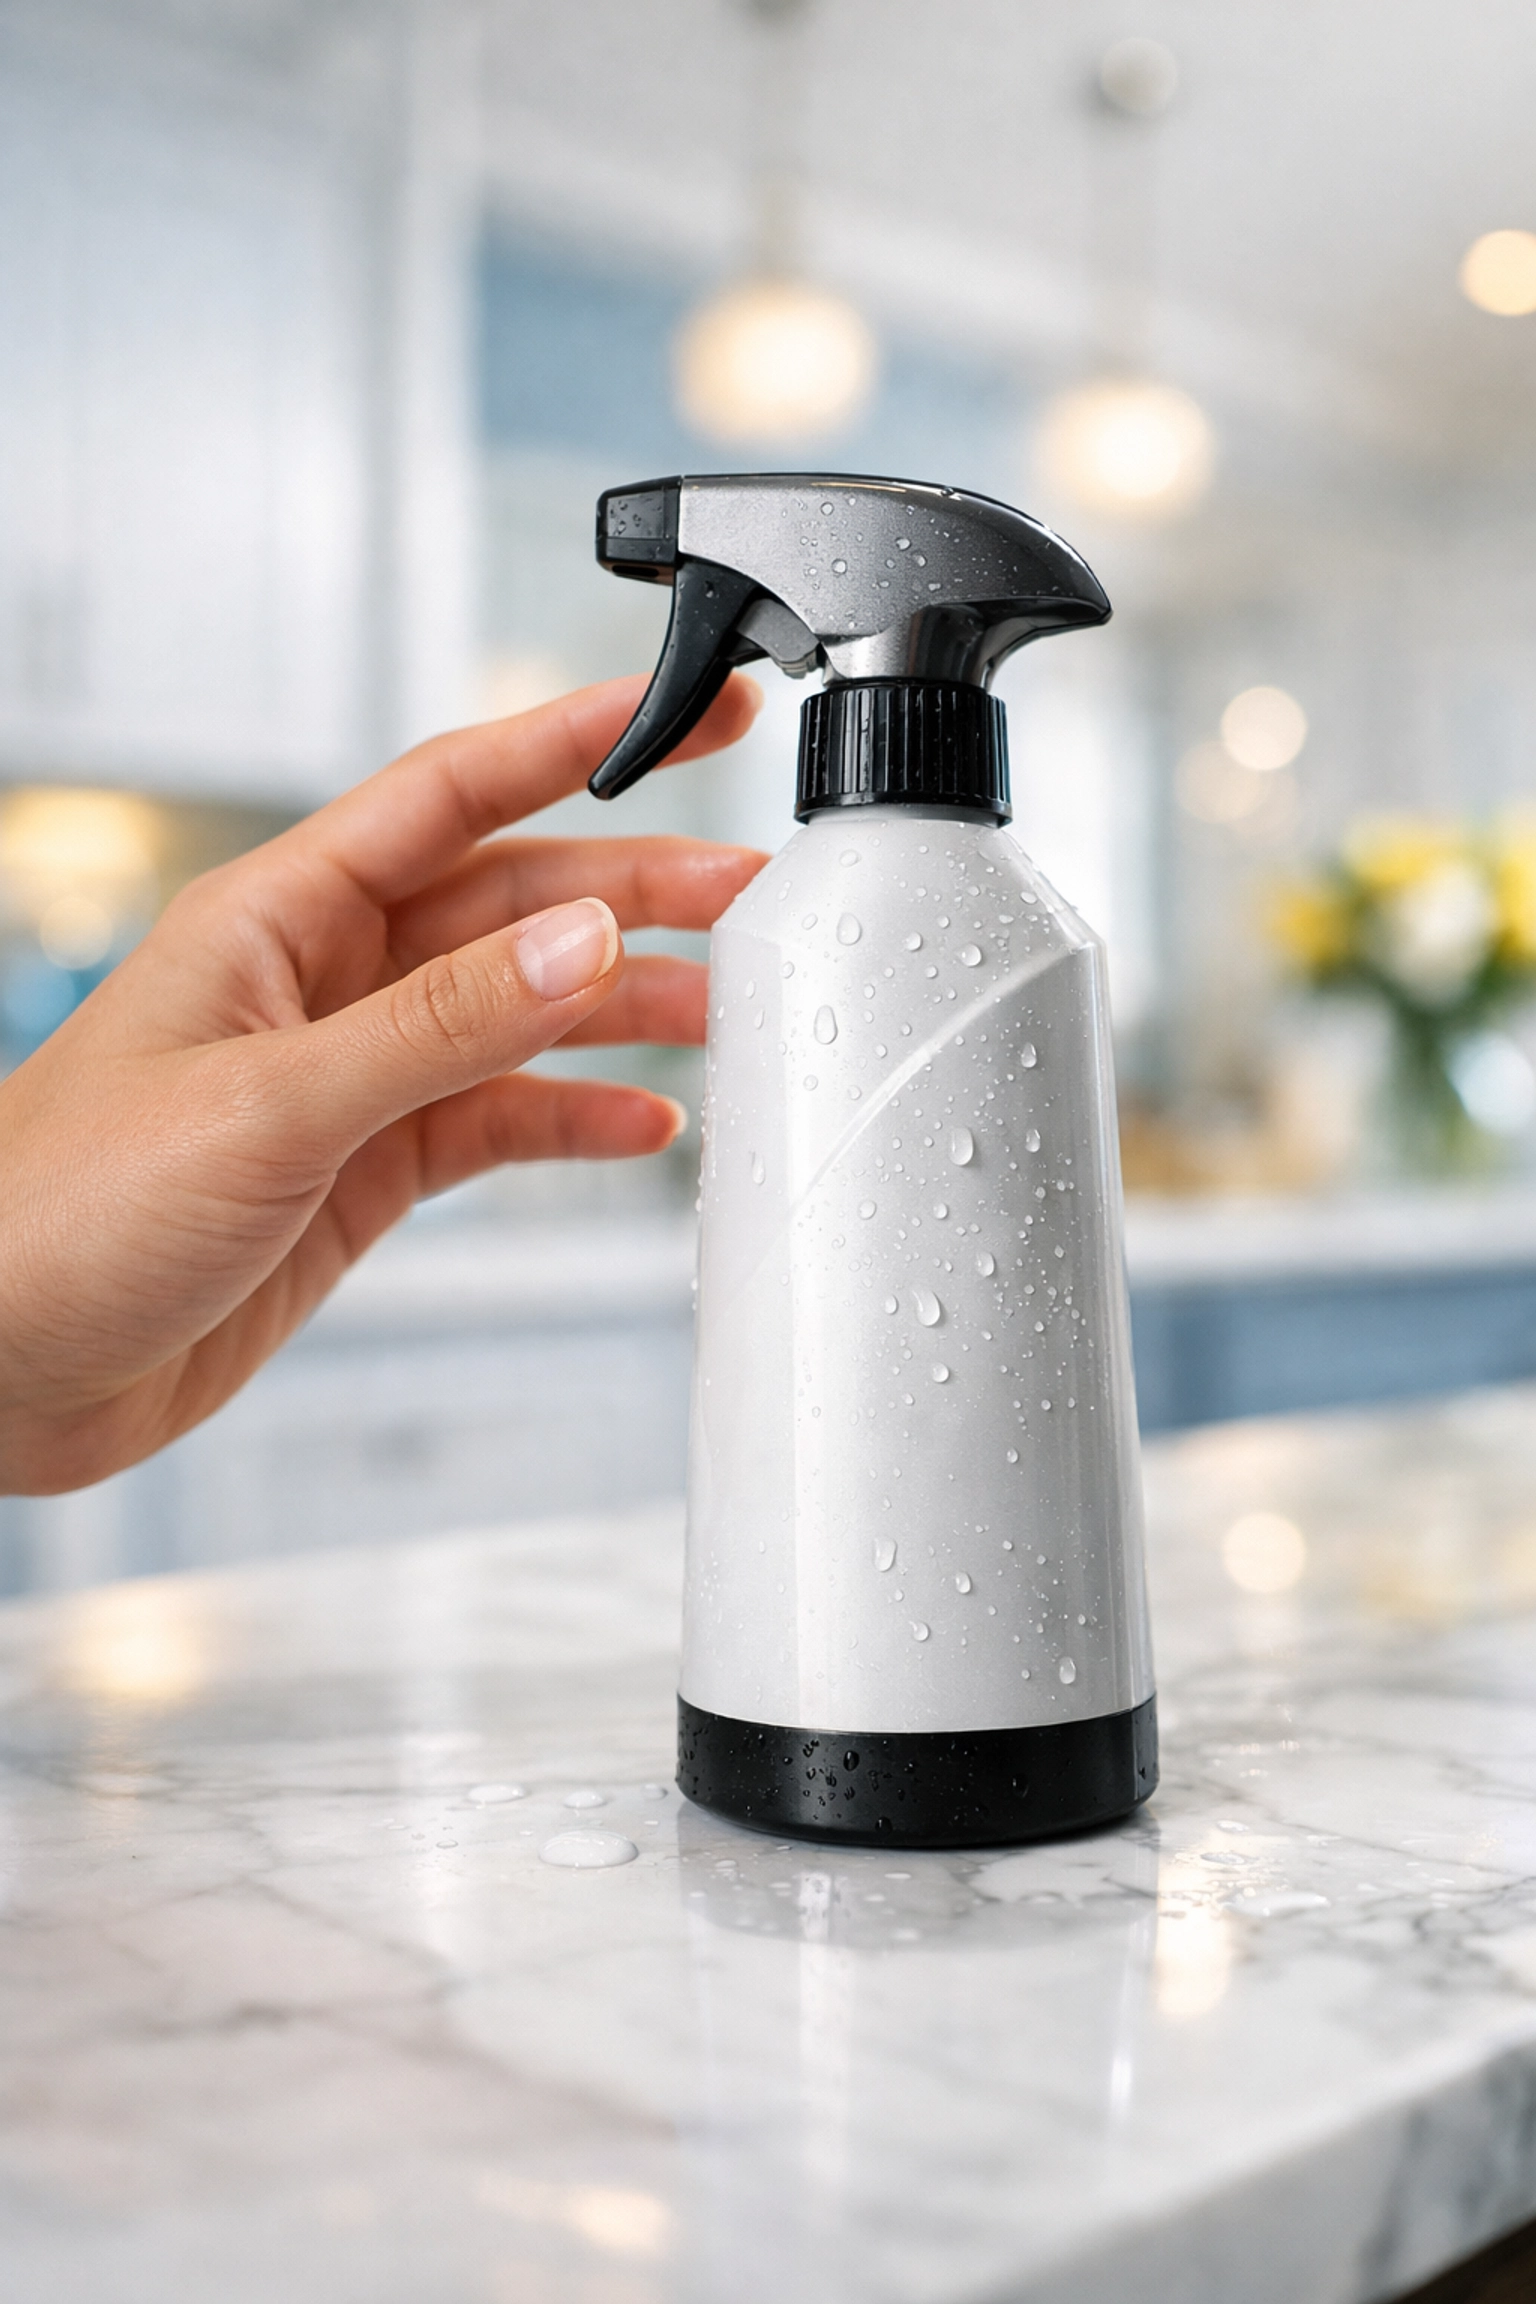
- Spray Bottles: Empty them out once a month, rinse with hot water, and spray some clean water through the nozzle to keep it from clogging.
- Brooms: Take your broom outside and give it a good whack against a wall to loosen dust. Soak the bristles in a bucket of warm, soapy water for 30 minutes, rinse, and hang to dry.
Why This Matters for Your Health
Beyond just having a "clean" house, maintaining your equipment is a health and safety issue. If someone in your home gets sick, a dirty cleaning tool can keep that virus circulating long after the person has recovered. By following these steps, you’re creating a truly hygienic environment for your family.
If this sounds like a lot of work, well, it is! That’s why many of our clients prefer to leave it to the pros. When you hire The Cleaning Ninjas Inc, you aren't just getting a person with a spray bottle; you’re getting a team that understands the science of sanitization. We take pride in our equipment maintenance because we know that a master ninja is only as good as their tools.

Final Thoughts
Cleaning your cleaning tools might feel like an extra chore, but it’s the foundation of a healthy home. It’s the difference between being a "surface wiper" and a "dirt-destroying ninja."
Want to learn more about how we handle the tough stuff? Check out our About Us page to see our philosophy in action, or dive into more "hacks" over on our blog.
Next time you reach for that sponge or mop, give it a quick sniff and a look. If it’s looking a little worse for wear, give it the Ninja Protocol treatment. Your home (and your health) will thank you!
Stay clean, stay sharp, and keep those tools sparkling! 🥷✨

