Let’s be real for a second: nobody wakes up on a Saturday morning thinking, "I can’t wait to spend the next hour scrubbing gray, crusty buildup off my shower glass." It’s back-breaking work, it’s frustrating, and usually, by the time you’ve finished, you’re so sweaty you need another shower, which just starts the cycle all over again.
At The Cleaning Ninjas Inc, we believe your home should be a sanctuary, not a source of endless chores. That’s why we’re big fans of "The Sparkling Shower Strategy." It’s not about how to clean soap scum more effectively (though we have tips for that too on our blog); it’s about preventing that grime from ever sticking to your beautiful tiles and glass in the first place.
If you’re ready to reclaim your weekends and keep your bathroom looking like a luxury spa, here is the ultimate guide to stopping soap scum before it starts.
What Is Soap Scum, Anyway? (The Science of the Sludge)
Before we can defeat the enemy, we have to understand it. Soap scum isn't just "old soap." It’s actually a chemical reaction. When the fatty acids and talc found in traditional bar soaps meet the calcium and magnesium minerals in your tap water, they create a waxy, insoluble substance.
This substance, technically called "calcium stearate", doesn't just rinse away with water. Instead, it clings to your shower doors, tiles, and grout. Once it’s there, it acts like a magnet for body oils, skin cells, and even more soap, building up layer after layer until you have that stubborn, cloudy film that feels impossible to remove.
Strategy 1: The Great Bar Soap Swap
The single most effective way to prevent soap scum is also the easiest: stop using bar soap.
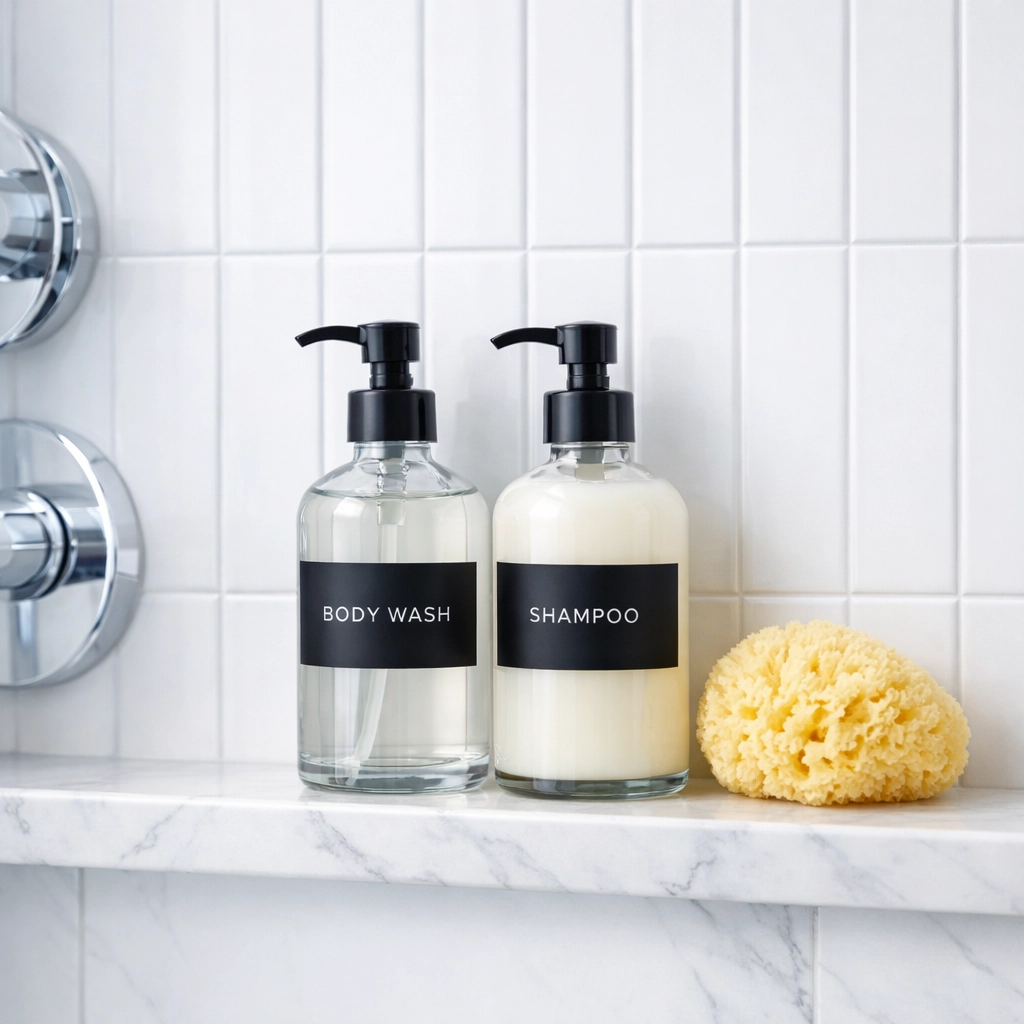
Traditional bar soaps are the primary culprit in the creation of scum because they contain solid fats and waxes to keep them in their solid form. When you switch to a liquid body wash or shower gel, you’re using a product that is technically a detergent, not a "soap" in the traditional sense.
Liquid soaps don't contain the same fatty acids that react with hard water minerals. By making this one simple switch, you can reduce the amount of soap scum buildup in your shower by up to 90%. It’s a total game-changer for anyone who hates scrubbing.
Strategy 2: The 30-Second Squeegee Habit
If there’s one tool every "Cleaning Ninja" has in their arsenal, it’s a high-quality squeegee.
Soap scum needs two things to solidify: soap residue and water. If you remove the water from the surfaces of your shower before it has a chance to air-dry, the minerals and soap residue can’t settle and harden.
Every time you finish your shower, take 30 seconds to squeegee the walls and the glass door. Start from the top and pull downward in long, smooth strokes. It might feel like a chore for the first three days, but once it becomes a habit, you’ll realize it’s saving you hours of deep cleaning later in the month.
Pro Tip: If you have a stone or tile shower with lots of grout lines where a squeegee can't reach effectively, keep a microfiber cloth hanging nearby and give the corners and hardware a quick wipe-down after you squeegee the glass.
Strategy 3: The Car Wax Trick (Yes, Really!)
This is one of those insider secrets that sounds a bit crazy until you see it in action. You know how water beads up and rolls off a freshly waxed car? You can achieve the same effect in your shower.
By applying a thin layer of high-quality car wax (or a specialized glass treatment like Rain-X) to your glass shower doors and even your ceramic wall tiles, you create a hydrophobic barrier. Water and soap simply cannot stick to the surface; they slide right down the drain.
How to do it safely:
- Thoroughly clean and dry your shower glass and tiles.
- Apply a small amount of car wax or glass treatment according to the product instructions.
- Buff it out until the surface is clear and shiny.
- IMPORTANT: Never, ever apply wax to the floor of your tub or shower. It will make the surface incredibly slippery and dangerous. Stick to the walls and glass only!
This barrier usually lasts for several weeks or even months, depending on how often the shower is used. When you notice water starting to "cling" to the glass again instead of beading up, it’s time for a quick re-application.
Strategy 4: Tackle Hard Water at the Source
If you live in an area with particularly hard water, you’re fighting an uphill battle. The more minerals in your water, the faster soap scum forms.
While a whole-house water softener is the gold-standard solution, it can be an expensive investment. A more budget-friendly alternative is a softening shower head filter. These filters attach directly to your shower arm and help reduce the mineral content of the water hitting your skin and your tiles. Not only does this prevent soap scum, but it’s also much gentler on your hair and skin!
Strategy 5: Seal Your Grout
Grout is porous, meaning it’s basically a sponge for dirty water and soap residue. If your grout isn't properly sealed, soap scum will seep into those pores, making it nearly impossible to clean without heavy-duty chemicals and a lot of elbow grease.
We recommend sealing your grout at least once a year. A good sealer creates an invisible shield that keeps the grime on the surface where it can be easily wiped away. If you’re not sure if your grout is sealed, try this test: drop a few beads of water on a dry grout line. If the water stays in a bead, you’re good. If it soaks in and darkens the grout, it’s time to reseal.
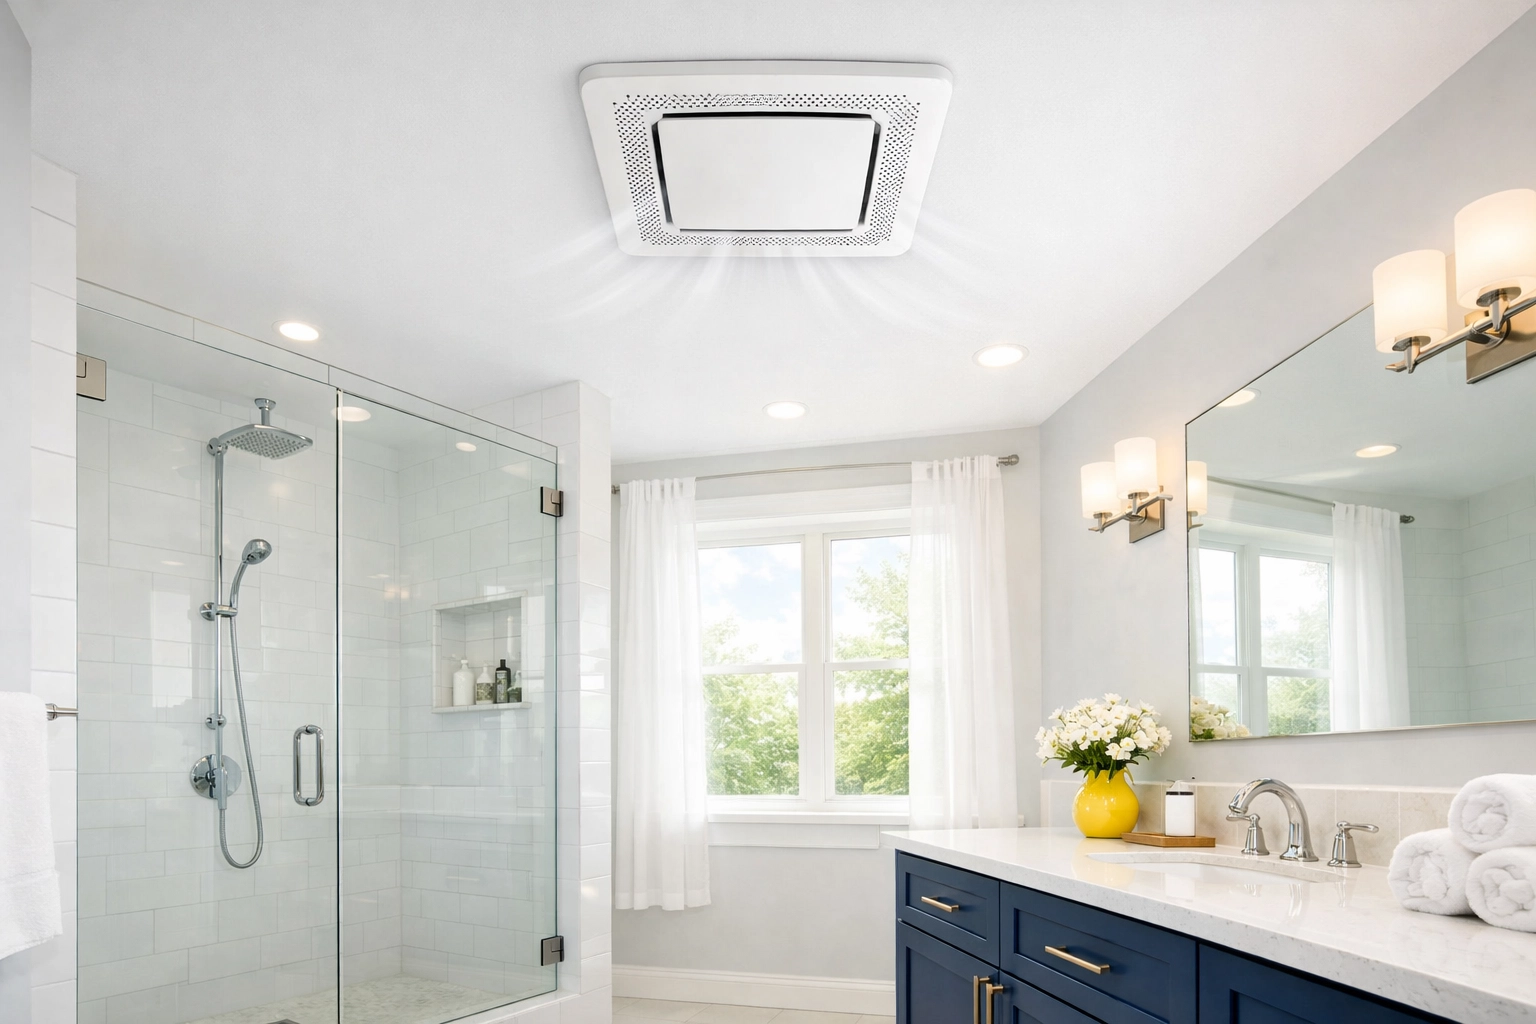
Strategy 6: Ventilation and Drying
Soap scum loves a humid environment. When the air in your bathroom stays damp for hours after a shower, the residue on your walls stays moist longer, allowing it to "bond" more effectively to the surface.
Always run your bathroom exhaust fan during your shower and for at least 15–20 minutes afterward. If you don't have a fan, crack a window or leave the bathroom door open. Getting that moisture out of the air as quickly as possible is key to keeping the entire room: not just the shower: clean and free of mildew.
The "Ninja" Maintenance Schedule
Consistency is the secret to a home that always looks professionally cleaned. Here is a simple rhythm you can follow:
- Daily: Use liquid body wash, squeegee the glass, and run the exhaust fan.
- Weekly: Give the shower a quick spray with a daily shower cleaner (many of these are "no-wipe" formulas that help dissolve residue as it forms).
- Monthly: Check your grout and hardware for any small spots of buildup and wipe them away with a soft cloth and a 50/50 mix of water and white vinegar.
- Annually: Re-apply your glass protectant and check if your grout needs a fresh coat of sealer.
When to Call in the Pros
We know life gets busy. Sometimes, despite your best intentions, the soap scum wins. Or maybe you’ve just moved into a new place where the previous tenants weren't exactly "Cleaning Ninjas."
If your shower has reached a point where DIY hacks aren't cutting it, it might be time for a professional reset. Our team at The Cleaning Ninjas Inc specializes in deep-cleaning bathrooms and restoring surfaces to their original shine. Once we’ve cleared away the years of buildup, it’s much easier for you to maintain that sparkle using the strategies we’ve shared today.
You can learn more about how we can help on our services page or get to know the team behind the masks on our About Us page.
Final Thoughts
A clean shower shouldn't be a luxury you only enjoy once a month after a grueling cleaning session. By switching your soap, spending 30 seconds with a squeegee, and using a few "Ninja" tricks like car wax, you can keep your bathroom sparkling with almost zero effort.
Remember: Work smarter, not harder! Your shower should be a place where you wash away the stress of the day, not a place that adds to it.
For more tips on keeping your home in top shape without losing your mind, keep an eye on our Cleaning Tips category. Happy (non) scrubbing!