

Moving house is a lot like a high-stakes action movie. You’ve got the ticking clock (moving day), the heavy lifting (literally every box you own), and the final boss: the dreaded move-out inspection.
If you’re a tenant, your security deposit is basically your own money held in a glass box. To get it back, you have to leave your old place looking like it was never actually lived in. No pressure, right? Whether you’ve been there for six months or six years, landlords and property managers have a supernatural ability to spot a single stray hair in a drawer or a smudge on a light switch.
At The Cleaning Ninjas, we’ve seen it all. We’ve fought the grease monsters of kitchens past and triumphed over the soap scum villains of bathrooms forgotten. If you’re tackling the job yourself, you need a plan. If you’d rather skip the stress and hire a professional move out cleaning service, we’re here for that too.
Here is the ultimate, ninja-approved checklist to ensure you get every cent of that deposit back.
Phase 1: The Pre-Game Strategy
Before you pick up a sponge, you need to clear the battlefield. You cannot clean around clutter. The secret to a successful move-out is timing.
- Declutter Ruthlessly: If you aren’t taking it with you, get it out of the house. Attics, basements, and that weird "everything drawer" need to be empty.
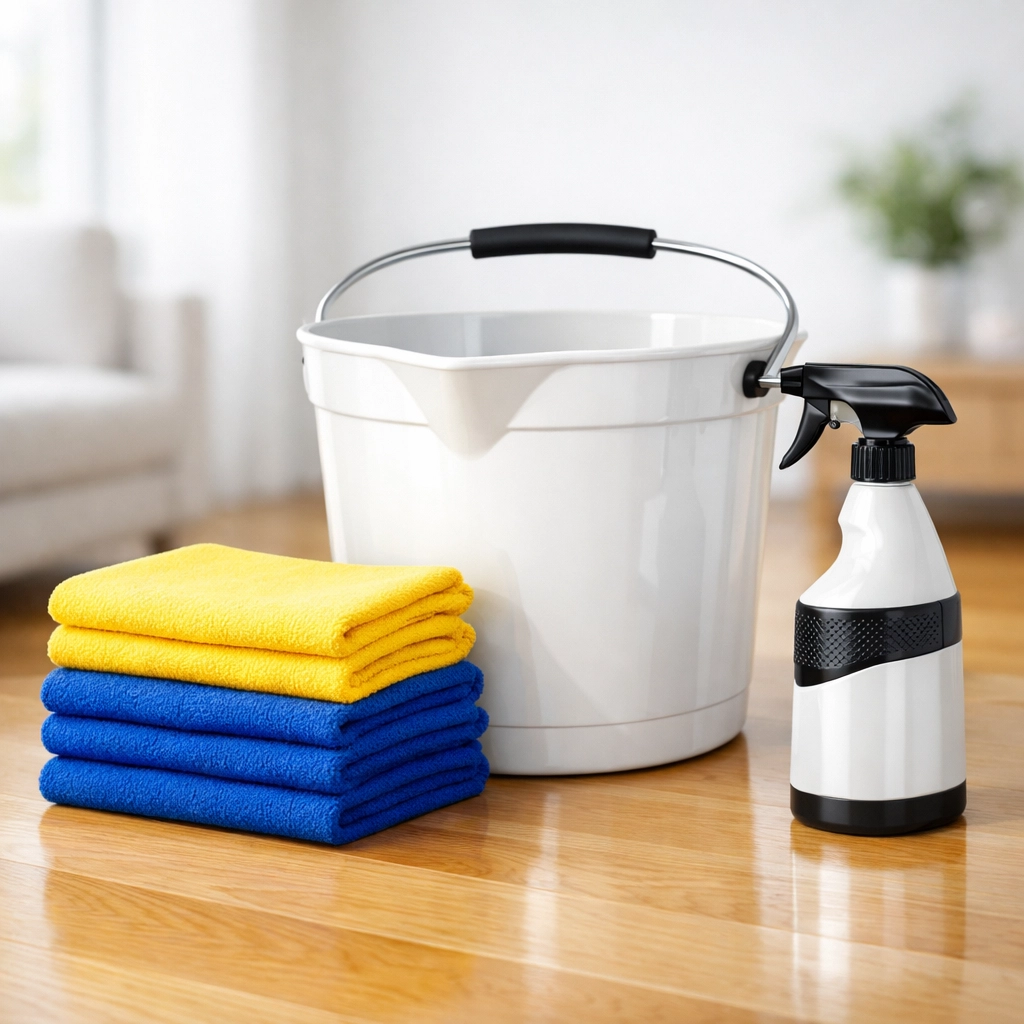
- Gather Your Gear: You don’t need a specialized tool for every square inch, but you do need the basics. Grab microfiber cloths, a vacuum with attachments, a mop, a bucket, all-purpose cleaner, a degreaser for the kitchen, and plenty of trash bags.
- The "Ninja" Timing: Don't wait until the morning of your walkthrough. Schedule your deep clean 2–3 days before you officially hand over the keys. This gives you time to handle any "oh no, I missed that" moments.
Phase 2: The Kitchen (Where Deposits Go to Die)
The kitchen is usually the hardest room to clean. Why? Because grease is a persistent enemy. Landlords always check the appliances, and they aren’t just looking at the outside.
- The Oven: This is the big one. If your oven looks like a charcoal pit, you’re losing money. Use a heavy-duty cleaner and let it sit. Don’t forget the racks!
- The Refrigerator: Pull it out from the wall. Yes, really. Clean the coils, vacuum the dust behind it, and wash the floor underneath. Inside, remove every shelf and drawer and wash them in warm, soapy water.
- Cabinets and Drawers: Crumbs love corners. Vacuum the inside of every cabinet and drawer, then wipe them down with a damp cloth. Check the tops of the upper cabinets: dust loves to hide up there where you can’t see it.
- The Sink and Disposal: Scrub the sink until it shines. If the disposal smells a bit "funky," toss in some lemon slices or baking soda and vinegar to freshen it up.
- Countertops and Backsplash: Remove every speck of grease. If you’ve been doing a lot of stir-fry lately, the backsplash is likely holding onto some evidence.
If this sounds like a nightmare, remember that The Cleaning Ninjas offer general cleaning and specialized kitchen detailing to handle the heavy lifting.
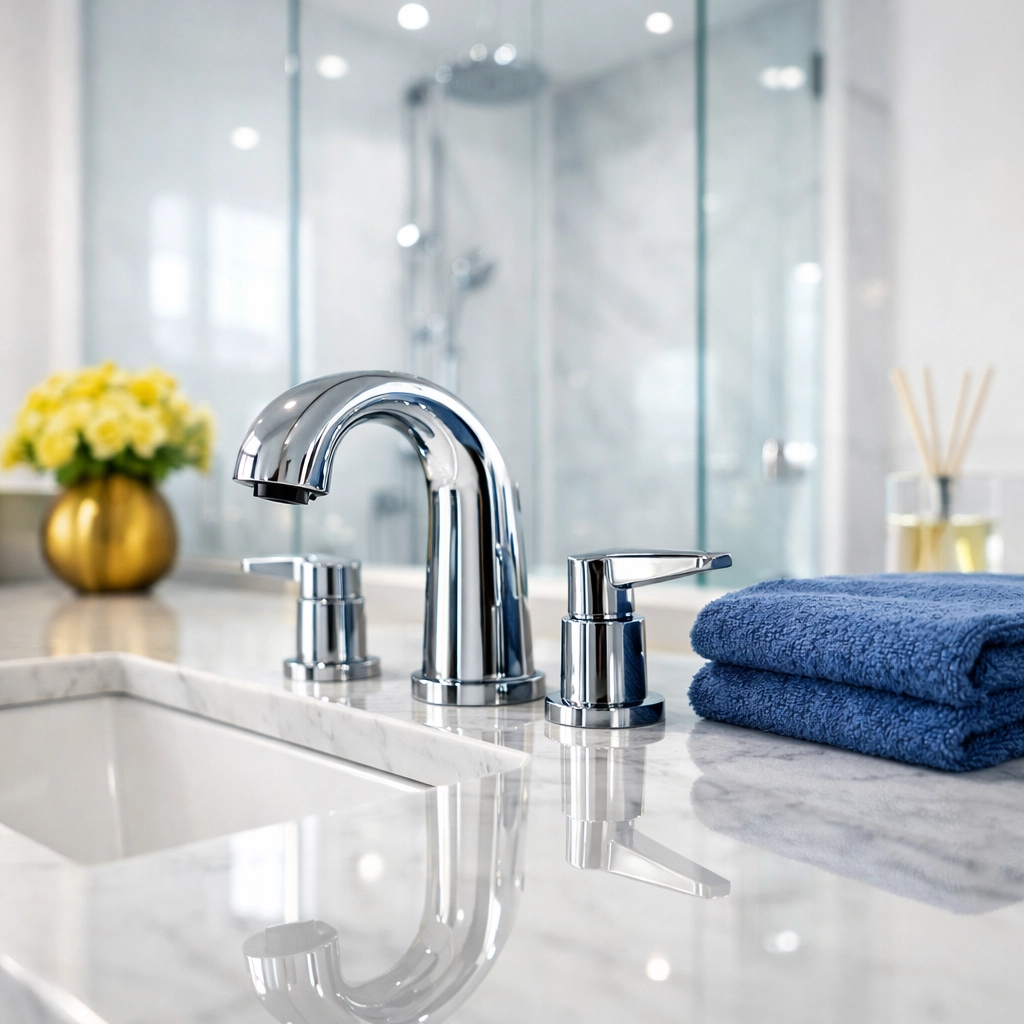
Phase 3: The Bathroom (The Soap Scum Saga)
Bathrooms are a magnet for grime, and property managers love to check the grout.
- The Throne: Clean the toilet inside, outside, and all the way down to the base. If there are those little plastic caps over the bolts at the bottom, pop them off and clean under them. That’s the kind of detail a Ninja focuses on.
- The Tub and Shower: Soap scum is a stubborn foe. Use a dedicated bathroom cleaner and a bit of elbow grease. Make sure the drain is clear of hair (gross, we know, but necessary).
- Mirrors and Glass: Use a streak-free glass cleaner. If there’s a medicine cabinet, empty it and wipe the shelves.
- Vanity and Drawers: Just like the kitchen, make sure no hair or toothpaste caps are left behind in the drawers.
Phase 4: Living Areas and Bedrooms
These rooms might seem easy compared to the kitchen, but they are full of "hidden" spots that tenants often forget.
- The Walls: Landlords expect "normal wear and tear," but large scuffs or holes from your heavy art collection need to be addressed. Spot-clean marks with a melamine sponge (the "magic" kind) and fill small nail holes if your lease requires it.
- Windows and Tracks: Don’t just clean the glass. Open the window and look at the track. It’s likely full of dead bugs and dust. Vacuum it out and wipe it down.
- Closets: Wipe down the shelves and the hanging rods. People often forget that rods get dusty!
- Light Fixtures and Ceiling Fans: If you haven’t dusted your ceiling fan since 2022, now is the time. Dust the blades and wipe down the light globes.
Phase 5: The "Ninja" Details (The Secret to 100% Return)
This is what separates a "quick wipe" from a professional move out cleaning service. These small details are often what property managers use to justify keeping $50 or $100 of your deposit.
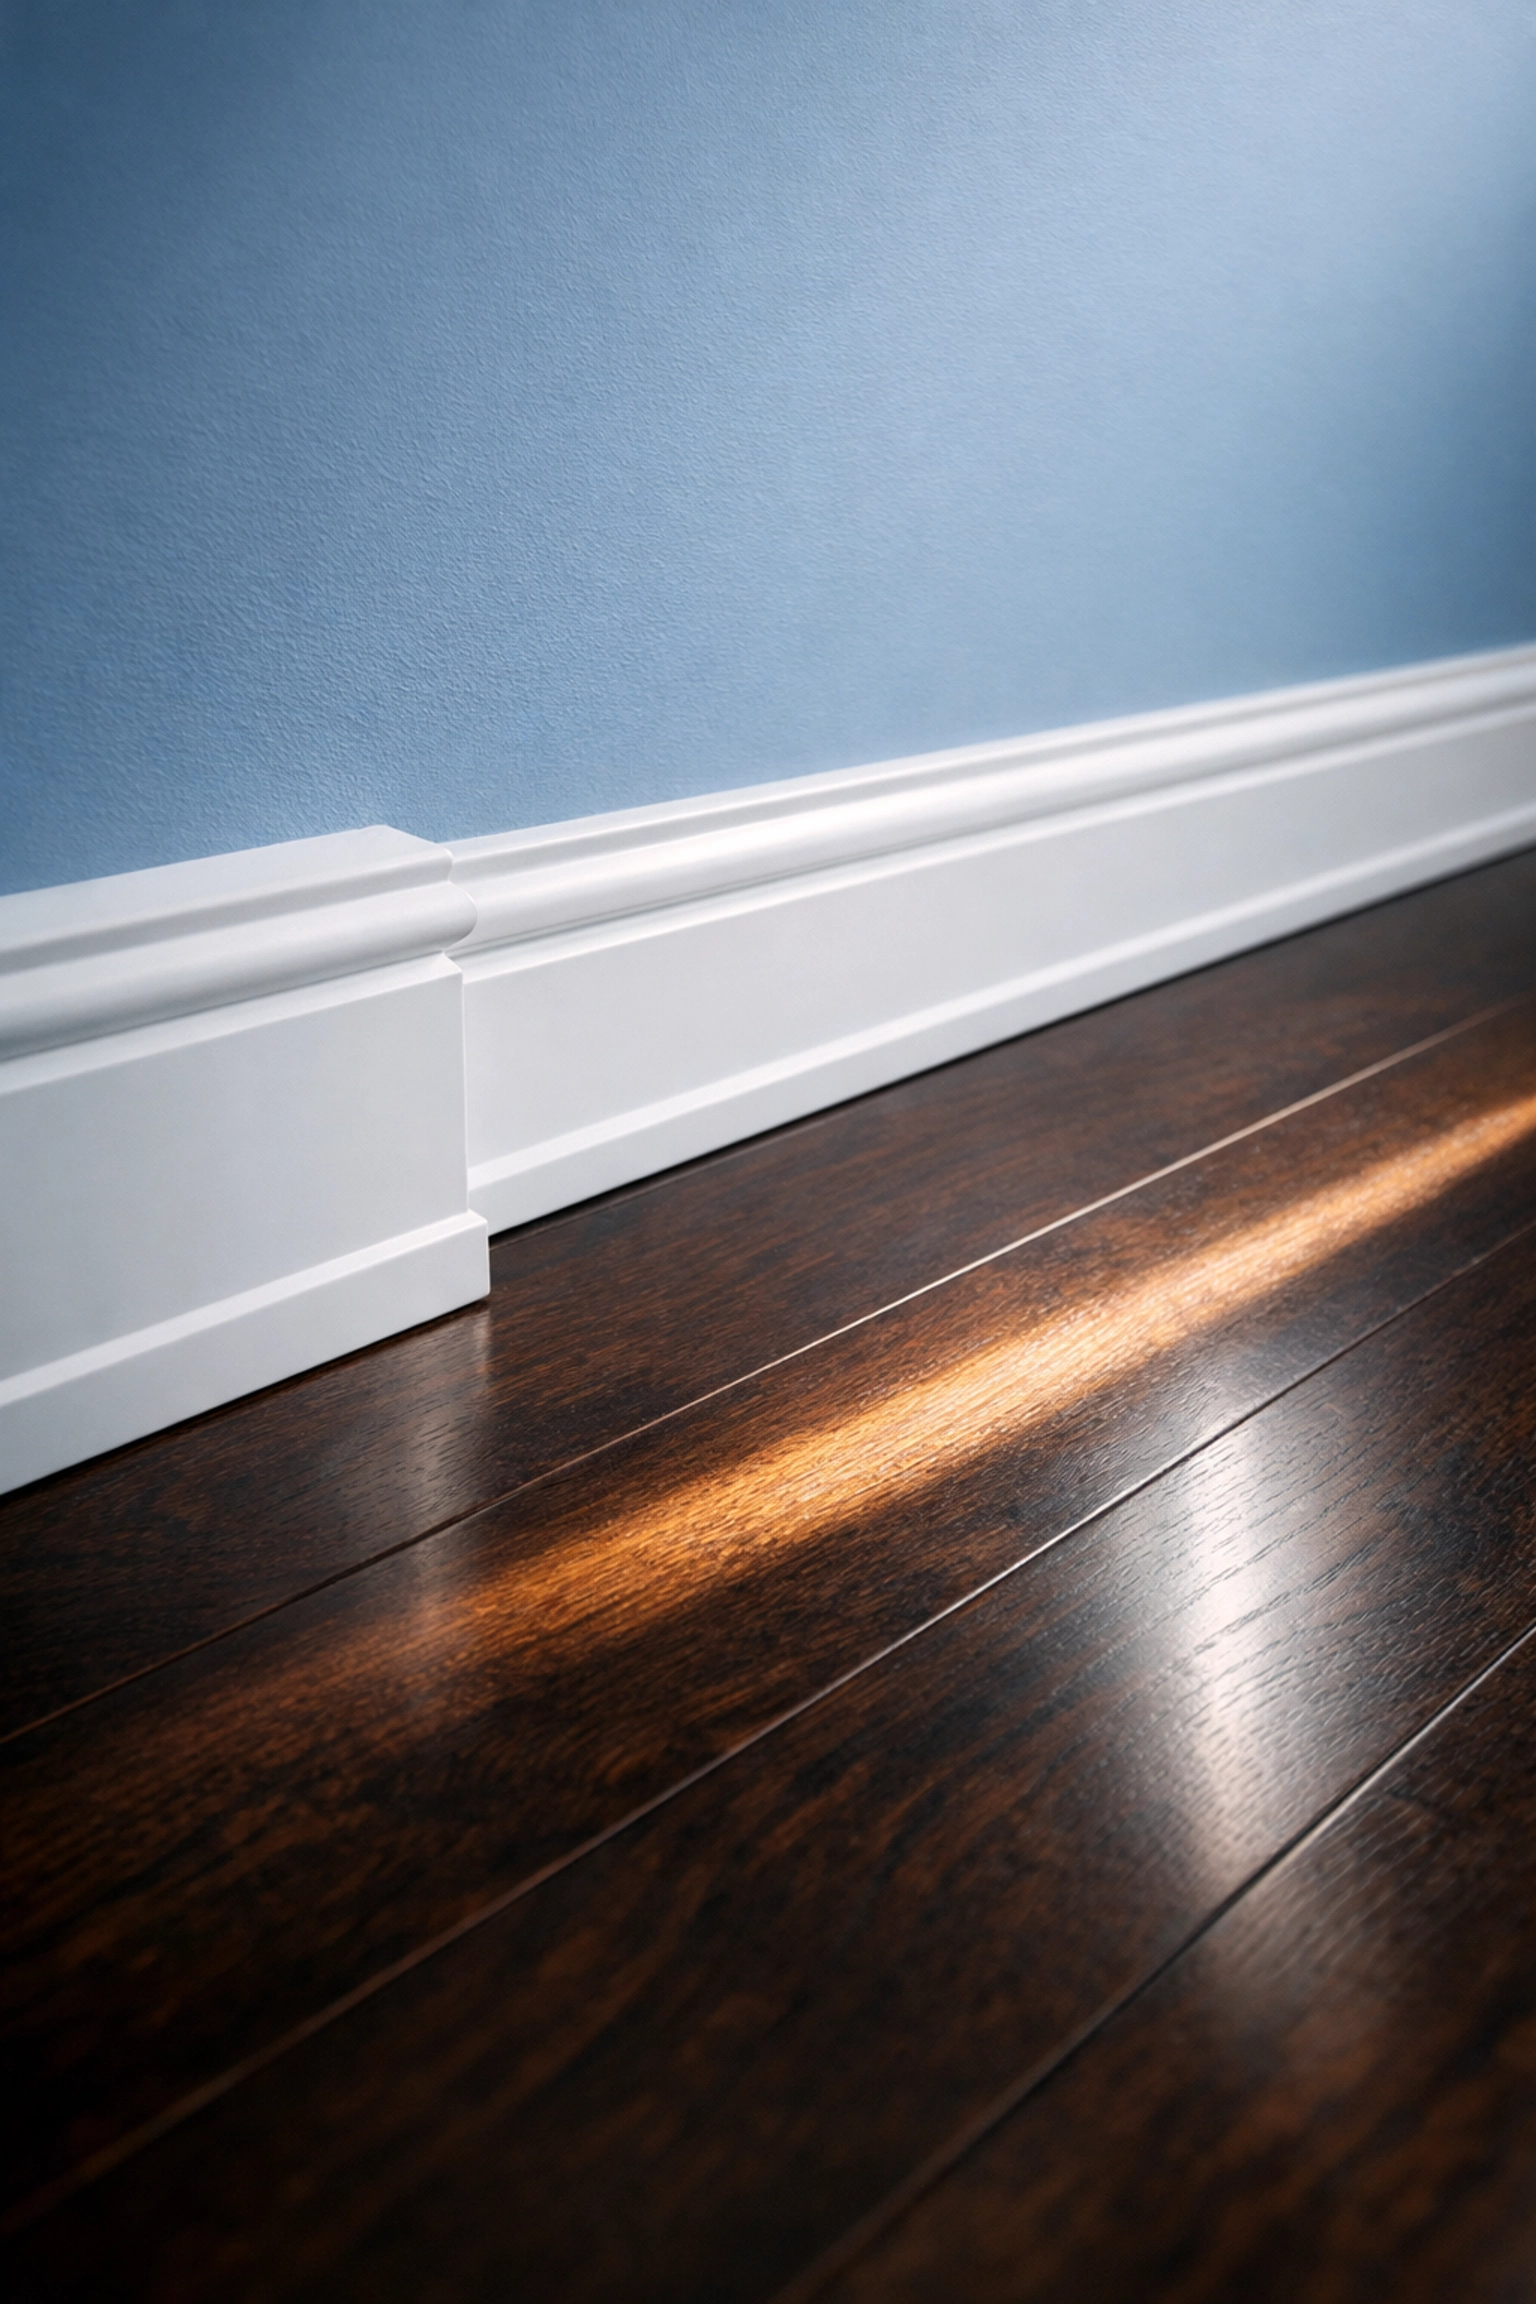
- Baseboards: This is the most skipped task in cleaning history. Dust them, then wipe them with a damp cloth. It makes the whole room look significantly newer.
- Light Switches and Door Handles: Think about how many times you’ve touched these. They collect oils and dirt. A quick wipe with a disinfectant makes a huge difference.
- Vents: Take the vacuum attachment to your AC vents. If they are caked in dust, it looks like the home wasn’t maintained.
- The "Sweep Out": If you have a garage or a balcony, sweep it. Leaving a pile of leaves or old spiderwebs can be flagged as "debris."
Why You Might Want to Call in the Pros
Let’s be honest: moving is exhausting. By the time you’ve packed the last box and loaded the truck, the last thing you want to do is spend six hours scrubbing a toilet and degreasing an oven.
This is where The Cleaning Ninjas Inc come in. We don't just "clean"; we perform a tactical strike on grime. Our team knows exactly what landlords are looking for because we do this every day.
Hiring a professional move out cleaning service offers a few major benefits:
- Guaranteed Quality: We follow a rigorous checklist that covers everything from the rafters to the floorboards.
- Stress Reduction: You focus on your new home; we’ll handle the old one.
- Professional Tools: We have high-grade sanitizing surfaces equipment and eco-friendly green cleaning products that work faster and better than standard grocery store sprays.
- The Receipt: Sometimes, showing your landlord a receipt from a professional cleaning company is enough to stop them from even looking for problems. It shows you took the move-out seriously.

Final Check: Before You Hand Over the Keys
You’ve cleaned, you’ve scrubbed, and you’re ready to go. Before you lock the door for the last time, do one final "Ninja Walkthrough."
- Open Every Door: Check the back of doors for hanging organizers you forgot.
- Look Up: Check for cobwebs in the corners of the ceiling.
- Take Photos: This is your insurance policy. Take photos of every room, inside the oven, and inside the fridge. If the landlord tries to claim it wasn't clean, you have the proof.
- Trash: Ensure all trash is in the proper bins outside. Don't leave a "parting gift" of a single trash bag in the middle of the kitchen floor.
Moving is a fresh start. Don't let a dispute over a security deposit ruin the excitement of your new space. Whether you follow our guide step-by-step or decide to bring in The Cleaning Ninjas to handle the mission, make sure your old home gets the goodbye it deserves.
Ready to make your move-out effortless? Check out our full range of services and let us take "cleaning" off your moving to-do list!


